
Label
Important
Label theme IS NOT officially supported since 2020, January 22. If you’re interested in this modification, please contact sales or your manager.
Overview
The Label theme is presented with one style, which can be easily modified. Colors and fonts are changed, but the layout is preserved. Its minimalist look makes customers focus on the products while they browse your store.
The theme consists of one file, which is ready-to-use and easy to install. Plus, it is responsive, so it will look great on all devices.
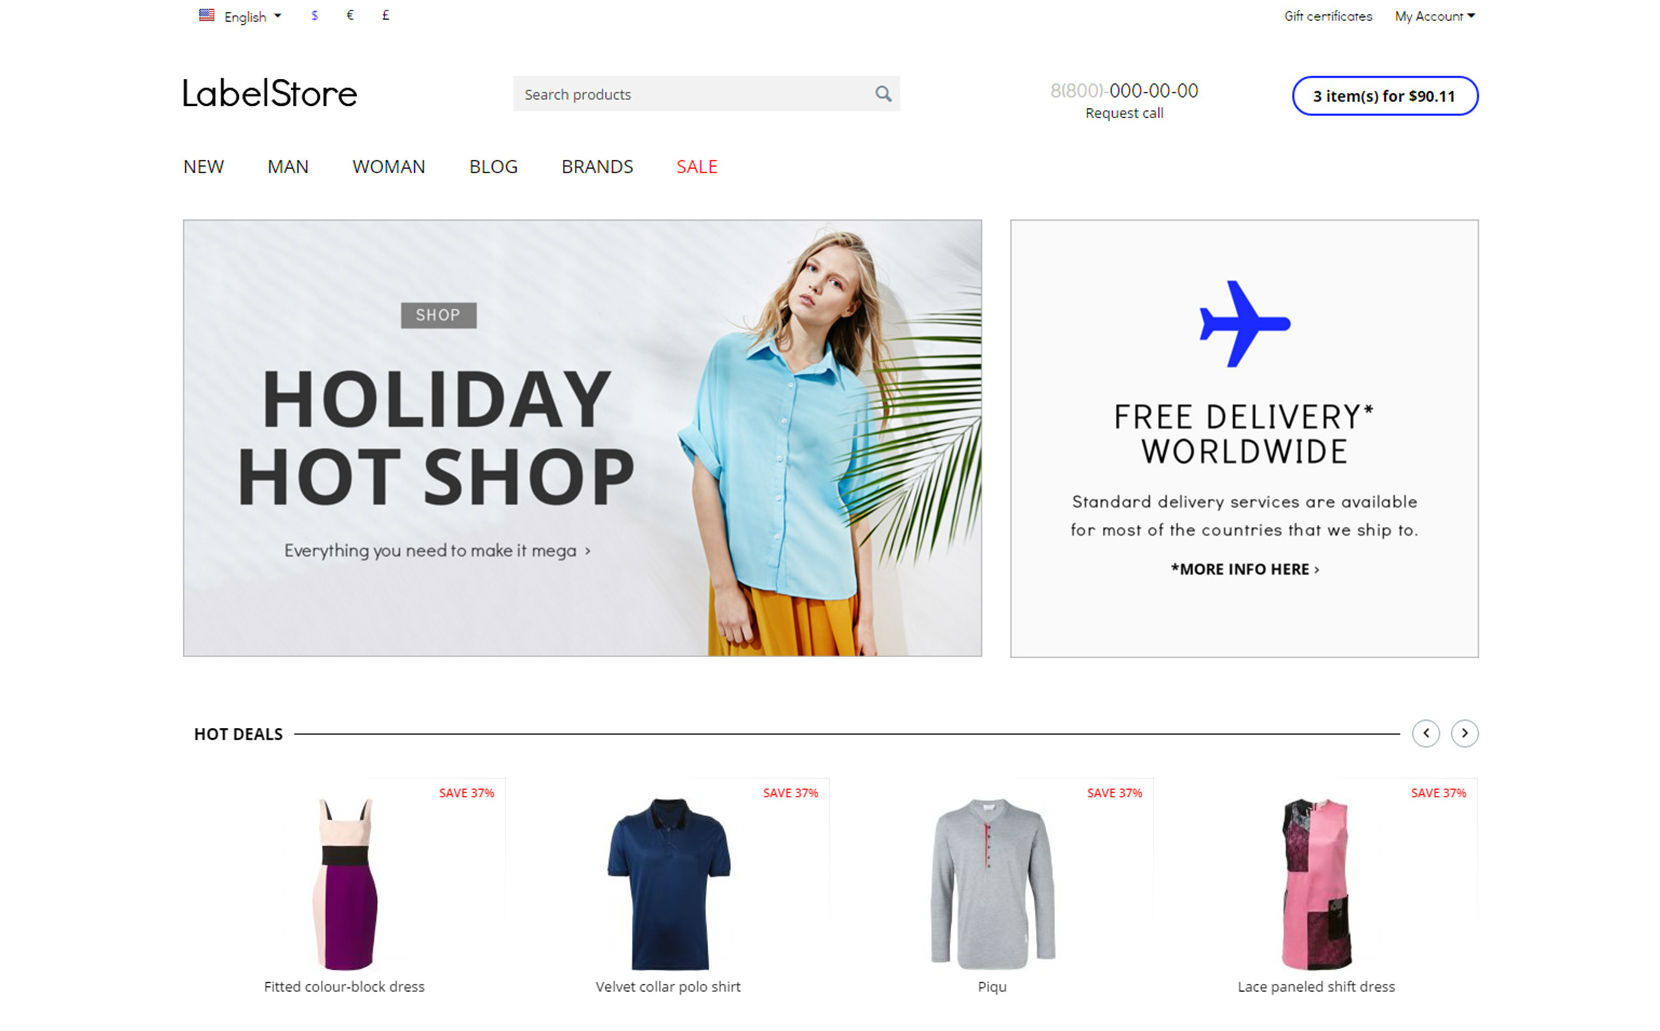
Home page

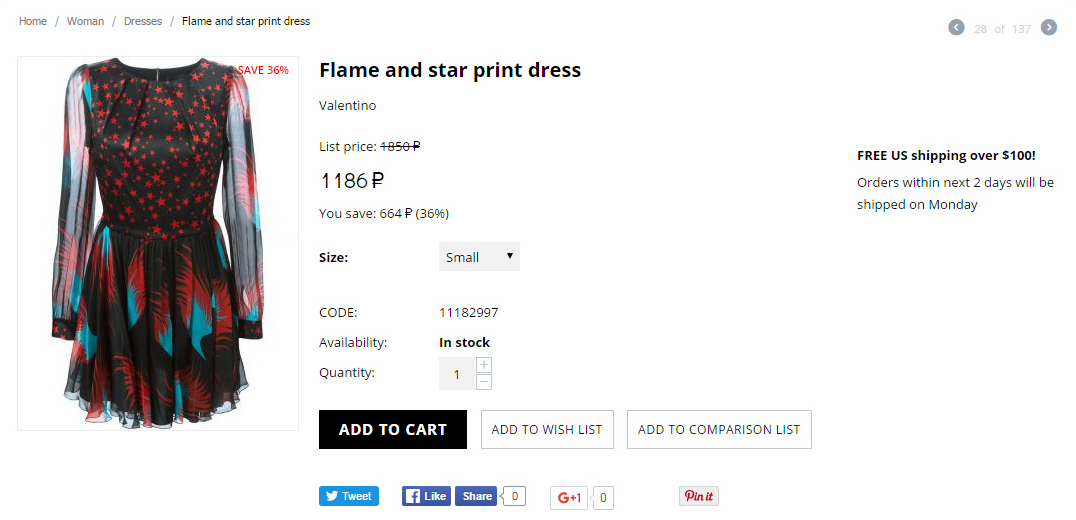
Product page
Compatibility
The add-on is compatible with CS-Cart and Multi-Vendor 4.3.1 and above.
Don’t know what archive to download to install the add-on? Read here.
Support
This theme is created and published by Simtech Development Ltd., a CS-Cart developer. You are guaranteed a quality theme supported by the future versions. If you need help, please contact us via our help desk system.
Demo store
Check out the Label theme in our demo store.
Note
Every half an hour the demo store is reset to the default state.
Installing and setting up the theme
You can learn how to install and set up the theme in this User guide .
Additional settings
By default the theme has a feature to highlight the rightmost menu category in red.
If you want to change it back to black, follow the steps below:
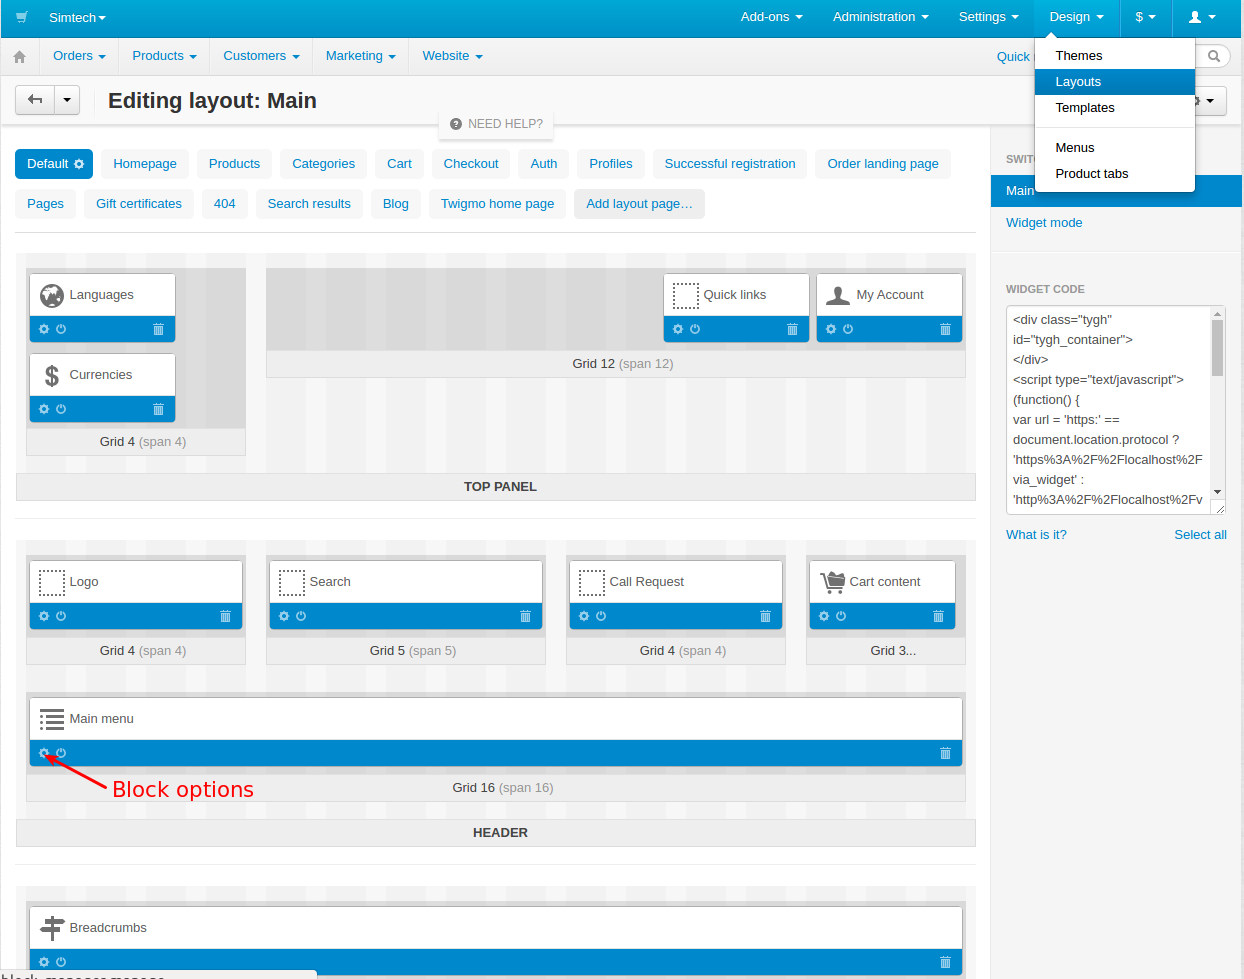
- In the admin panel, go to Design - Layouts.
- Locate the Main menu block on the page and click the gear button to open Block options.
- In the opened pop-up window, enter disable-contrasting-color into the User-defined CSS class field.
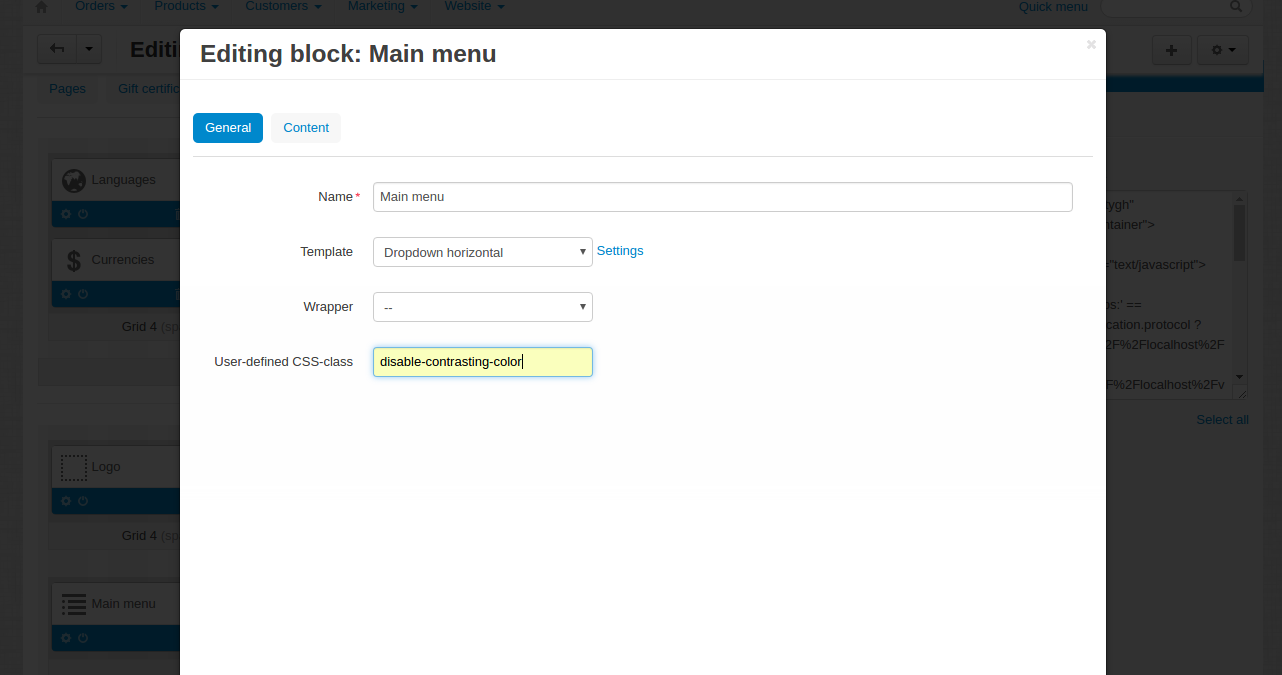
- Check it in the storefront by refreshing the page.
Creating a blog
With just a few adjustments you can easily turn a CS-Cart store into a blog with the Shop The Look block. The Label theme suits perfectly for this purpose.
Here is an example of how it may look like:
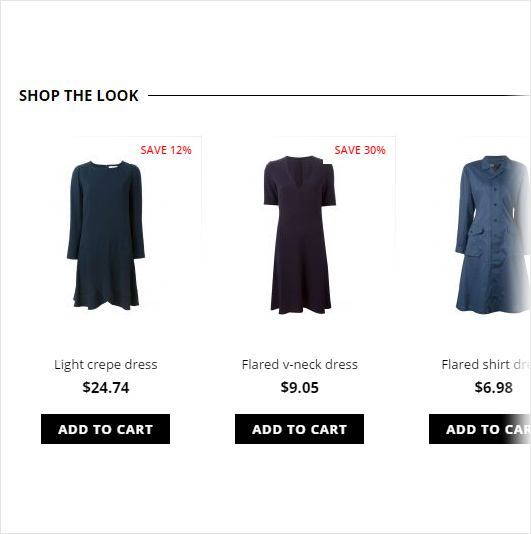
You will have the ability to post articles with photos about fashion, lifestyle, clothing, accessories, looks, etc. At the same time you will still have a fully functioning store with all your products. For instance, you can add the Shop The Look block to let your customers purchase products from the article you posted.
In order to create a blog, follow the steps below.
- In the admin panel, go to Design - Layouts and open the Blog tab.
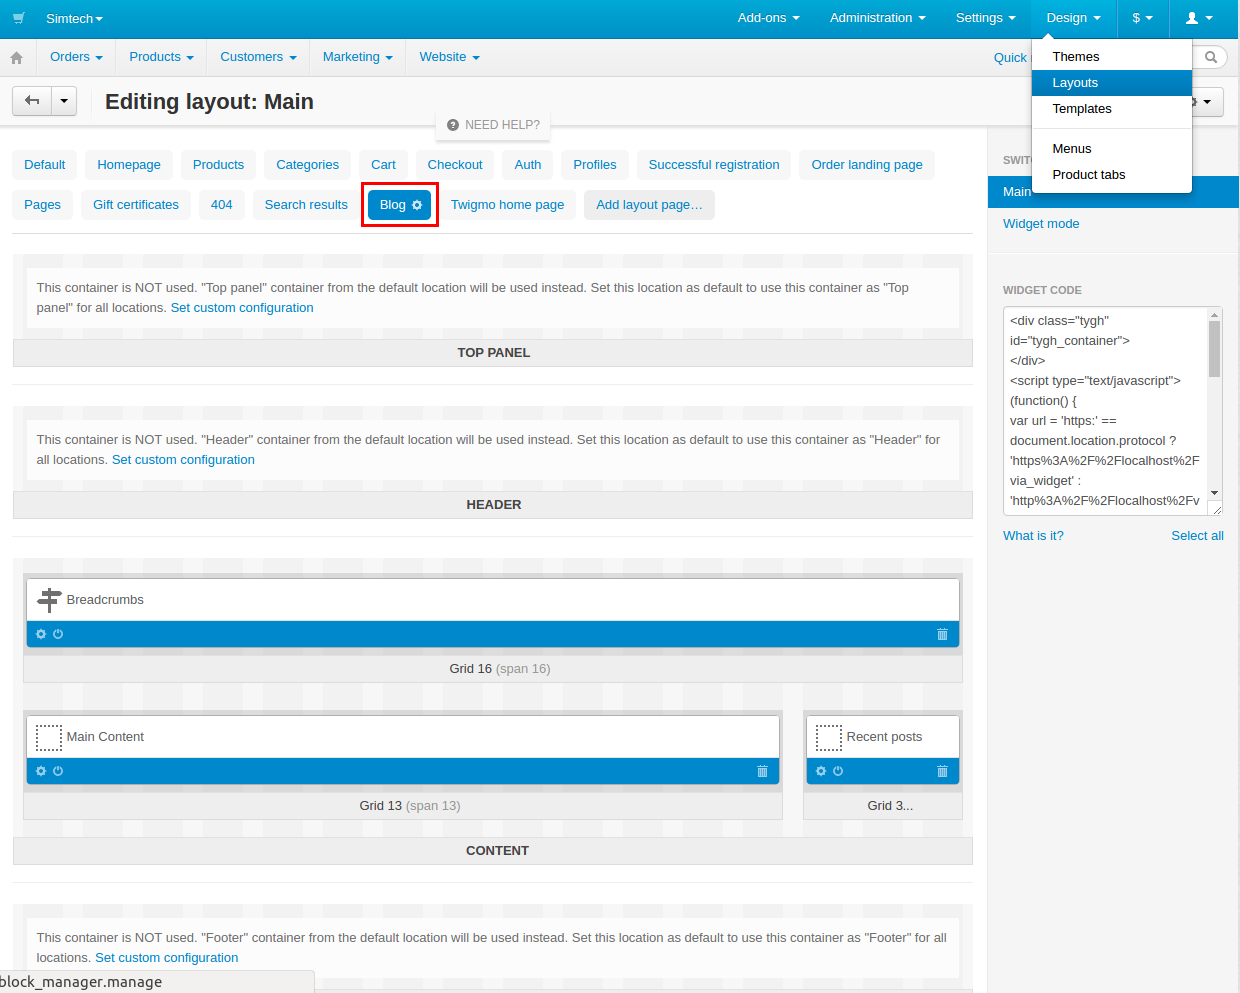
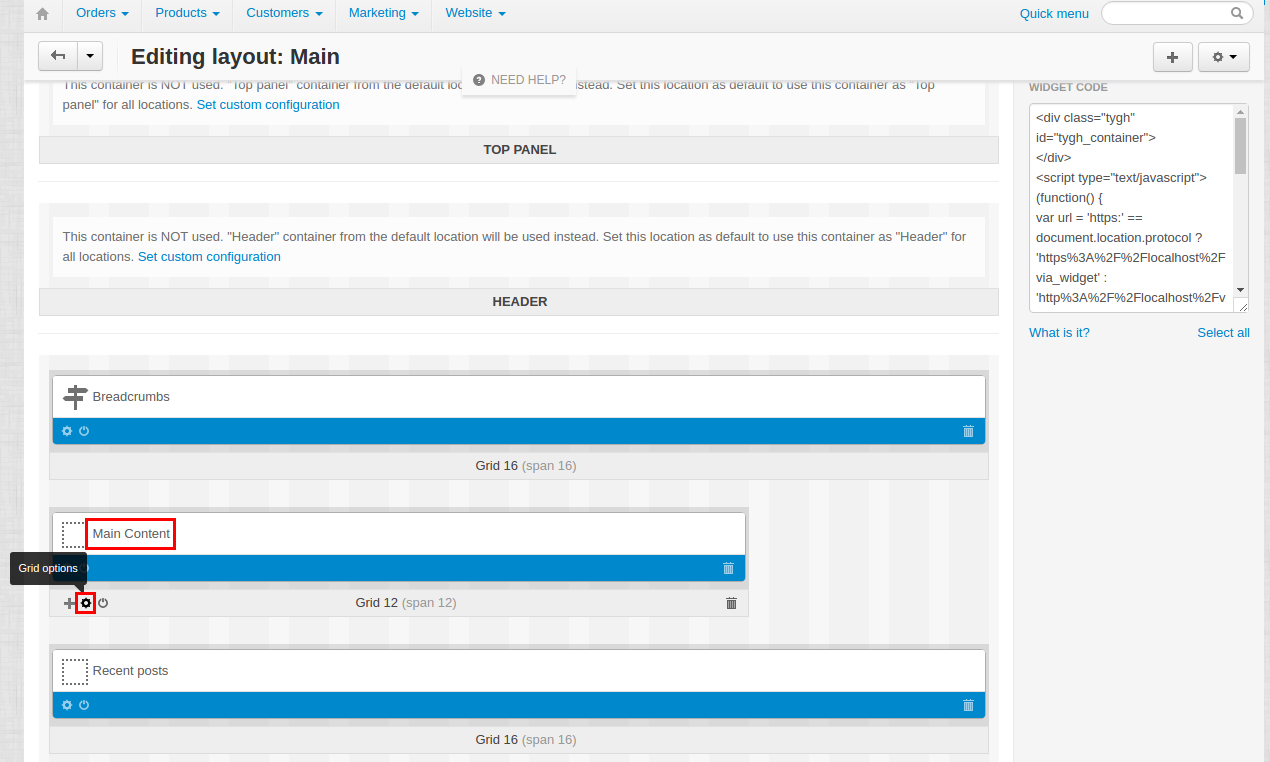
- Locate the Main content block and click the gear button to open Grid options (hover the mouse pointer over the block to make the gear button appear).
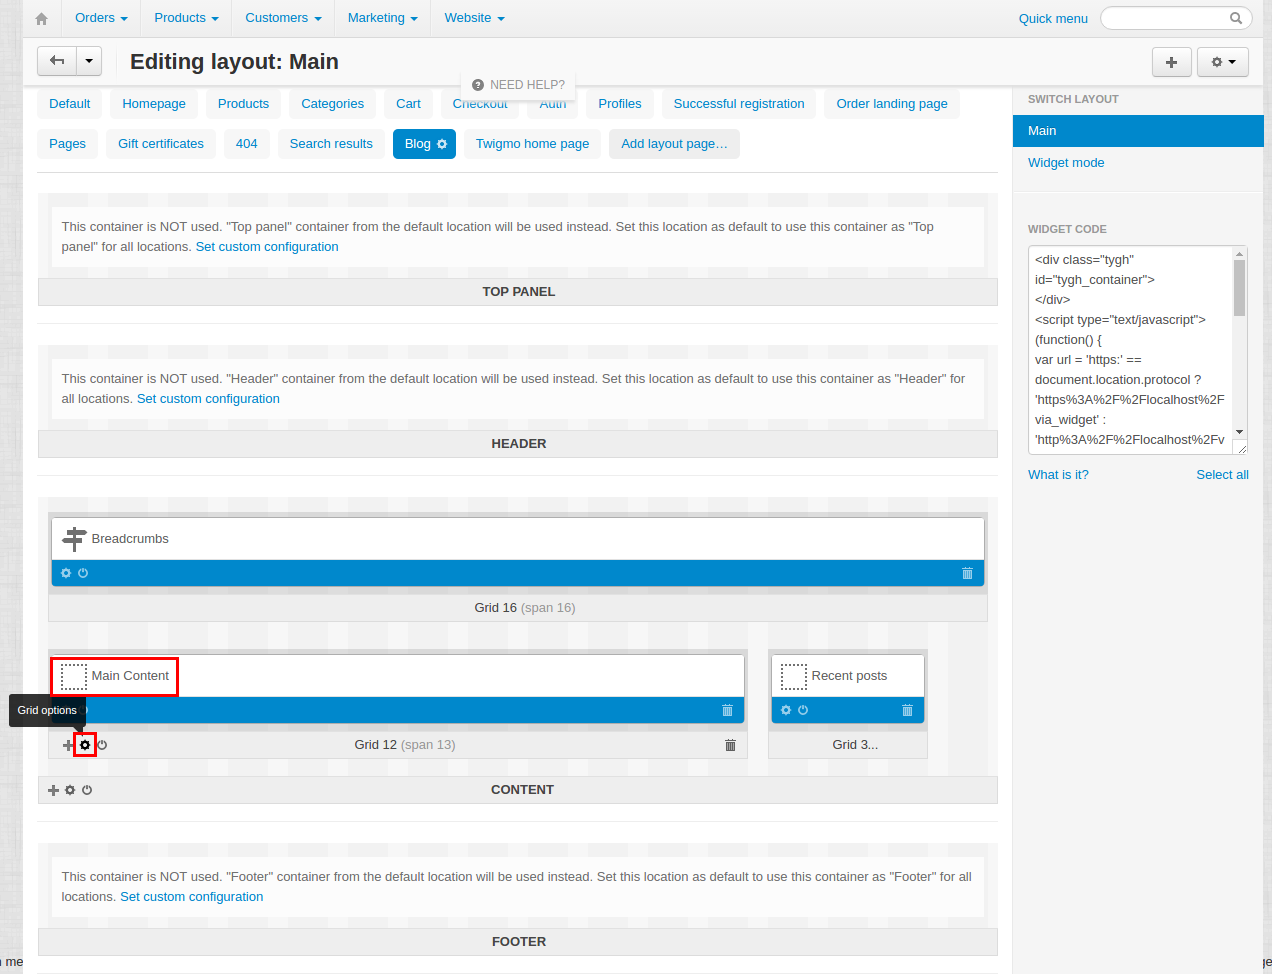
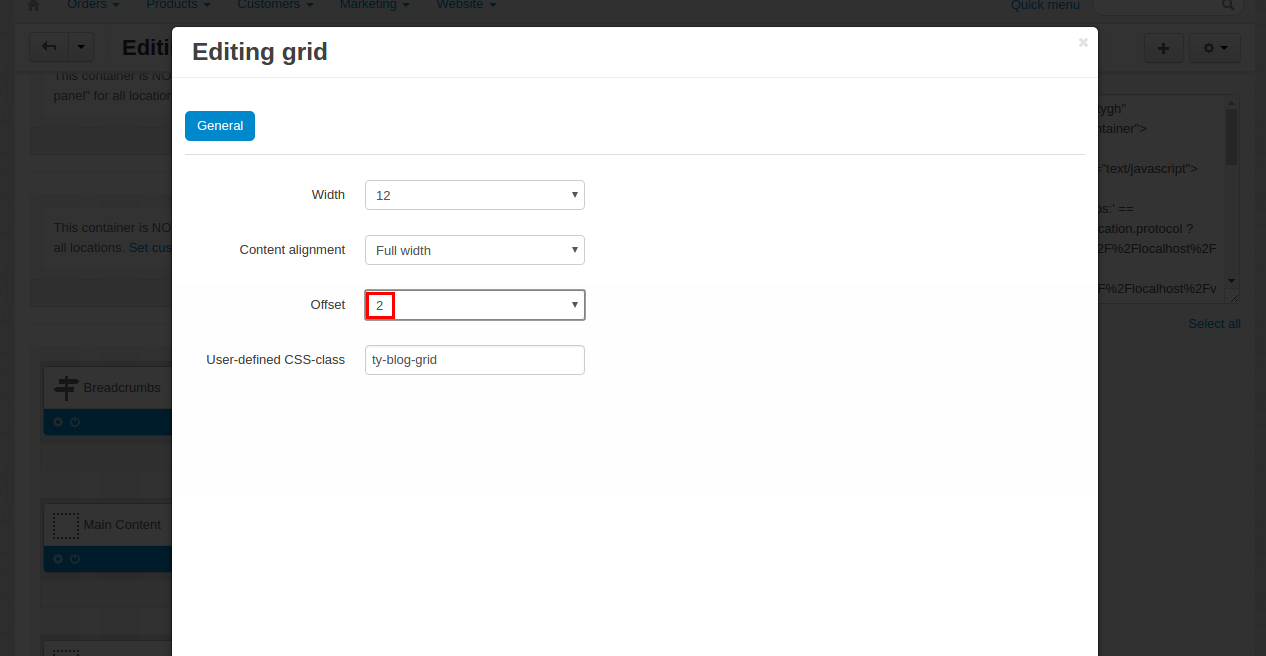
- In the opened pop-up window, set Width to 12 and Offset to 2 and click Save.

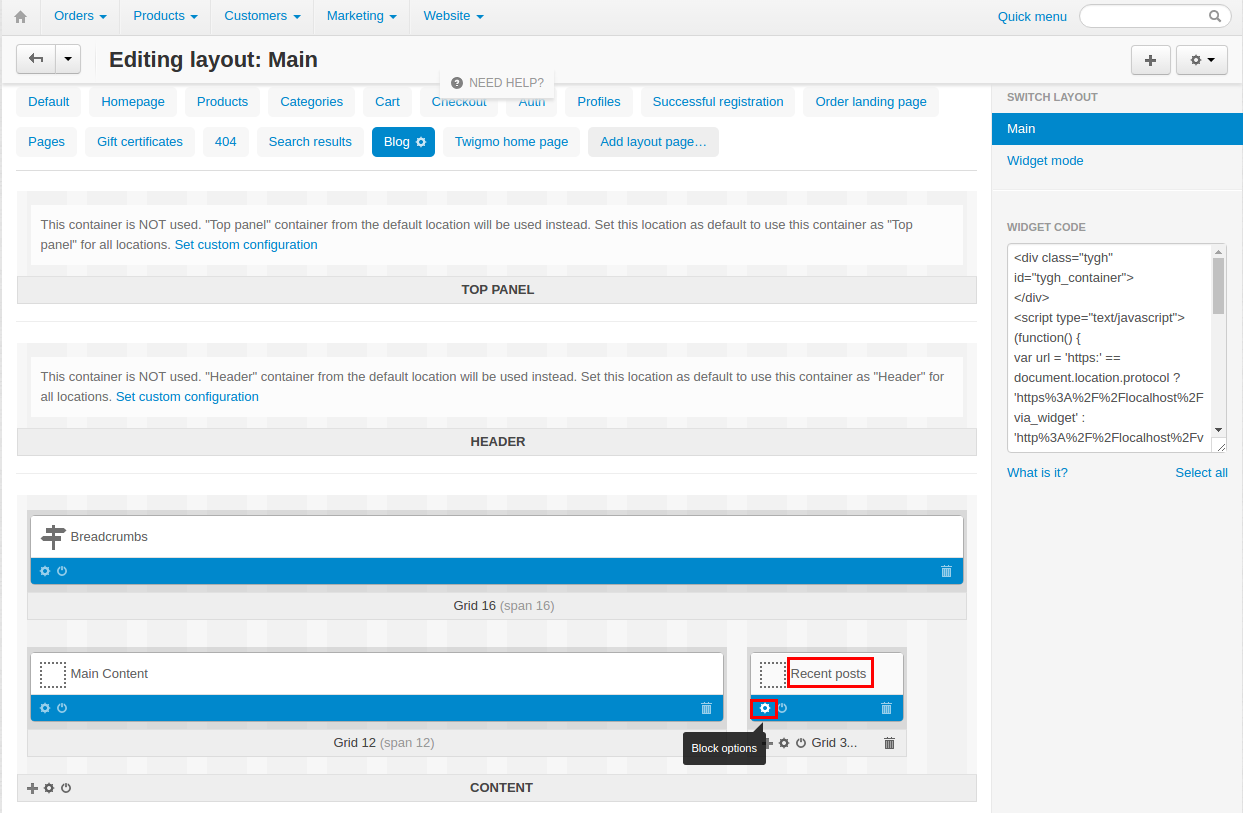
- In the Recent posts block next to the Main Content block click the gear button to open Block options.
- In the opened pop-up window, in the General tab, set Template to Blog:recent posts scroller and set Wrapper to Mainbox simple.

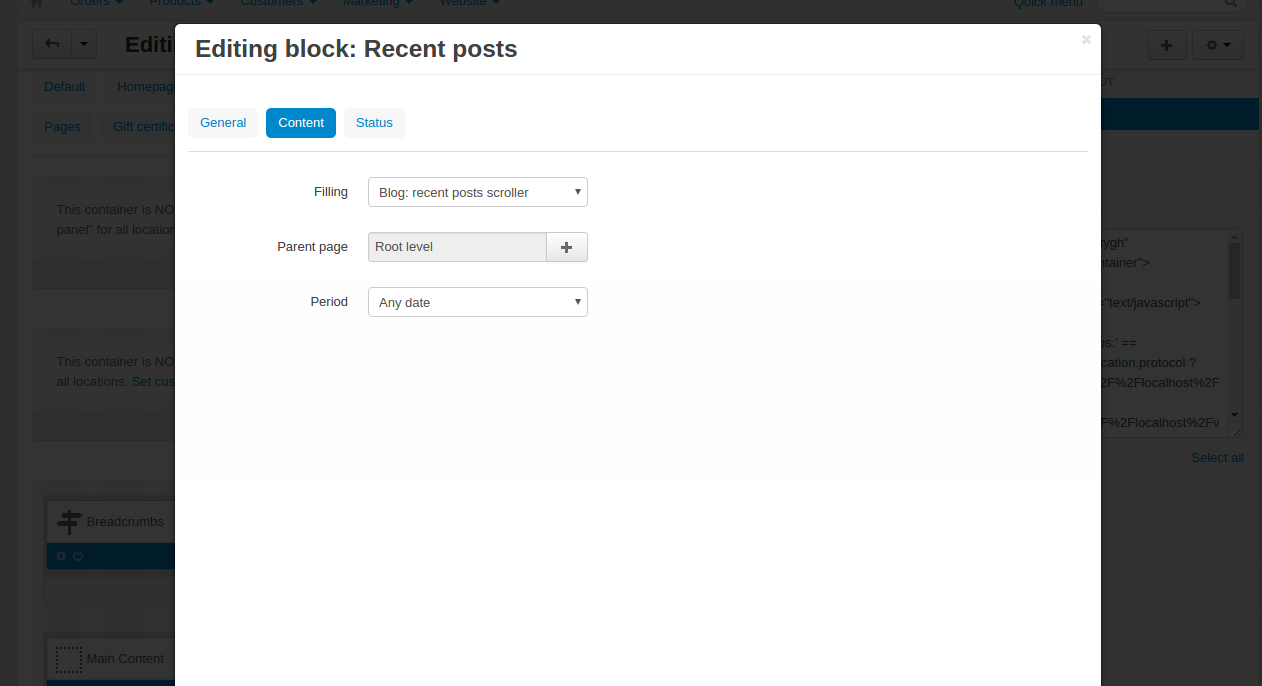
- In the same window, go to the Content tab and make sure you have the same values set as shown in the image below. Click Save.
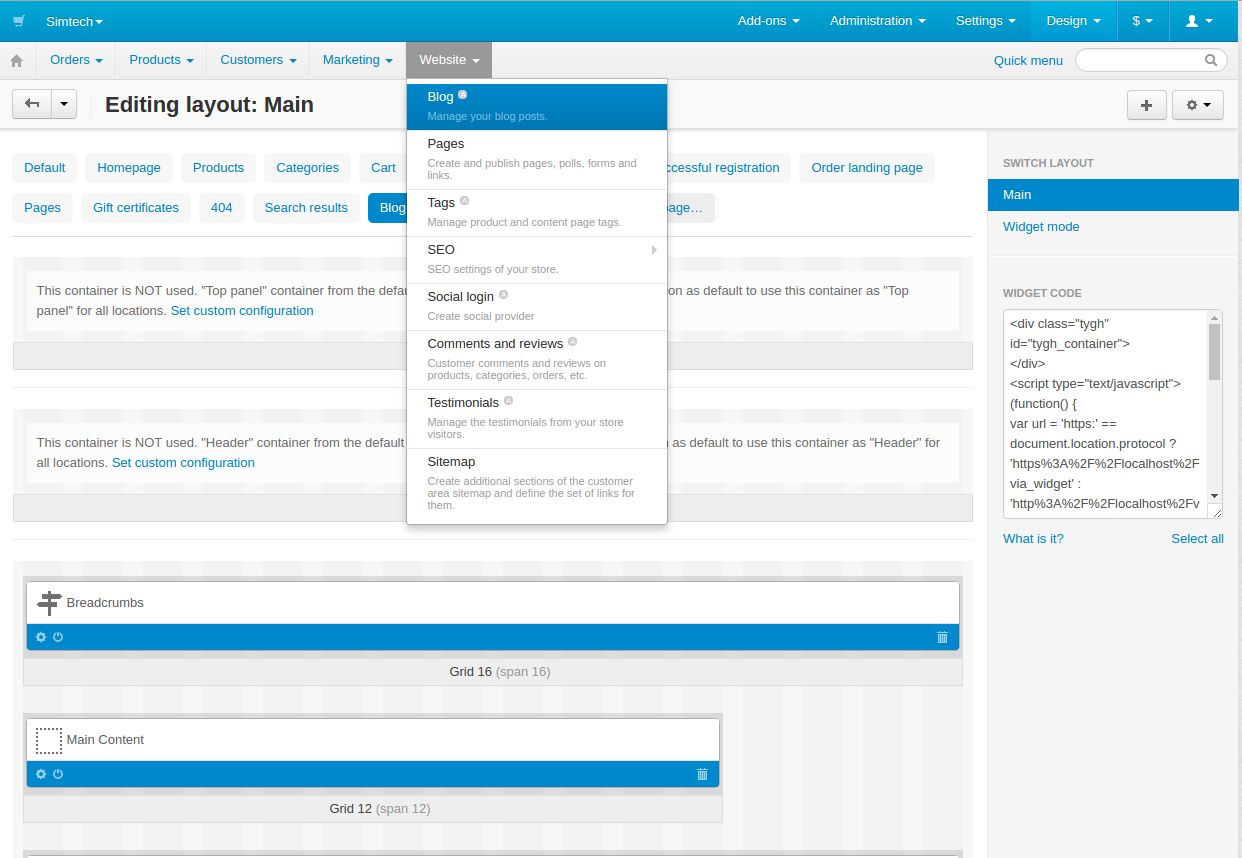
- Now go to Website - Blog.
- The Blog page contains all articles of your blog. You can edit them, add new ones (by clicking the + button in the top right corner). You can also set an article to Active to display it in the storefront. If you set it to Disabled, it will be hidden.
Click Blog.

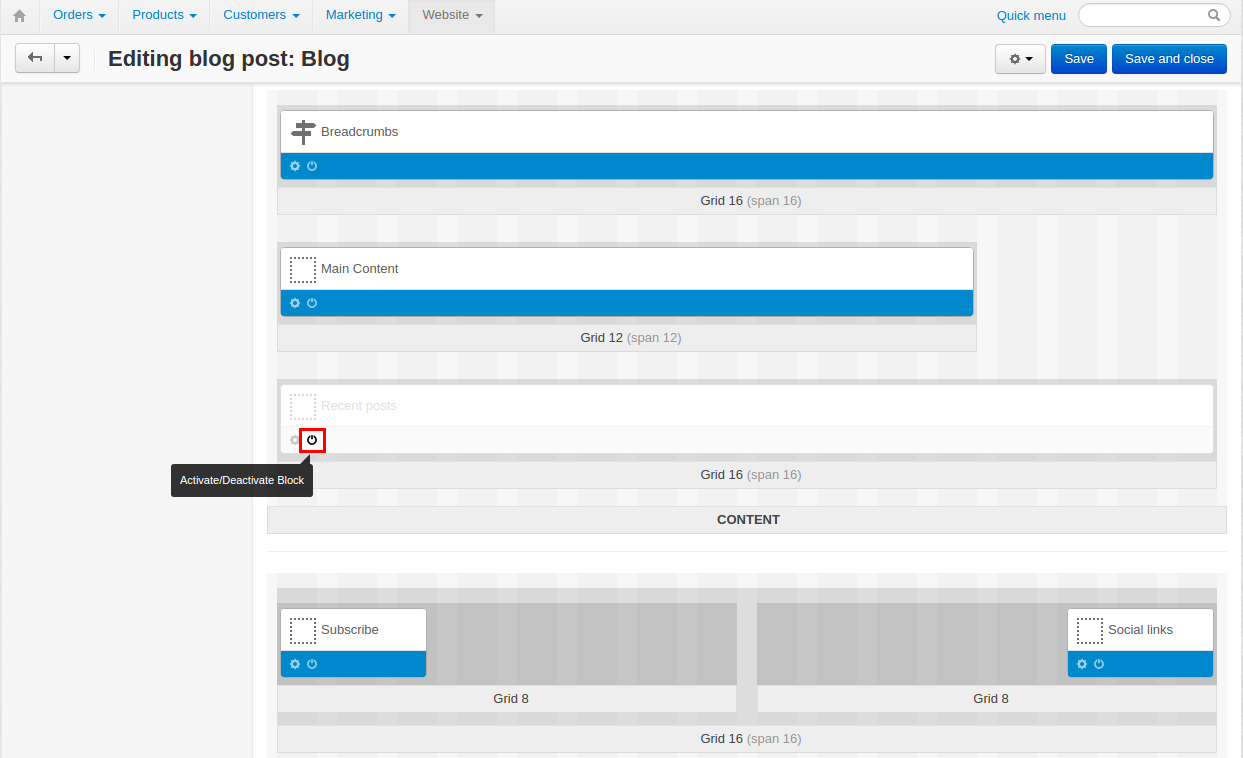
- Go to the Layouts tab and locate the Recent posts block and Deactivate it.
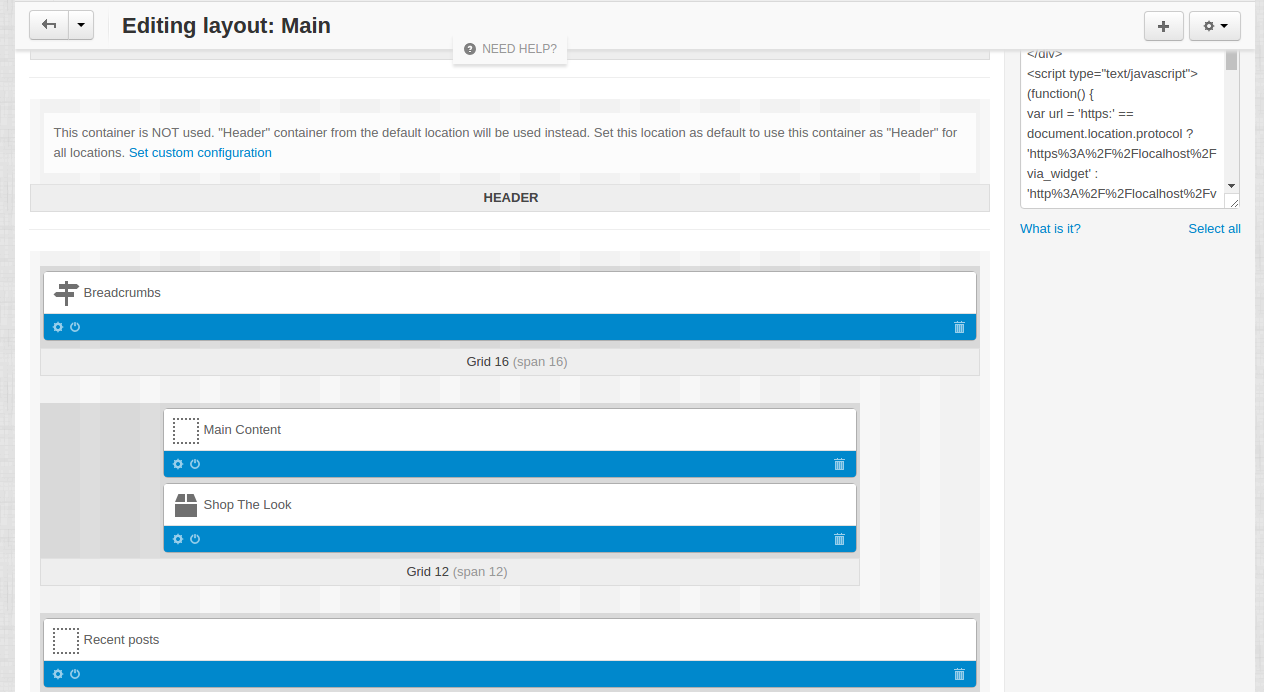
- Now go back to Design - Layouts, open the Blog tab. Locate the Main Content block.
- In the opened window, set Offset to 2.
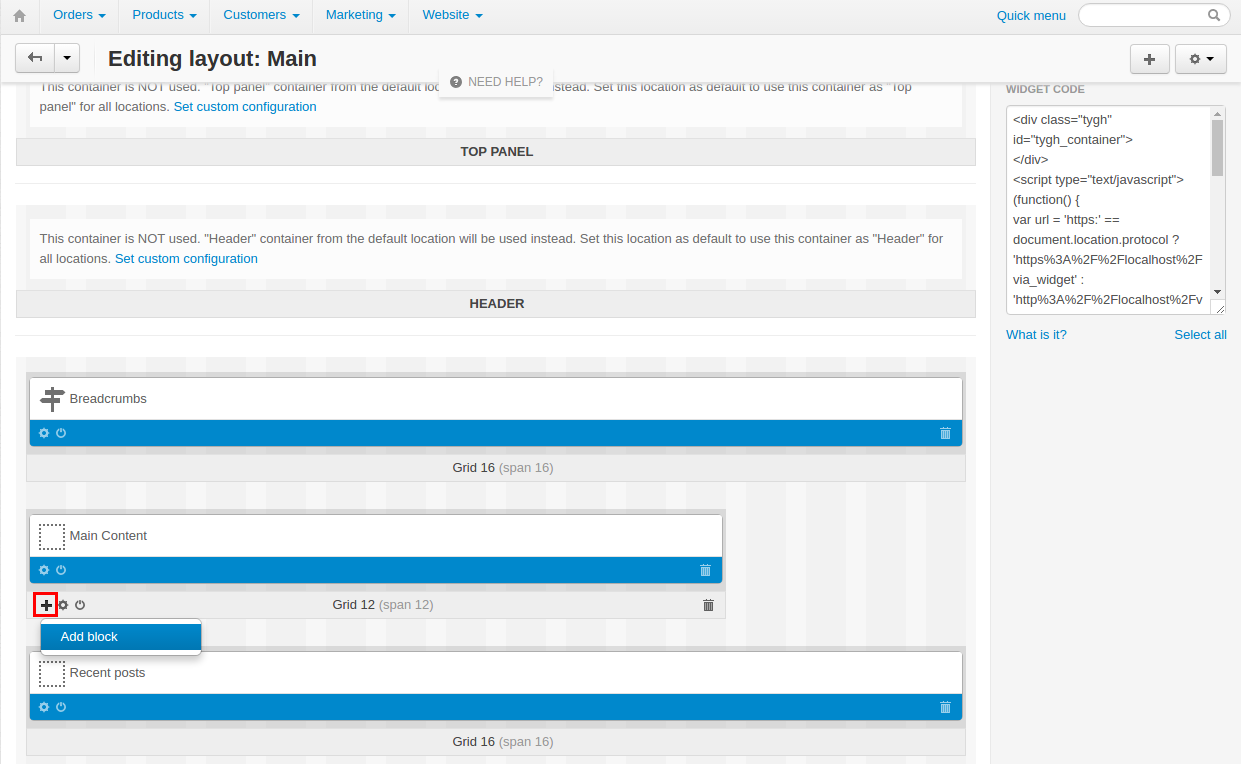
- In the Main Content block, click the + button to add a new block.
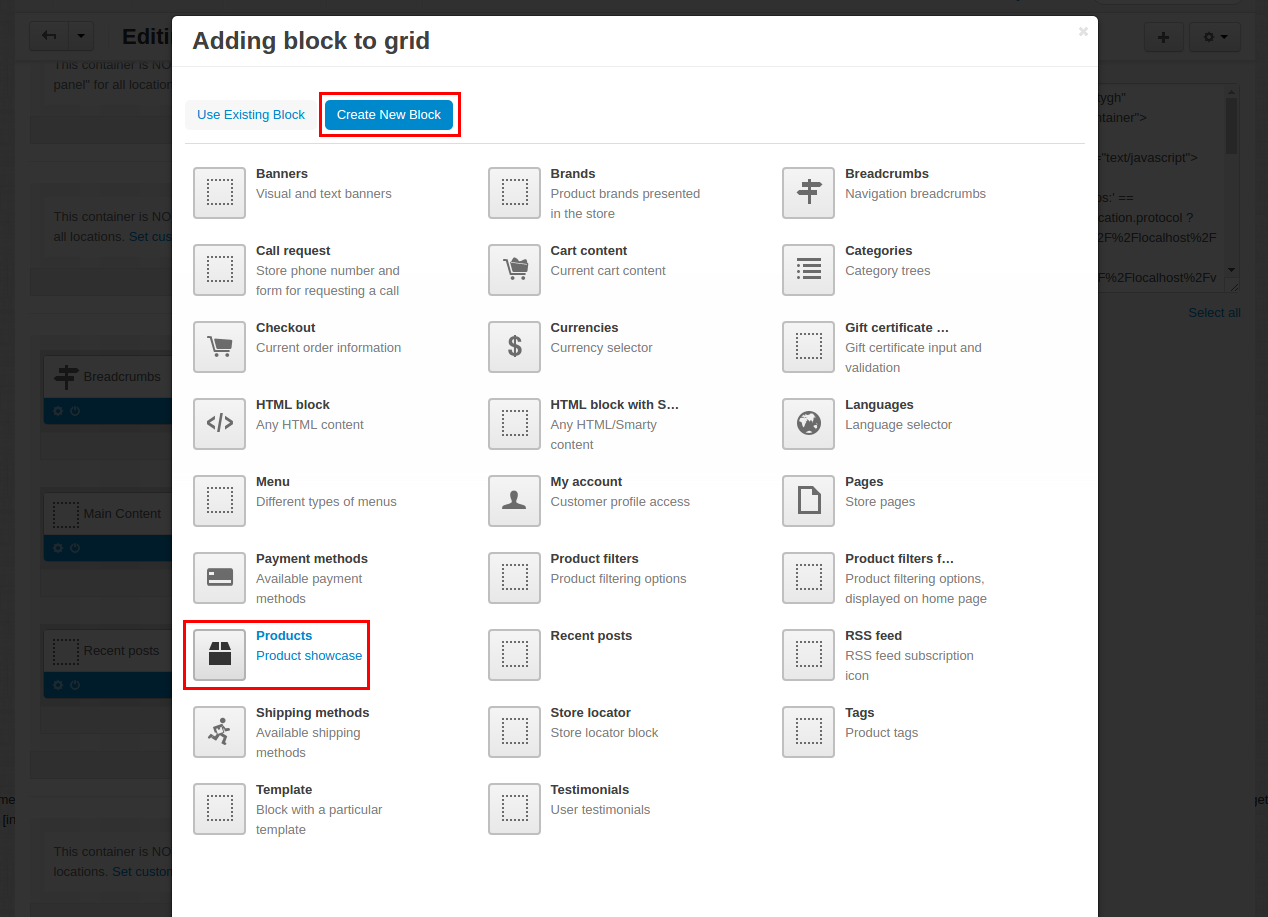
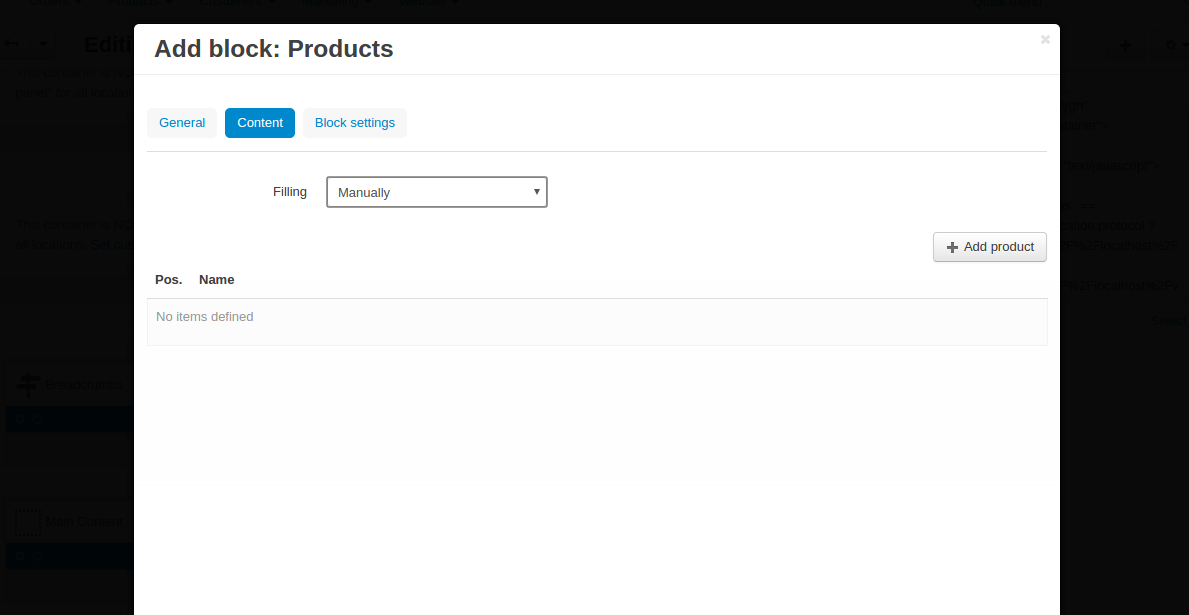
- Go to the Create new block tab and select Products.
- In the General tab, enter Shop The Look into the Name field and select Scroller in the Template selectbox.

- In the Content tab, select Manually in the Filling selectbox. You don’t need to add products at this step. Click Create.
- Make sure you have the Shop The Look block placed above the Recent posts block.
In order to add products to your blog posts, follow the following steps:
- In the admin panel, go to Website - Blog.
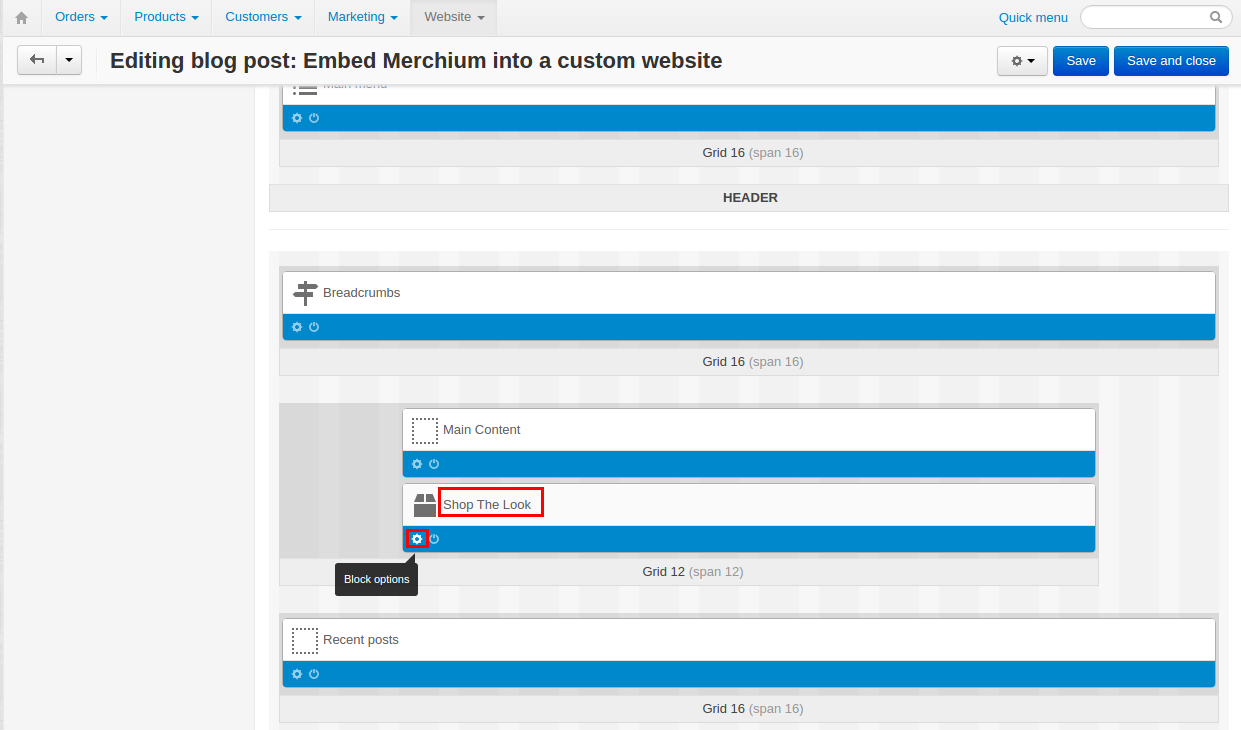
- Select the necessary article you want to add products to and click on it. On the opened page, go to the Layouts tab, locate the Shop The Look block and click the gear button to open Block options.
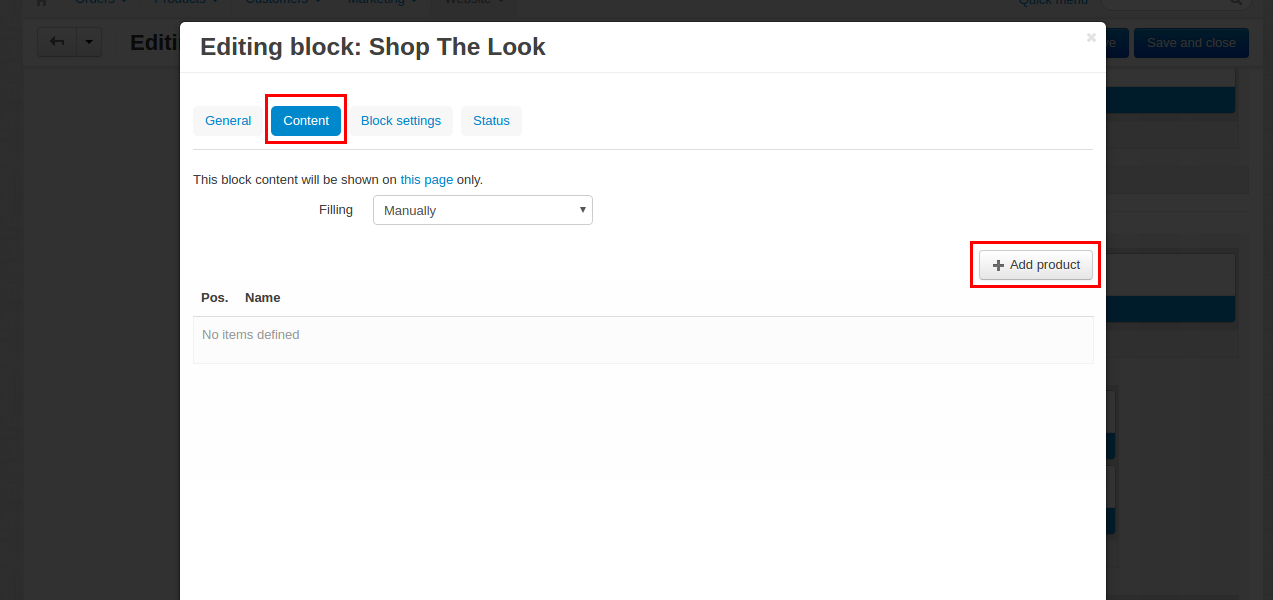
- Go to the Content tab and click + Add product. Select the products you want to add and click Add products.
Go to Our blog in the storefront to see all the changes.