
Authorize.Net CIM
Important
Authorize.Net CIM add-on IS NOT officially supported since 2020, January 22. If you’re interested in this modification, please contact sales or your manager.
Overview
The Authorize.Net CIM add-on provides one of the most advanced integrations for CS-Cart while providing the security and reliability that comes with using Authorize.Net for payment processing.
Let your customers save their credit cards and bank accounts in their profile for fast and easy checkout.

Save time and money with Authorize.Net CIM.
Features
- Accept payments via Authorize.Net CIM.
- Accept all major credit cards: Visa®, MasterCard®, American Express®, Discover®, Diner’s Club, JCB.
- Enjoy digital payment solutions: PayPal, Visa Checkout.
- Accept international transactions from customers worldwide.
- Prevent suspicious transactions with Advanced Fraud Detection Suite™.
- Provide a great customer experience.
- Benefit from reliable and secure payment processing solutions.
Find more features in the Accept Payments Online section.
Compatibility
The add-on is compatible with CS-Cart and Multi-Vendor 4.1.1 and above.
Don’t know what archive to download to install the add-on? Read here.
Support
The add-on is developed and published by Simtech Development Ltd., a CS-Cart developer. You are guaranteed the ability to buy quality add-ons to support future versions.
If you need help, please contact us via our help desk system.
Demo
You can try the Authorize.Net CIM payment gateway in our demo store.
Note
Every half an hour the demo store is reset to the default state.
Managing in the admin area
Installing the add-on
Install the Authorize.Net CIM add-on on the add-ons list page (Add-ons → Manage add-ons). Click the + button in the top right corner, select an archive and click Upload & install. You can now find the installed add-on in the list of installed add-ons, just make sure it is set to Active.

Setting up the add-on
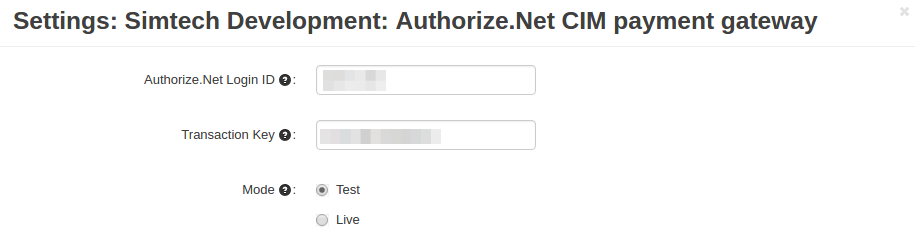
In the settings of the Authorize.Net CIM add-on you need to specify the Login ID and Transaction key from your Authorize.Net account.
Creating a payment method
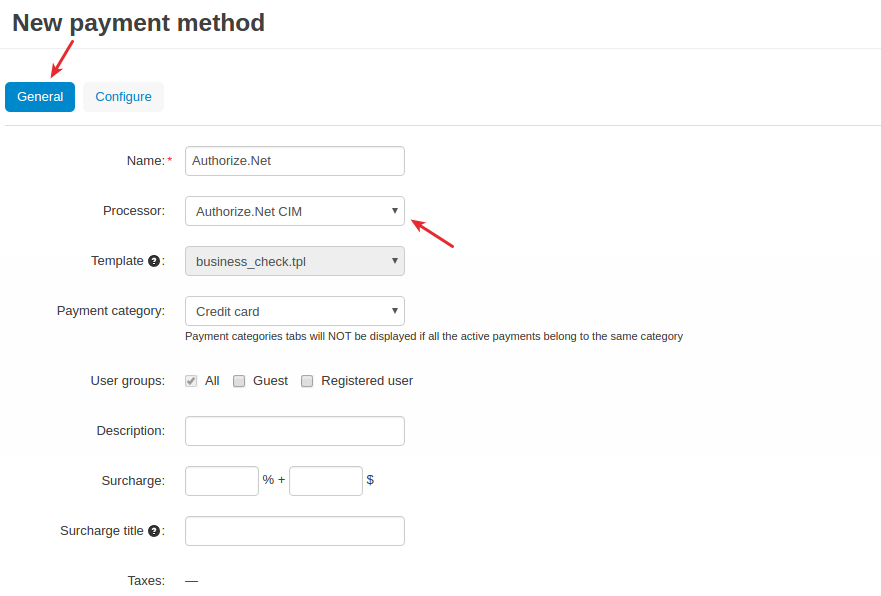
A payment method is created on the payment methods list page (Administration → Payment methods).
Use this button

to create a new payment method.
To use the Authorize.Net CIM payment gateway, it is necessary to select the appropriate value in the Processor field in the General tab.
Note
There are no available settings in the Configure tab since the Authorize.Net CIM payment method is configured via the add-on settings (see the Setting up the add-on section).
That’s it! The new payment method is now available to your users.
What the customer will see
Getting an Authorize.Net account
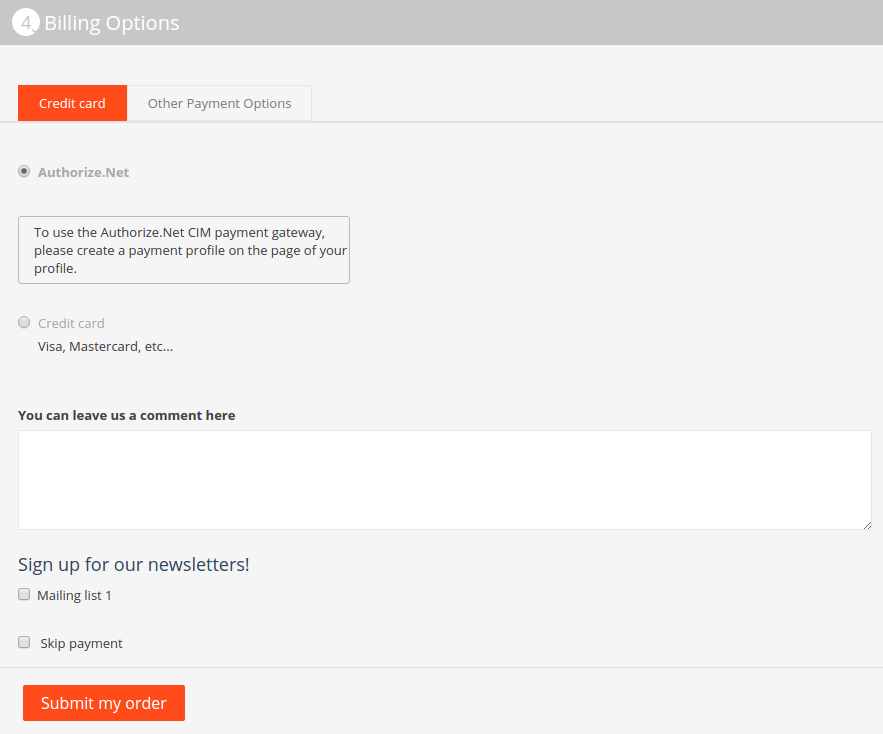
A customer should create an Authorize.Net account in the store before they can pay via this payment gateway. A corresponding note will be displayed at the Billing Options step:
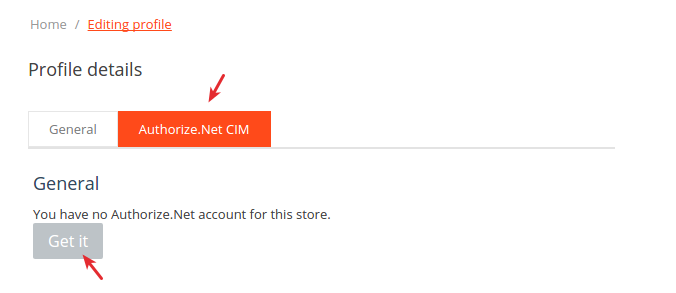
An Authorize.Net account is created under Profile details. The customer just needs to switch to the Authorize.Net tab and click the Get it button.
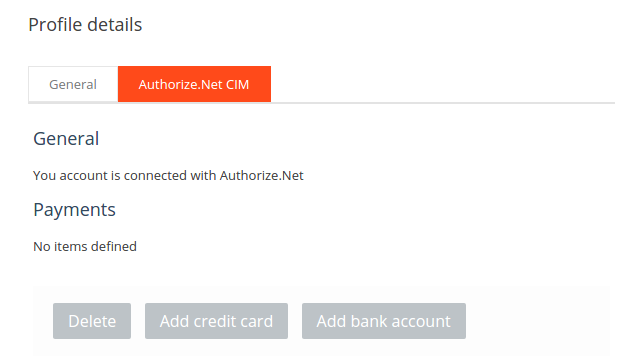
and then click Add credit card or Add bank account.
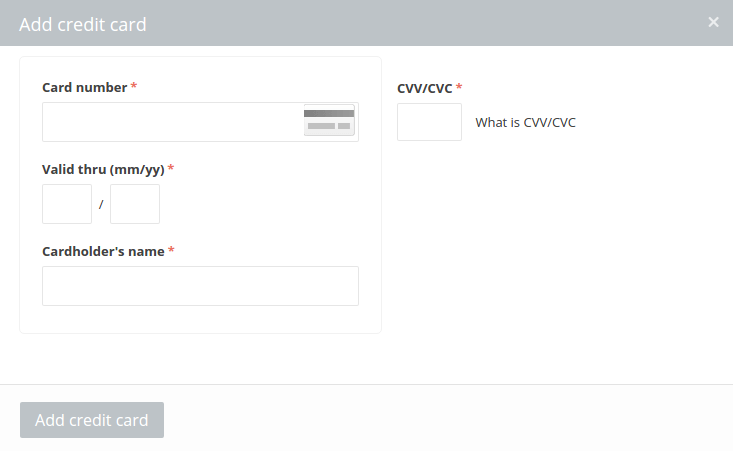
Here’s a quick look of the pop-up for adding a credit card:
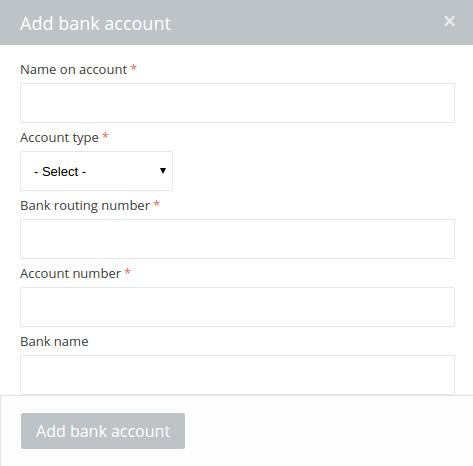
and for adding a bank account:
On this page, the customer can add/delete credit cards and bank accounts.
Note
For security reasons, a CS-Cart store does NOT store credit card information.
Checkout page
Once you’ve set up the Authorize.Net CIM payment gateway in the store, it will get available to your customers.
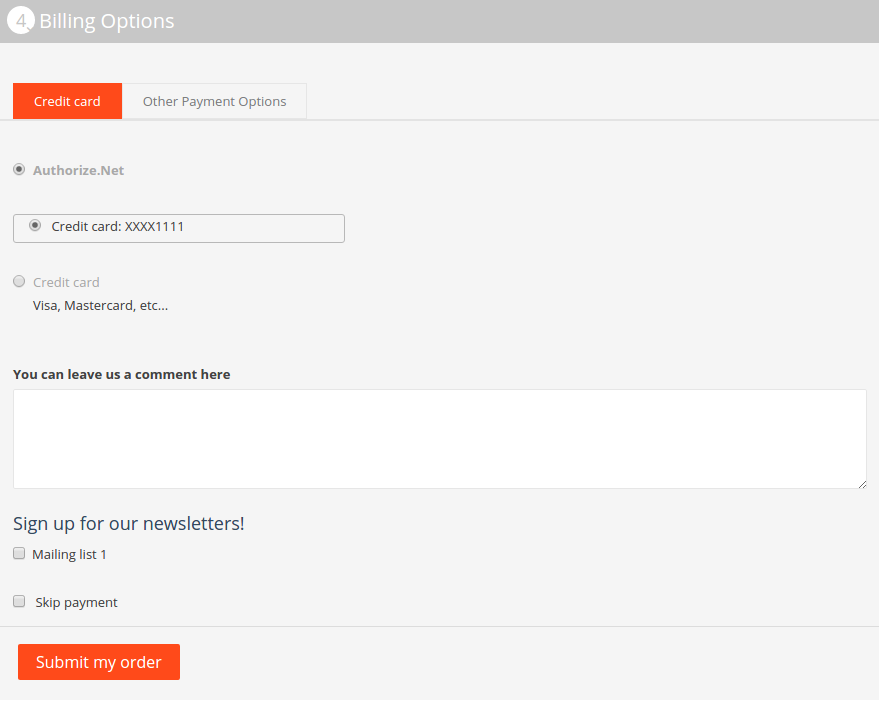
So the customer adds products to cart and proceeds to checkout. At the Billing Options step, they select the Authorize.Net CIM payment gateway.
If the customer has already created an Authorize.Net account in the store and added a credit card, they will be able to select it and quickly pay for the order.
If the customer has not created an Authorize.Net account, a corresponding note will be displayed:
To understand the basics of how credit cards work, see this diagram.