Braintree Marketplace
Important
Braintree Marketplace add-on IS NOT officially supported since 2021, February 5. You can purchase its source code. Note, the free support is not provided for the item. Also, Braintree service does not register new clients, so the add-on might be useful only for existing clients of the service.
Overview
The Braintree Marketplace add-on lets you accept payments via Braintree Marketplace in your CS-Cart store.
Braintree Marketplace is the part of the Braintree payments platform that enables you to split payments from customers between your marketplace and your sellers. When it is integrated with your Multi-Vendor marketplace it automatically calculates the admin’s commissions from the sales proceedings and splits the revenue between the admin and vendors instantly.
It enables you to build a custom checkout experience on Multi-Vendor.
Note
The add-on currently supports the USD currency only.
To learn the basics of payments and how to use Braintree features, you may want to have a look at Braintree Articles.
Compatibility
The add-on is compatible with Multi-Vendor 4.3.7 and above.
Don’t know what archive to download to install the add-on? Read here.
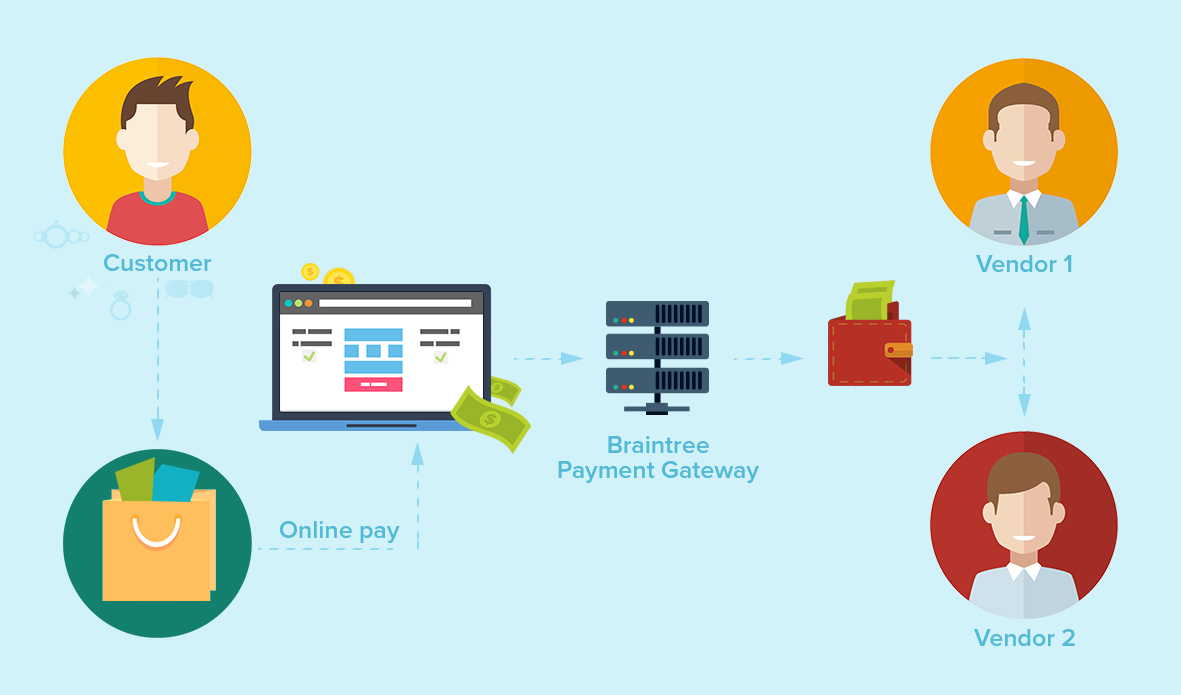
How it works
When a customer pays for an order that consists of products from different vendors in one cart, Braintree Marketplace automatically splits the payment between the vendors, leaving the commission on the account of the store owner.

After the payment is made, the money is transferred to the account of the store owner, and then Braintree divides it between the vendors. The add-on automatically calculates the amount of money that should be transferred to the vendors for their products in the order.
You no longer have to worry about how the money is divided between your vendors; Multi-Vendor and Braintree Marketplace will do it for you.
Features
- Allow your buyers to pay via Braintree Marketplace
- Accept main credit cards worldwide: Visa, MasterCard, American Express, Discover, JCB and others
- Automatically split payments between vendors and admin
- Make payment transactions secure and quick
Support
This add-on is developed and published by Simtech Development Ltd., a CS-Cart developer. You are guaranteed a quality add-on supported by the future versions. If you need help, please contact us via our help desk system.
Demo
You can try the Braintree Marketplace payment gateway in our demo store.
Start selling with Braintree
In this section, you can find details of creating Braintree accounts. You will also learn how to get Merchant ID, Merchant Account ID, Public Key, and Private Key required to create the “Braintree Marketplace” payment method.
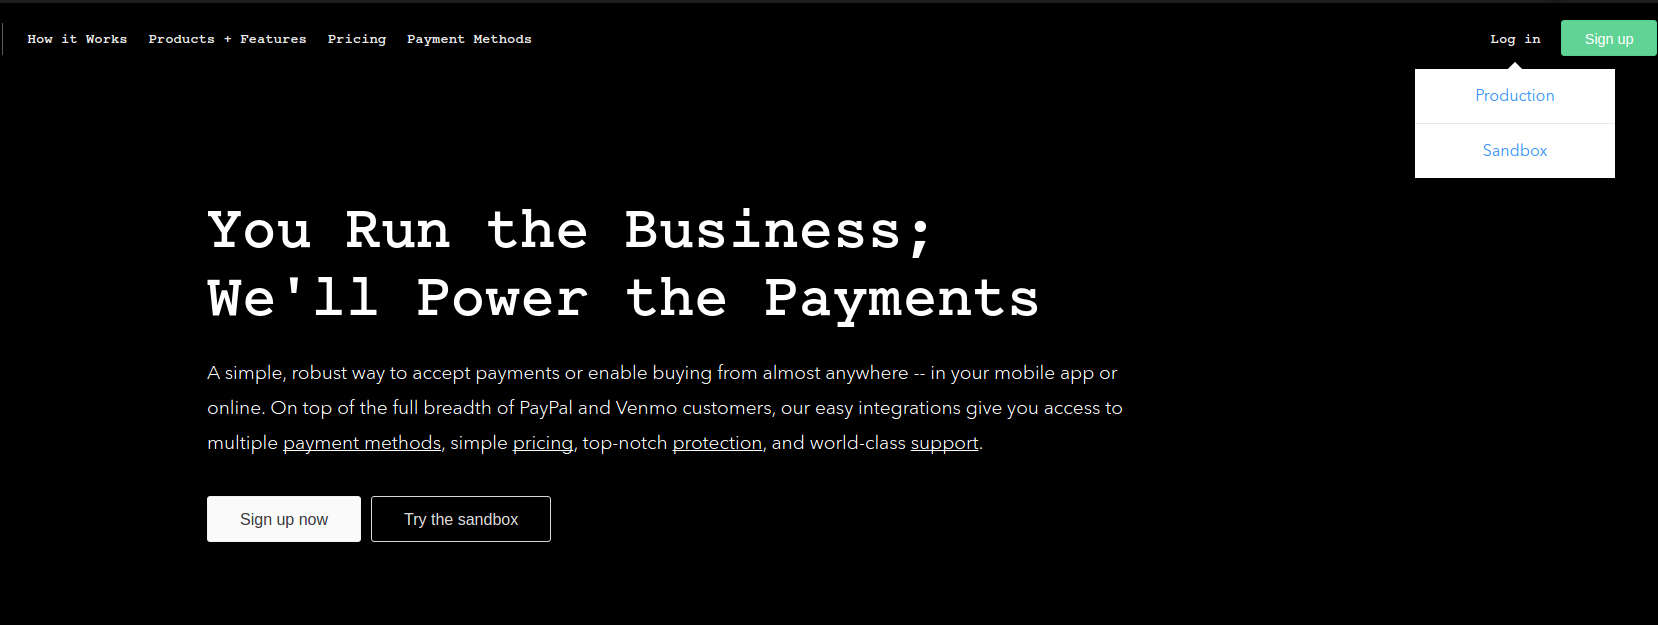
So, we are on the home page of Braintree. Log in to your Braintree account or create a new one.
Getting Merchant ID, Public Key, and Private Key
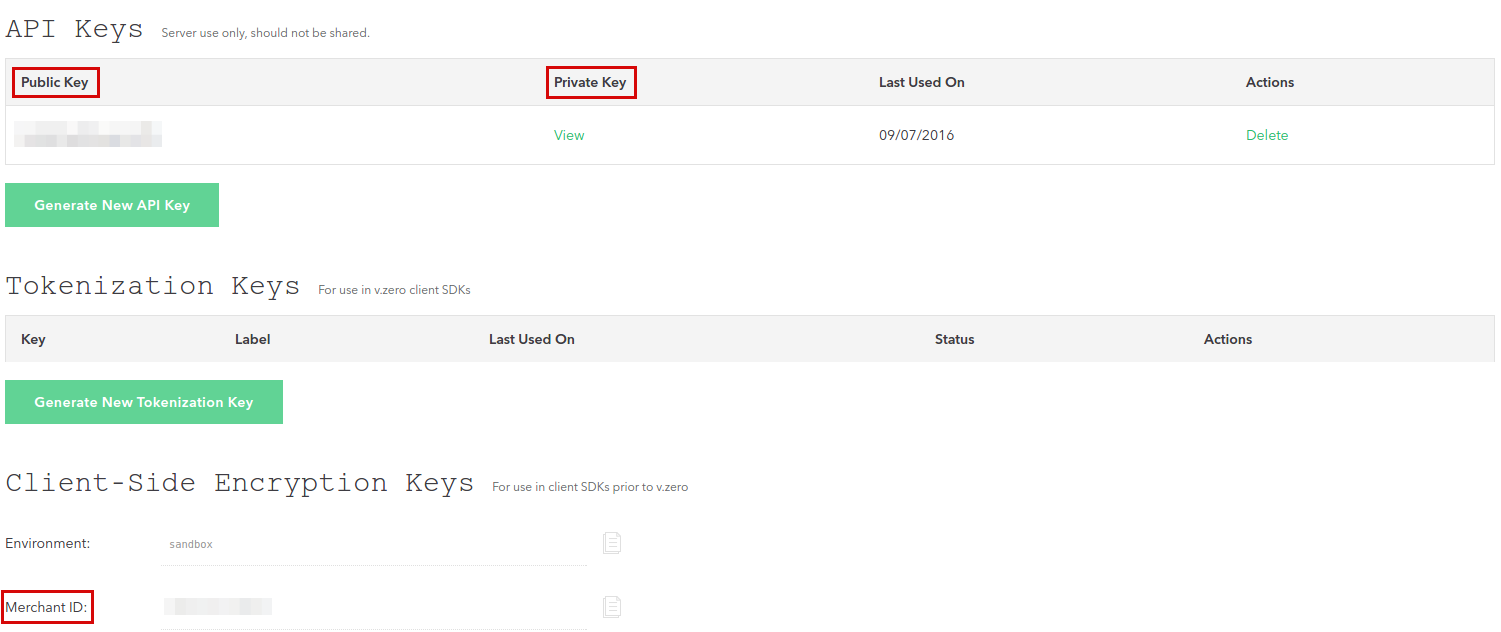
To get Merchant ID, Public Key, and Private Key, navigate to Account - My User in your Braintree account and click the View Authorizations button.
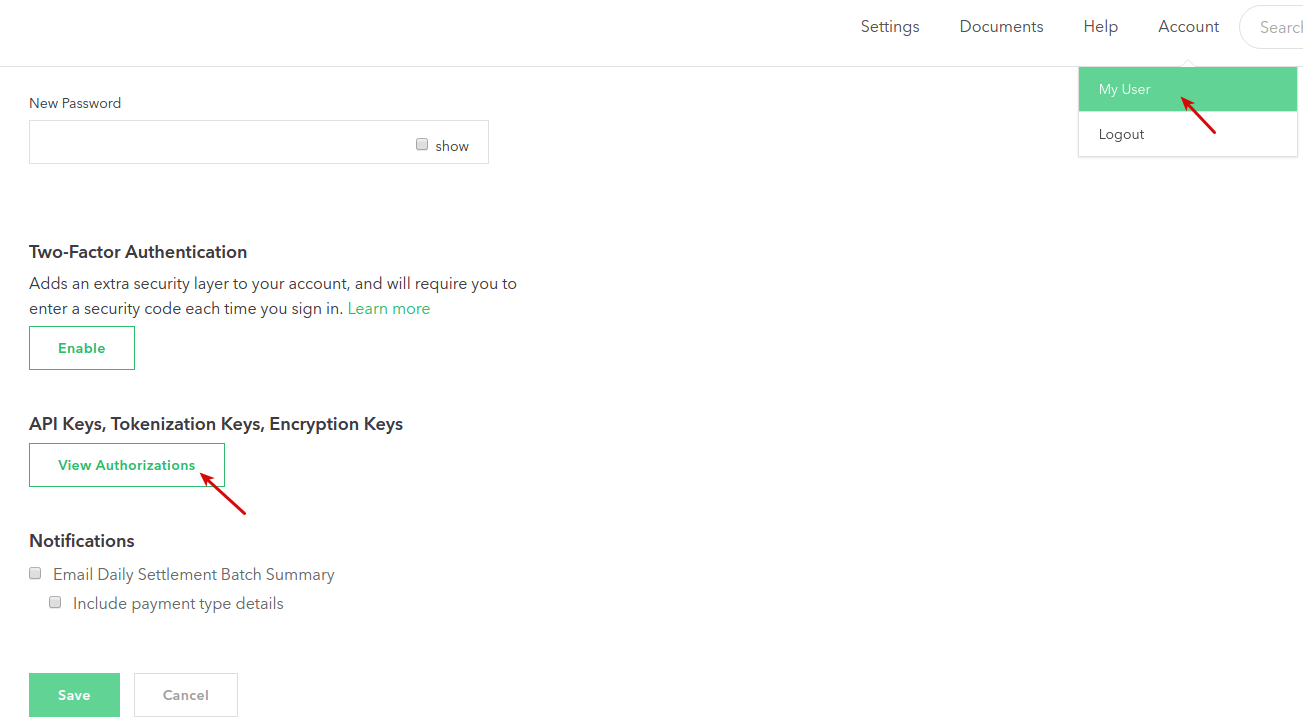
On the opened page, you can find the necessary data:
Getting Merchant Account ID
To get Merchant Account ID, go to Settings - Processing.

Configuring a webhook
A webhook is an automated notification that is sent when an important event occurs in your gateaway. The information the webhook contains will help you update your system. Thus, your Braintree account and sub-merchant accounts of your vendors will get updated automatically once you configure a webhook.
To learn more about webhooks, have a look at Braintree Documentation.
To configure a webhook, you need to do the following:
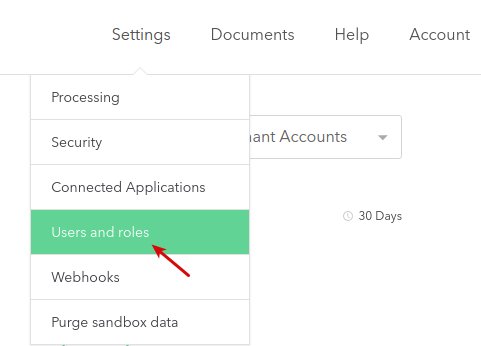
Under Settings navigate to Users and roles.
Go to the Manage roles tab.
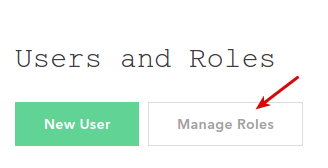
Click New.

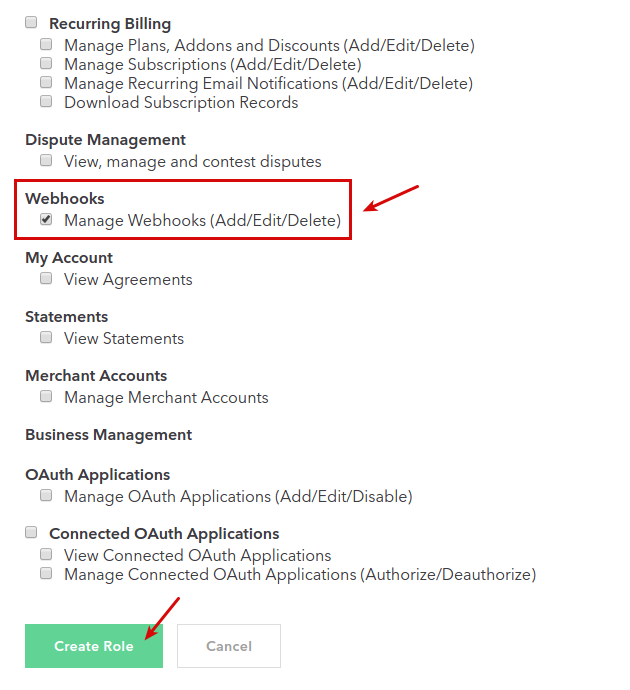
Navigate to the Webhooks section and select the Manage Webhooks checkbox. Click Create role.
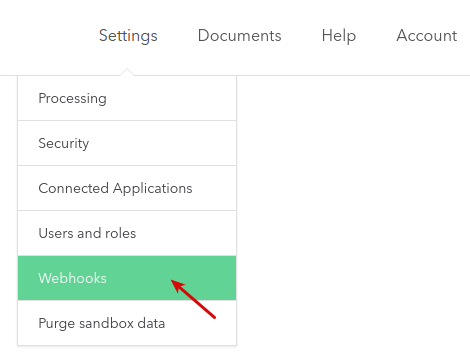
Under Settings navigate to Webhooks.
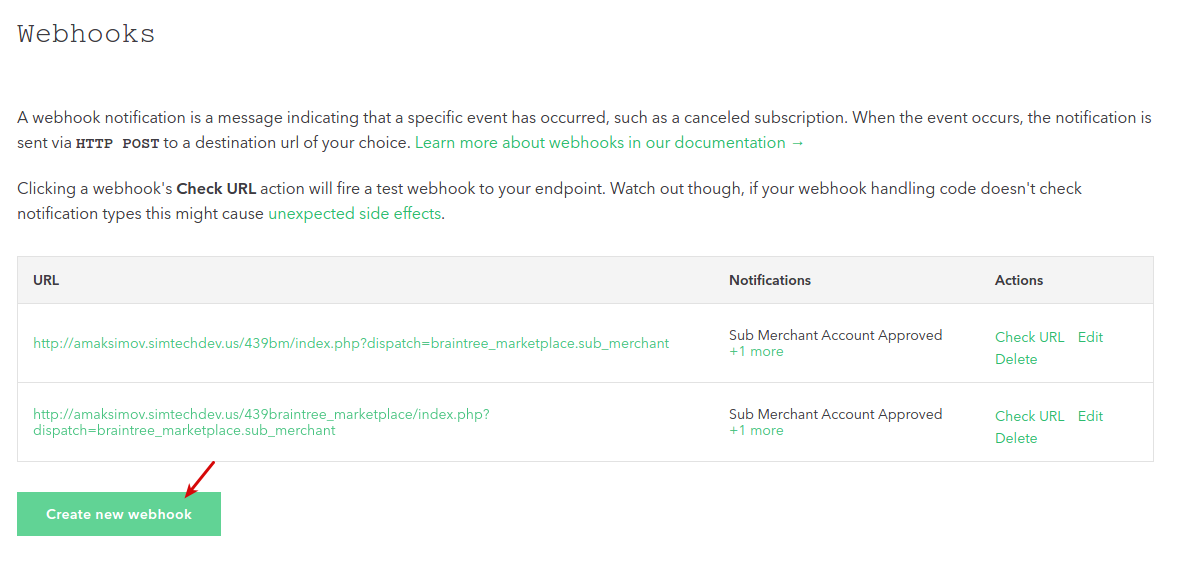
Click Create new webhook.
In the Destination URL field, enter the following URL:
[HTTP or HTTPS]://YOURESTORE/index.php?dispatch=braintree_marketplace.sub_merchant
where you need to select the protocol of your store (HTTP or HTTPS) and replace ‘YOURESTORE’ with the URL of your store.
For example: https://yourwebsite.com/index.php?dispatch=braintree_marketplace.sub_merchant
In the Marketplace section, select the two checkboxes as shown in the screenshot:
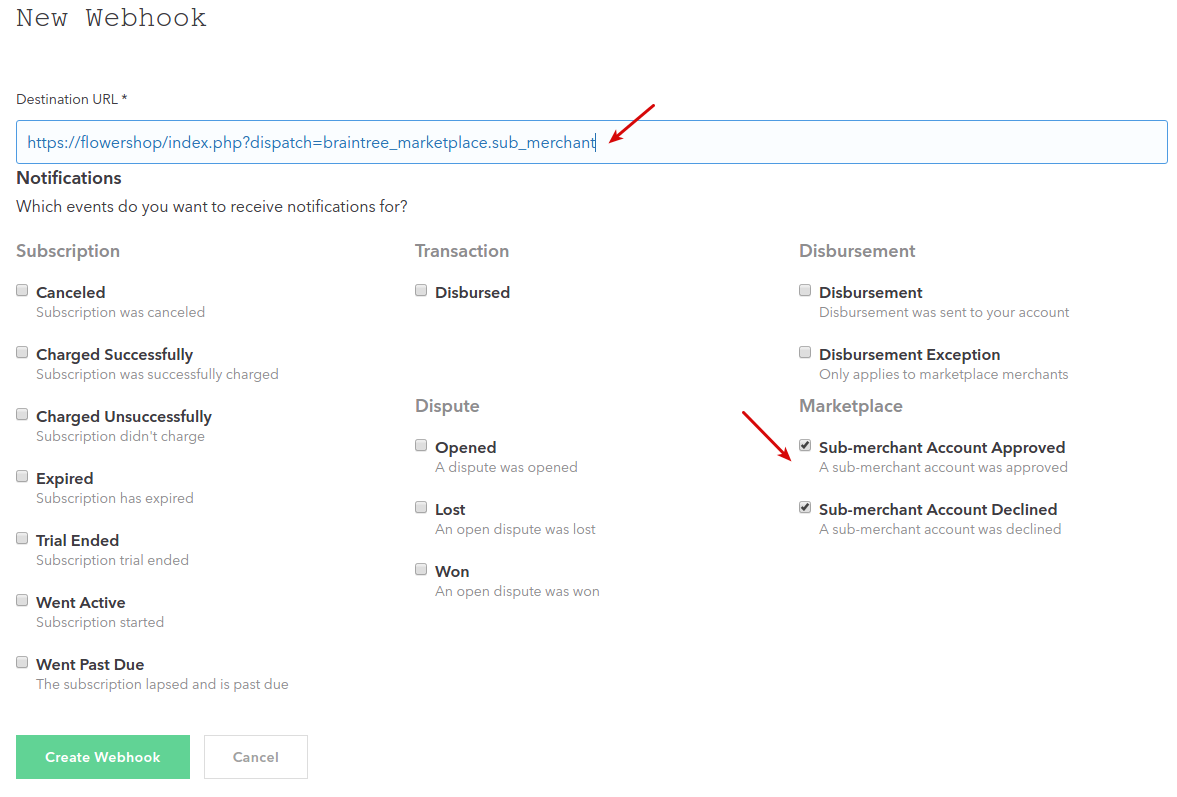
Click Create Webhook.
Done!
Escrow feature
What is escrow?
Escrow is a special feature of Braintree Marketplace that enables you to withhold your vendor’s disbursements and release them at a later date. This can help decrease financial risks in situations when a vendor fails to deliver a service or product. For example, if a flight you’ve bought a ticket for is canceled, holding funds in escrow guarantees that there will be money available to cover refunds.
How to use it?
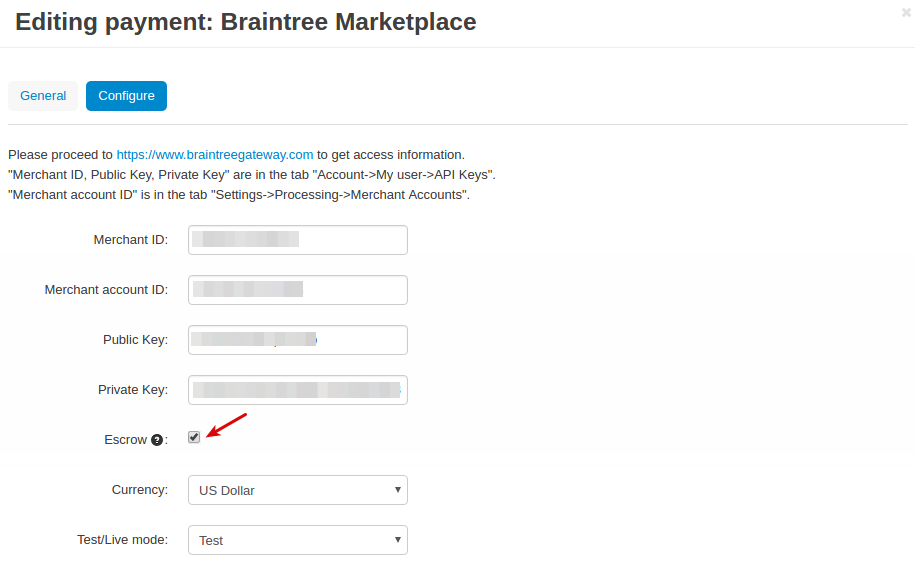
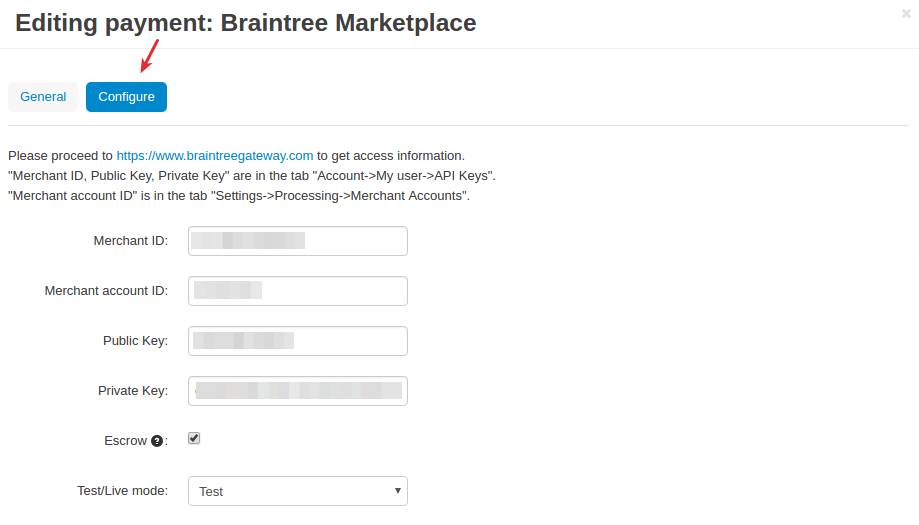
To enable the escrow feature, in the settings of the Braintree Marketplace payment method, open the Configure tab and select the Escrow checkbox.
Now that you enabled this feature, all the money paid by the customers will be held in escrow. Keep in mind that you are required to hold and release entire transactions, including any service fees. If you need to divide transactions into parts, you will need to create separate transactions.
Note
Braintree recommends not to hold funds in escrow for longer than 30 days.
Once the order is paid, it will have the Hold Pending status.
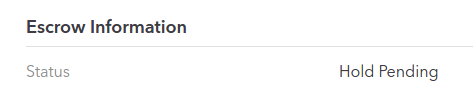
You can check this in the transaction details of the order in the Transactions section in your Braintree account.

After some time the status will be changed to Held, and the funds can now be released from escrow.

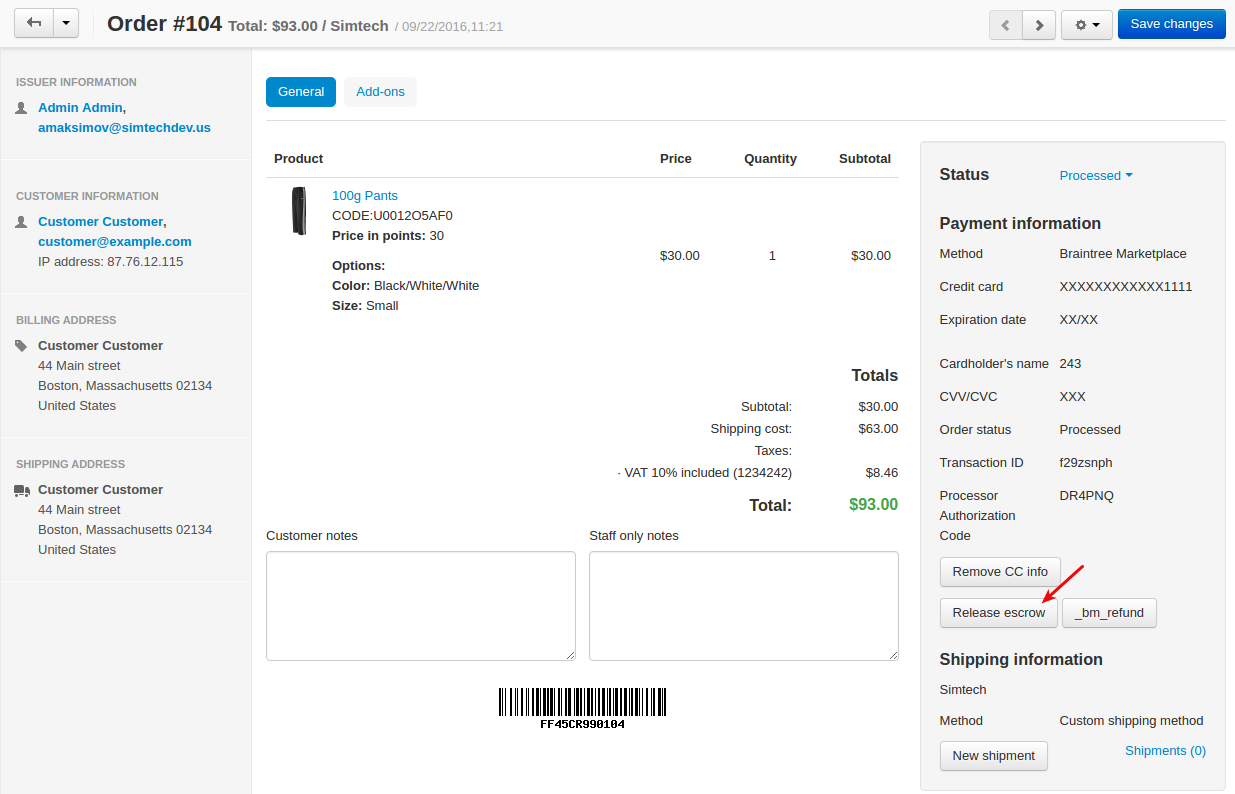
Funds can be released from escrow in two ways:
- Via admin panel
The root admin can click Release escrow on the order page in the admin panel.
- Via customer area
The customer can click Confirm delivery on the order details page.

Once the funds are released from escrow, the status will be set to Released.
Managing in the admin area
Installing the add-on
Install the “Braintree Marketplace” add-on on the add-ons list page (“Add-ons” → ”Manage add-ons”). Click the + button in the top right corner, select an archive and click Upload & install. You can now find the installed add-on in the list of installed add-ons, just make sure it is set to Active.
Creating a payment method
A payment method is created on the payment methods list page (“Administration” → “Payment methods”).
Please use this button

to create a new payment method.
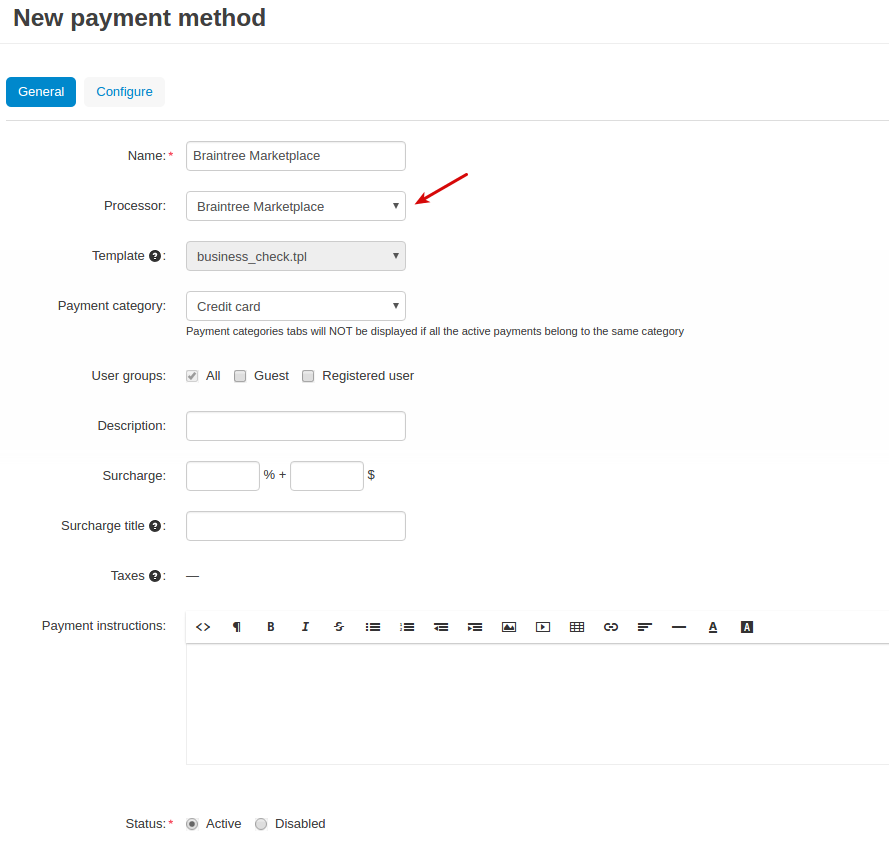
To use the “Braintree Marketplace” payment gateway, it is necessary to select the appropriate value in the “Processor” field in the “General” tab.
In the Configure tab, the store administrator should enter the data of their payment account: Merchant ID, Merchant account ID, Public Key, and Private Key. To get these credentials, have a look at the Getting Merchant ID, Public Key, and Private Key and Getting Merchant Account ID sections.
- Escrow—An option that allows you to hold funds through Braintree banking partner until you decide to disburse them; at disbursement, you will receive the designated service fee and your sub-merchant will receive their portion of the payment.
Creating sub-merchant accounts for vendors
Once you’ve created the Braintree Marketplace payment method, you need to create a sub-merchant account for each vendor in your store. If vendors have access to this functionality, they can do this by themselves.
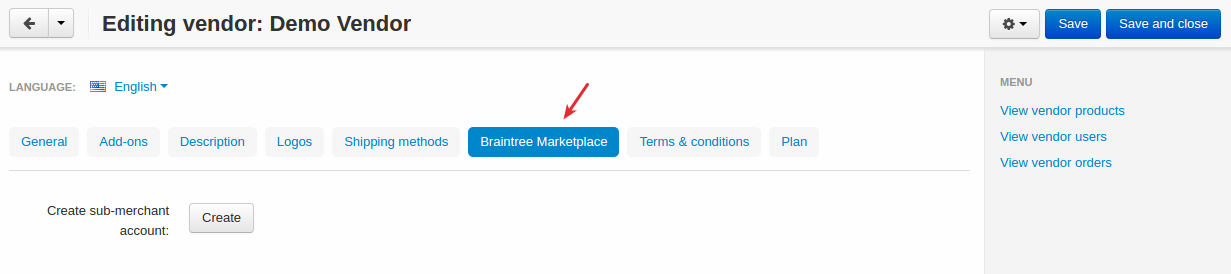
In the admin panel, go to Vendors - Vendors and select the necessary vendor.

Go to the Braintree Marketplace tab and click Create.
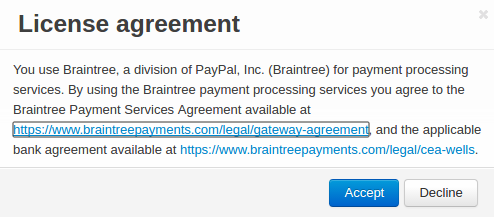
You will first need to accept the Services Agreement and the applicable bank agreement in the pop-up.
Note
If the Braintree payment method has not been created and API data has not been specified, the tab will not appear on this page.
Then enter individual parameters, business and funding information of the vendor in all the three tabs:

Click Create.
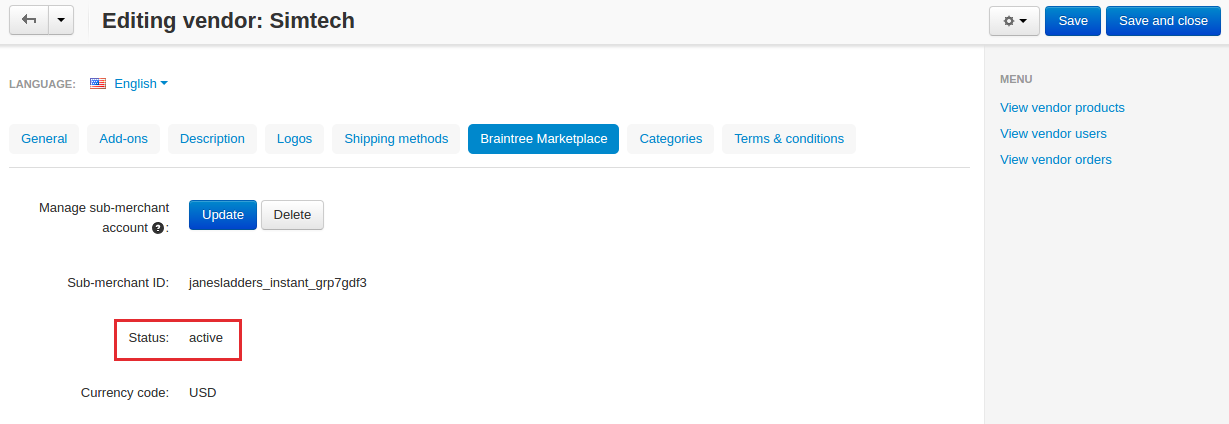
Once the sub-merchant account has been created successfully, the sub-merchant ID and account status will appear in the Braintree Marketplace tab. First, the status will be Pending and after a while it will change to Active.
You can also update or delete the sub-merchant account by clicking the corresponding buttons:
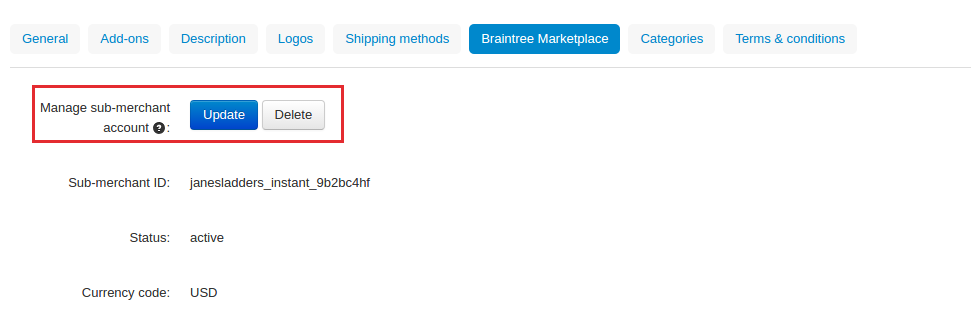
Note
If you delete the sub-merchant account and then a customer requests a refund or escrow, the money will be returned to the deleted account.
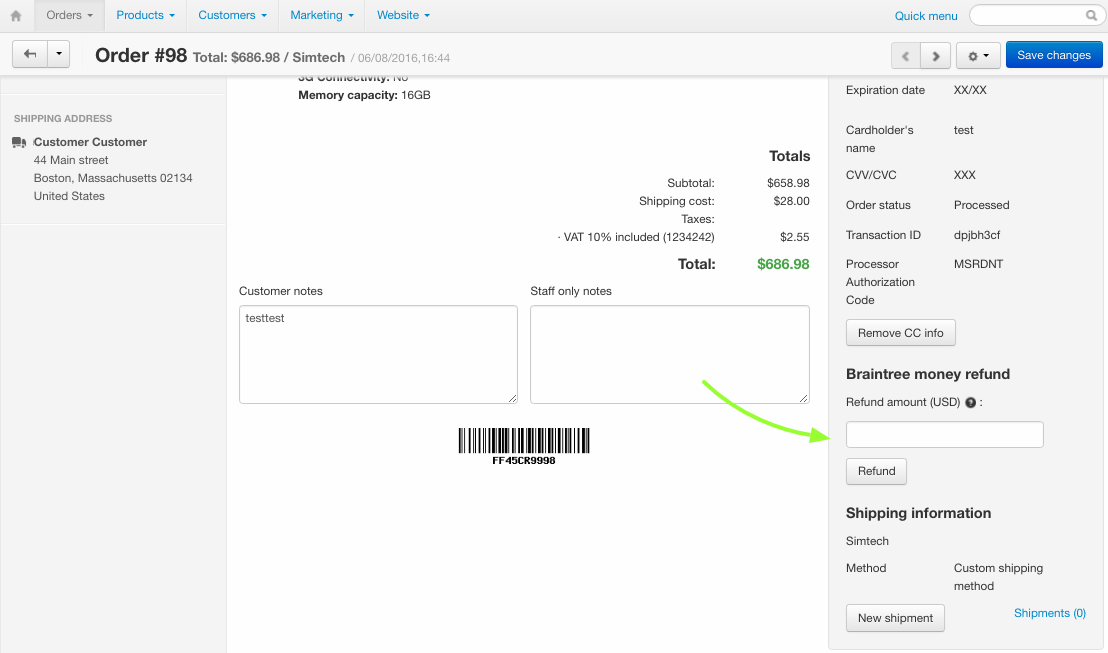
Processing refunds
The Braintree add-on lets you issue refunds right from the admin panel.
To do this, go to Orders > View orders and open an order you want to issue a refund for.
In the Refund amount field, enter the amount you want to refund and click Refund.
What the customer will see
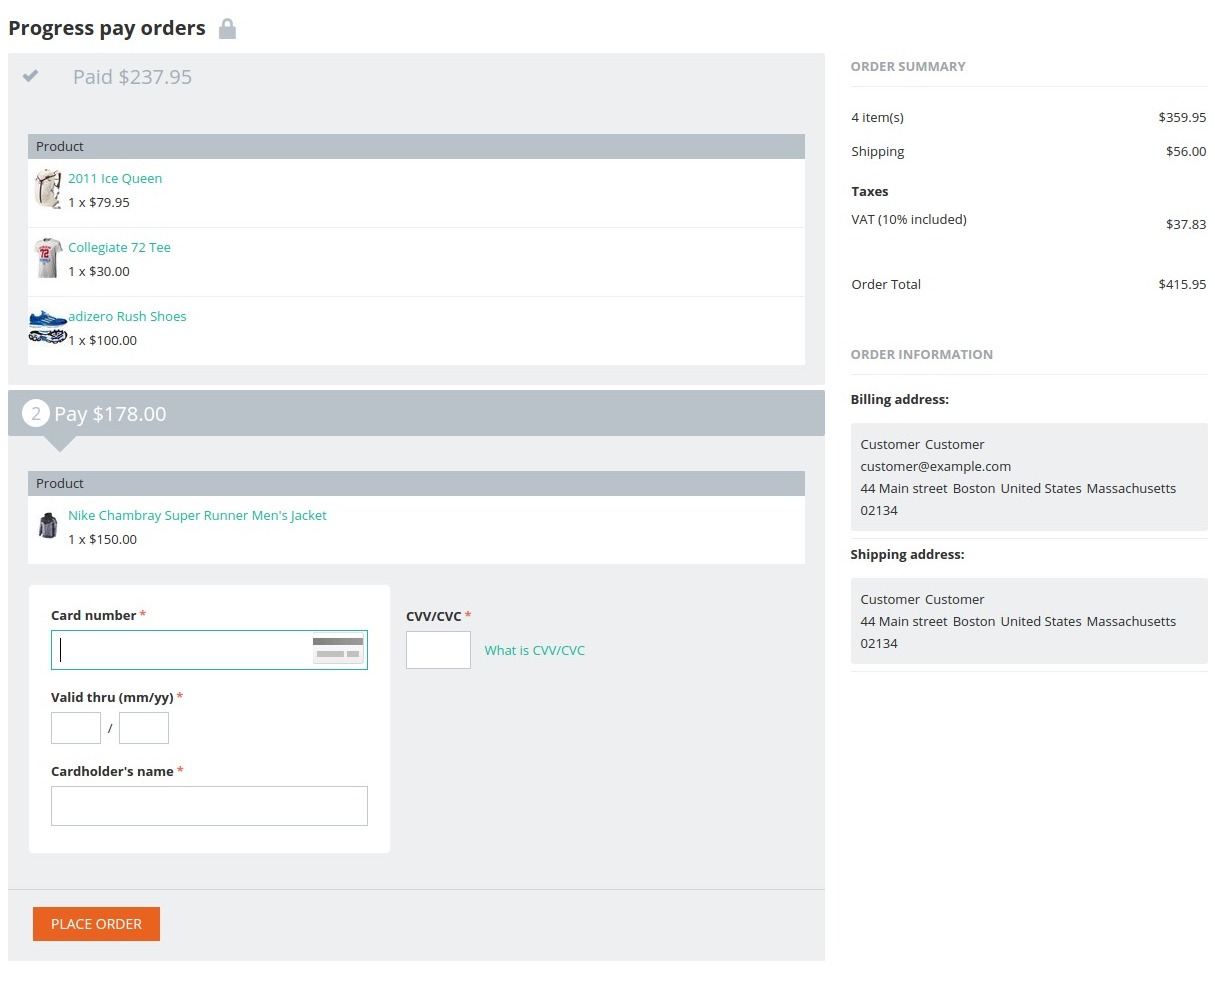
The payments made by the customers are automatically split between vendors and admin, so all the details of distributing money stay behind the scenes and are not available to the user. Nonetheless, if the cart contains products from different vendors, it will be split into several orders by vendors, and the customer pays for each order separately. The screenshots below clearly demonstrate this.
First, the customer pays for the products from one vendor:
Next, the customer pays for the products from the other vendor:
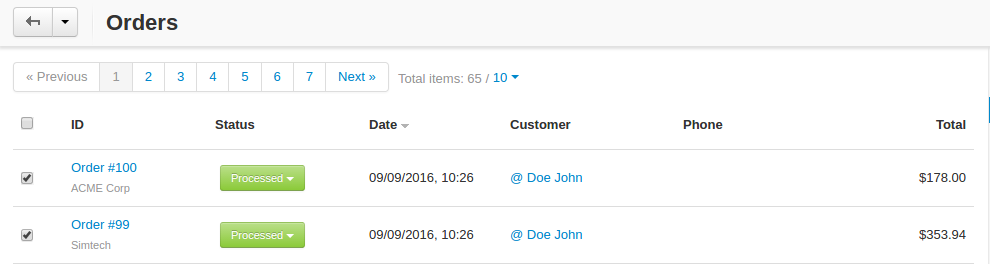
When viewing the order details the customer will see two created orders:

As for the admin panel, the admin will also see two created orders: