
Amazon Style Menu
Important
Amazon Style Menu add-on IS NOT officially supported since 2022, January 31. If you’re interested in this modification, please contact sales or your manager.
Overview
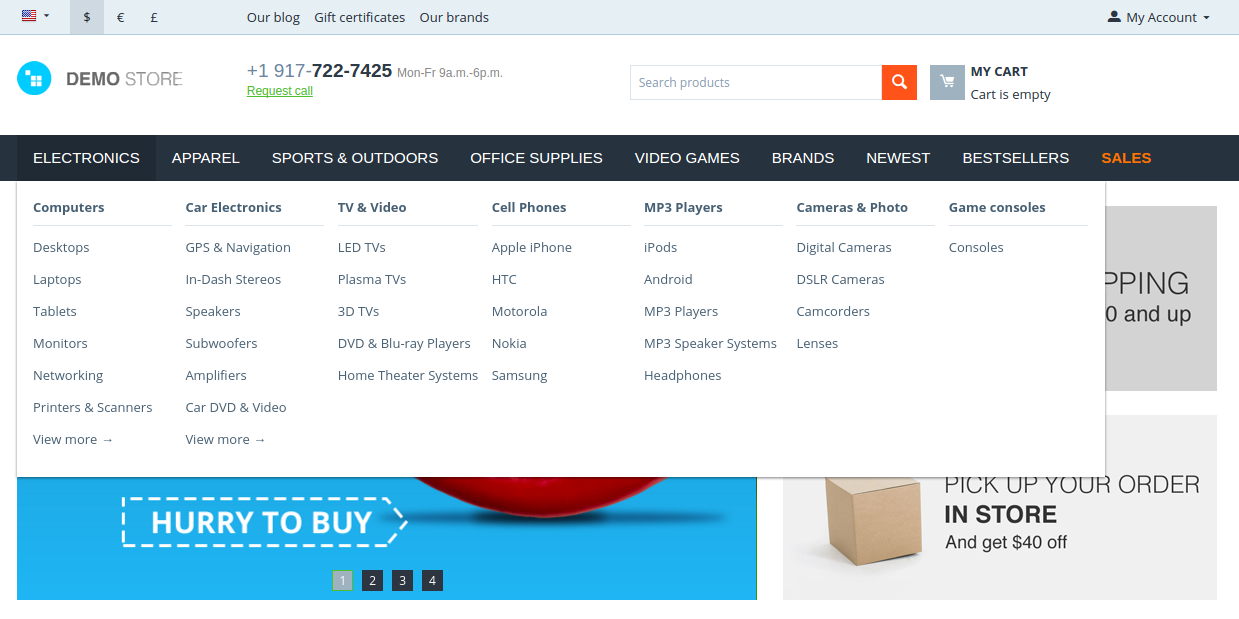
Nearly every customer who shops in your store will interact with the navigation menu, so its design and functionality are extra important! Our Amazon Style Menu creates an attractive and user-friendly menu that can really enhance the shopping experience for your customers.
The add-on offers three nice templates that are highly customizable. You can add icons, labels, and banners to categories and subcategories:
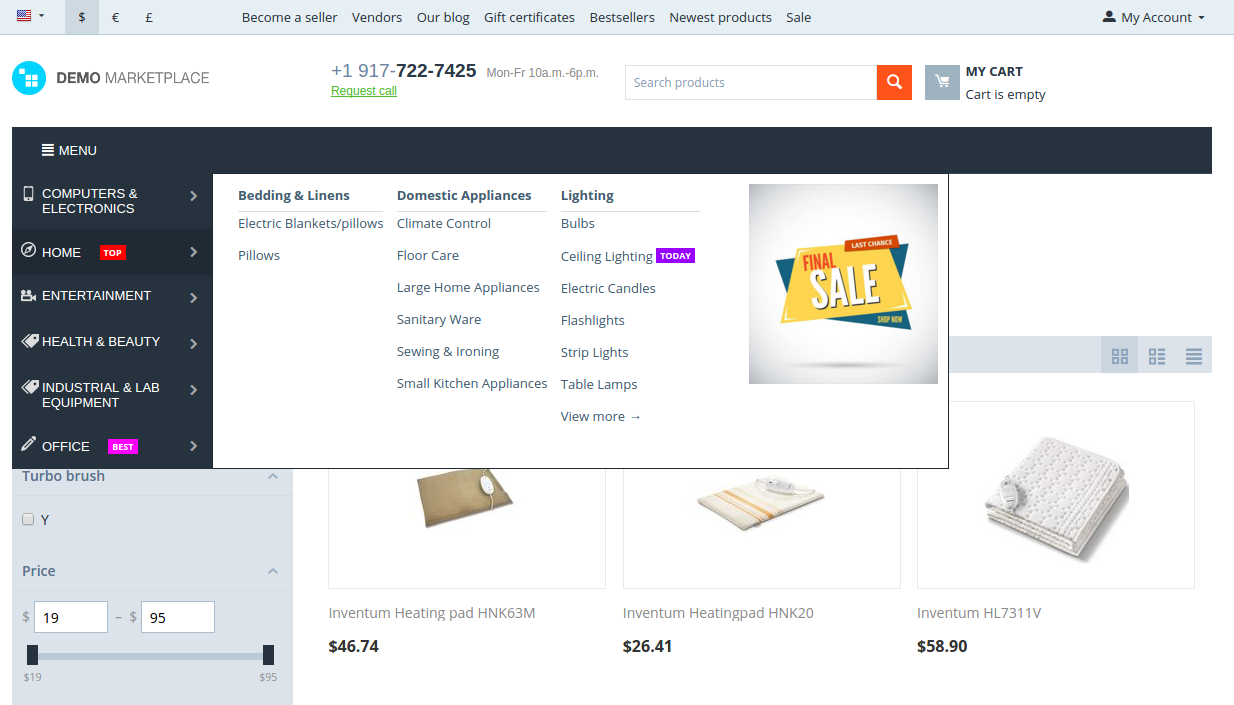
Dropdown vertical PRO
.gif)
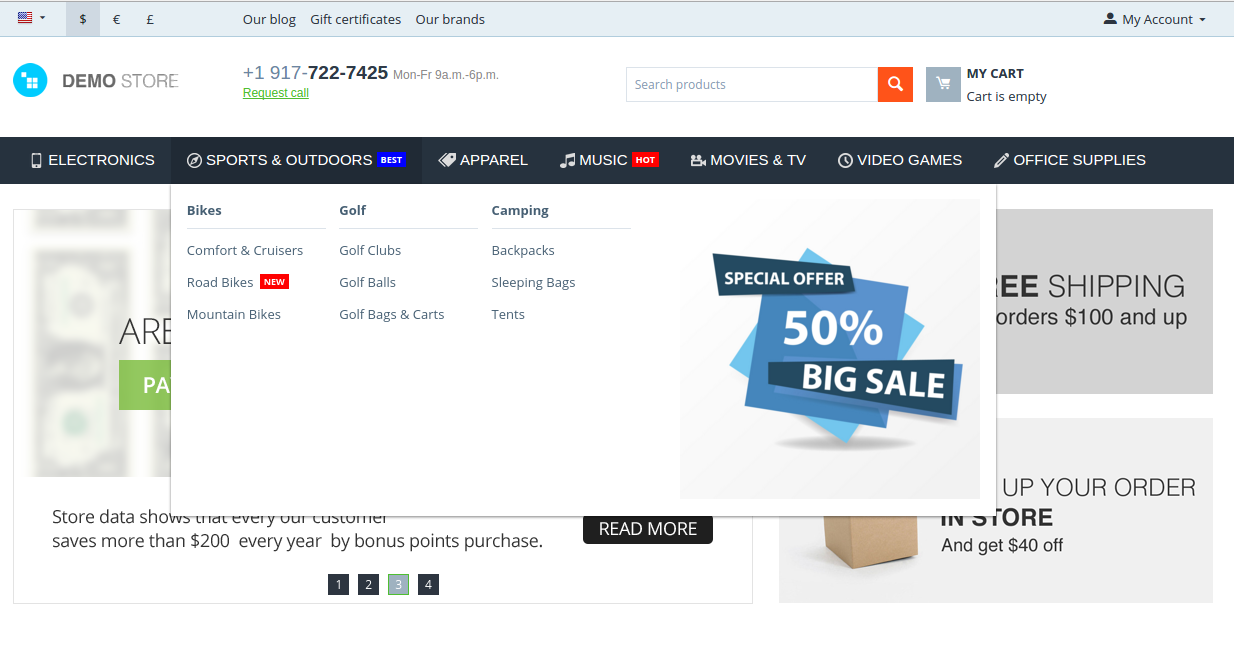
Dropdown horizontal PRO
Amazon style vertical PRO

Amazon style dropdown vertical PRO
Compatibility
The add-on is compatible with CS-Cart and Multi-Vendor 4.4 and above but only versions 4.11.x, 4.12.x and 4.13.x are supported.
Don’t know what archive to download to install the add-on? Read here.
Support
This add-on is developed and published by Simtech Development Ltd., a CS-Cart developer. You are guaranteed a quality add-on supported by the future versions. If you need help, please contact us via our help desk system.
Demo
Check out the Amazon Style Menu add-on in our demo store.
Note
Every half an hour the demo store is reset to the default state.
Managing in the admin panel
Installing the add-on
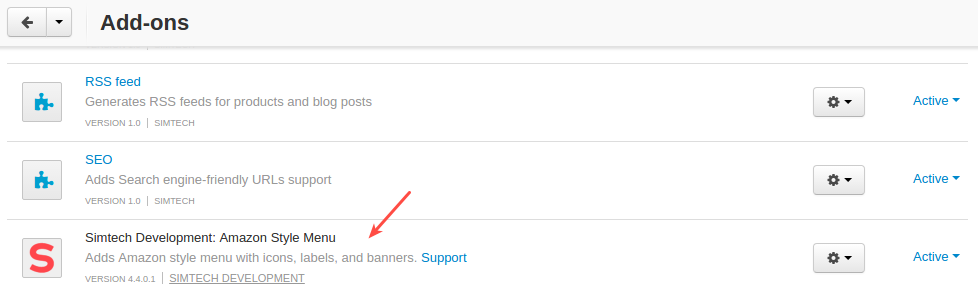
Install the Amazon Style Menu add-on on the add-ons list page (Add-ons → Manage add-ons). Click the + button in the top right corner, select an archive and click Upload & install. You can now find the installed add-on in the list of installed add-ons, just make sure it is set to Active.
Creating Amazon style menu
To create an Amazon style menu:
Step 1. Setting up menu block
- Go to Design - Layouts.
- Most likely, you already have a menu block created in the Default layout.
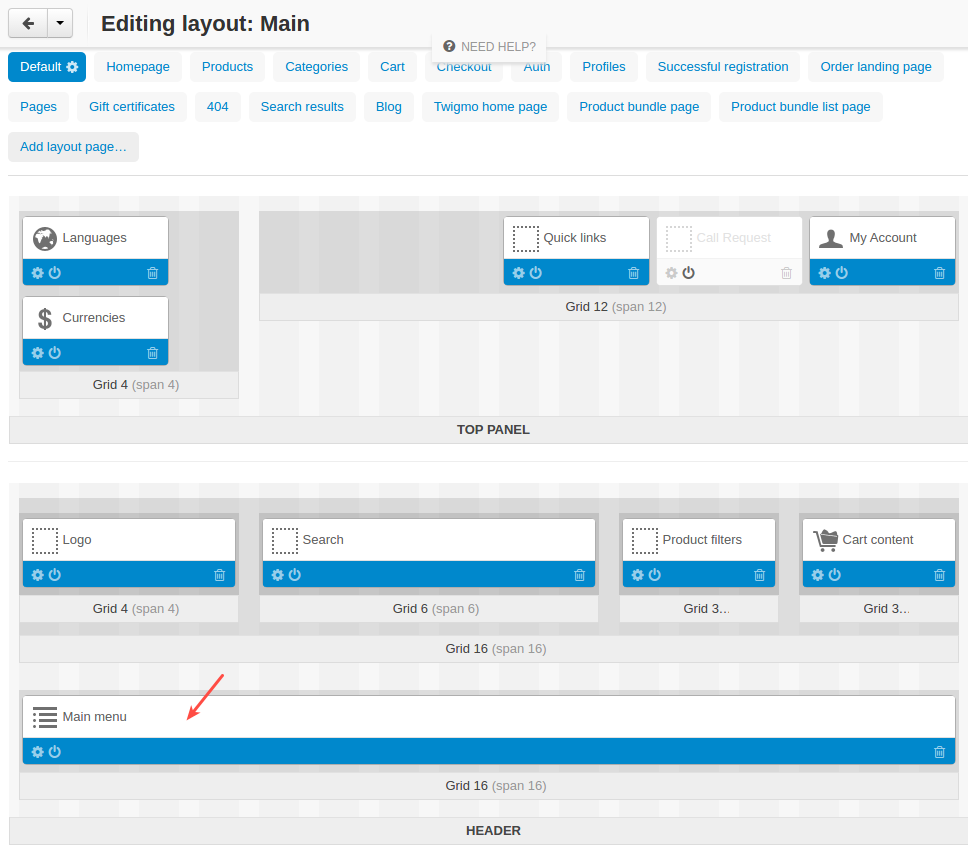
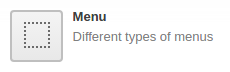
If not, create a new block of the Menu or Categories type:
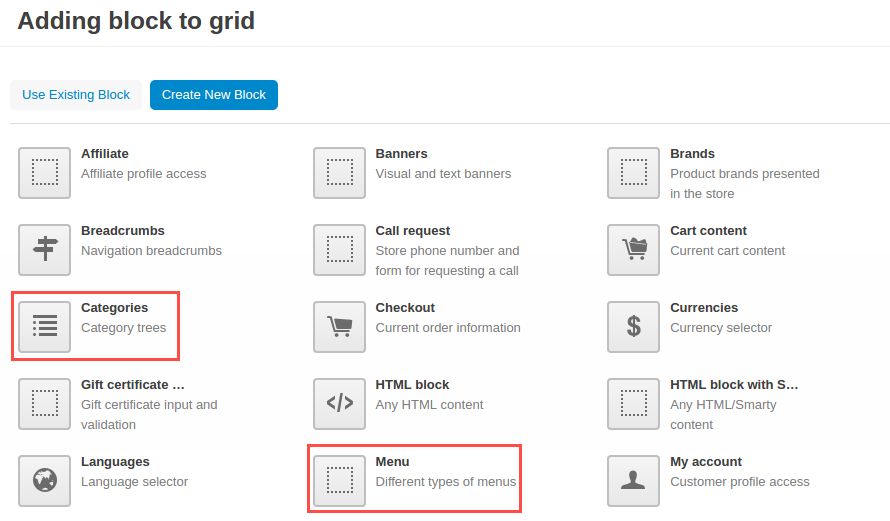
- Open the block options by clicking the gear button.

- You will see four new templates in the Templates drop-down list. Pick the one you like.
- SD: Dropdown horizontal PRO
- SD: Amazon style vertical PRO
- SD: Amazon style dropdown vertical PRO
- SD: Dropdown vertical PRO
- Click Settings to open additional settings. Use the Open drop-down menu setting to define whether you want to open the menu on click or on hover.
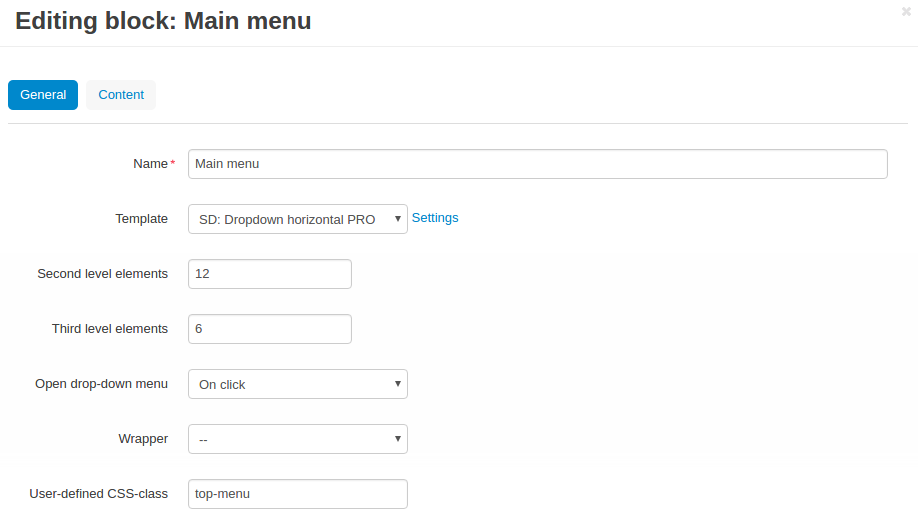
Important
If you choose to use a vertical menu, you will also need to adjust the layout. Create an individual grid for the block with the menu.
- Click Save.
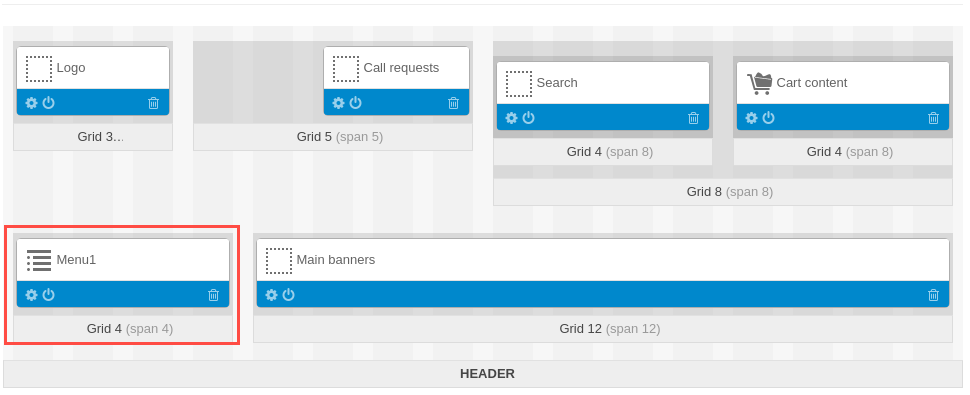
Here’s the interim result.
We are going the right way. Now it’s time to add nice labels and attractive banners to the menu. Proceed to the next step.
Step 2. Adding banners, labels, icons to menu
- If you have a menu block with the Menu type:
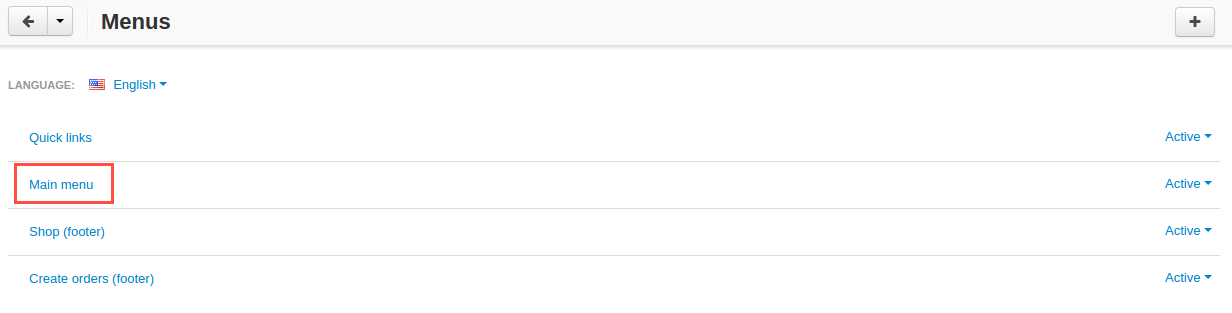
- Go to Design > Menus.
Note
Alternatively, you can open the Content tab in the block options and click Manage menus.
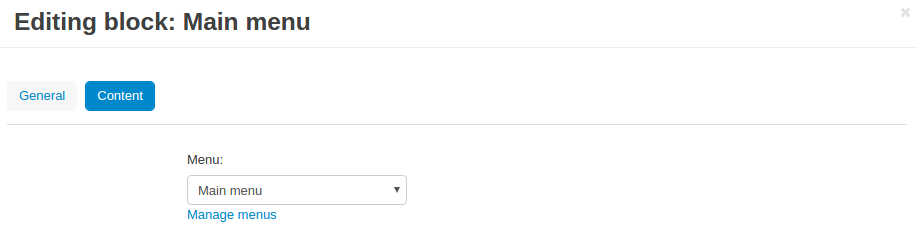
- Select Main menu.
- Choose the menu item where you’d want to add labels, banners, and icons.
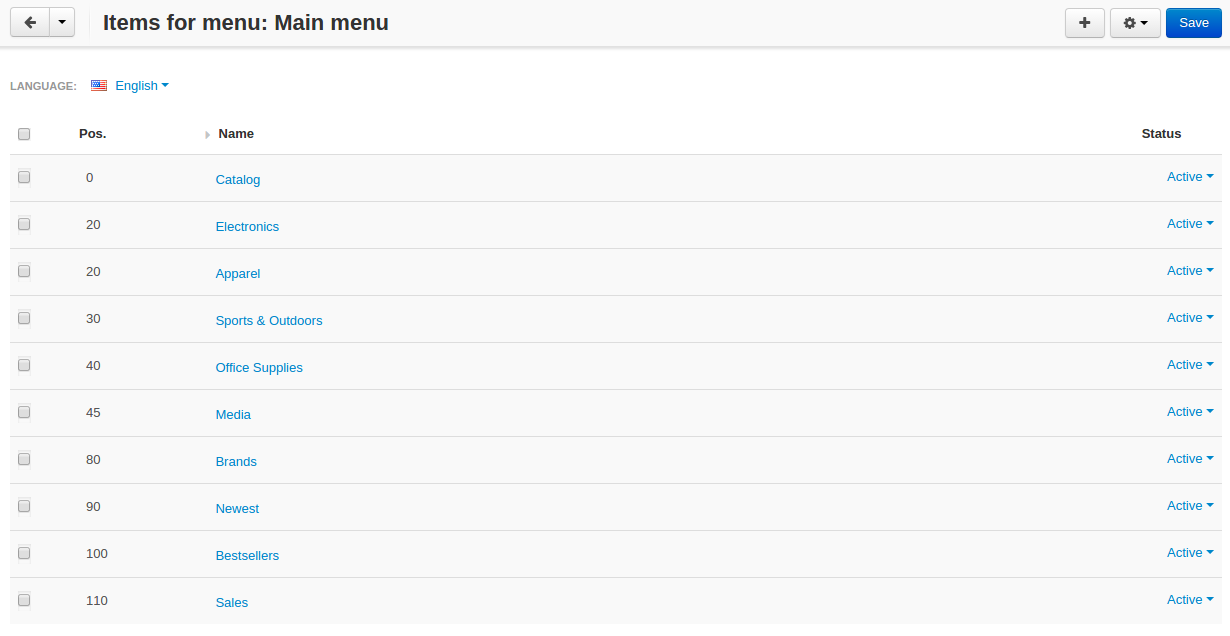
- Configure the settings in the Amazon style menu section.
Menu look Settings 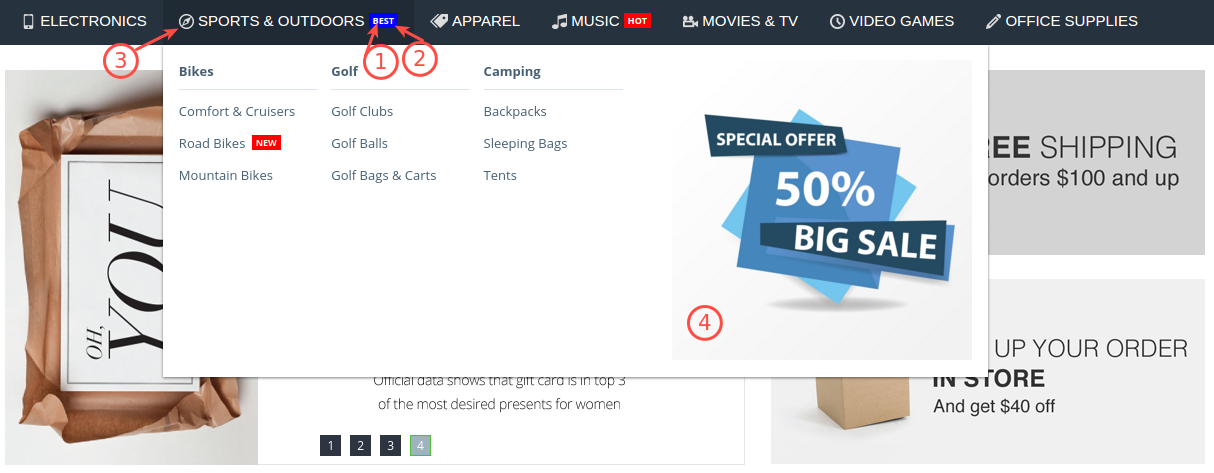
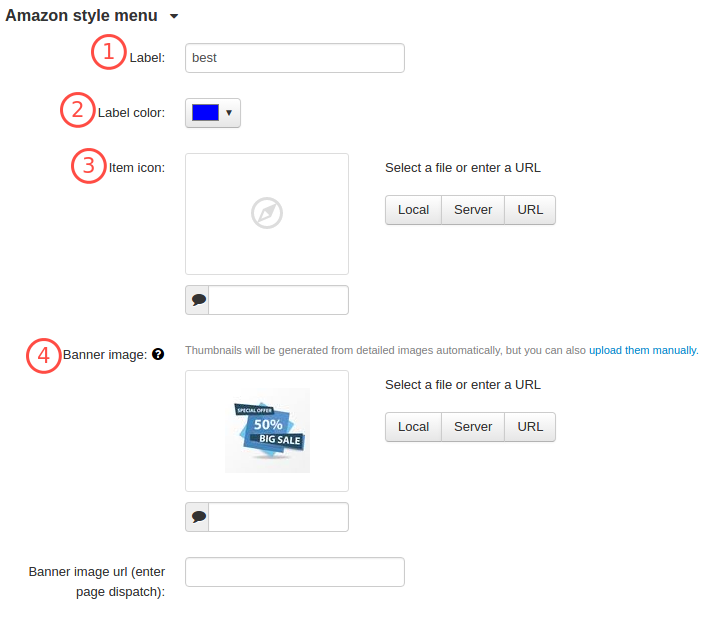
- Click Save.
- If you have a menu block with the Categories type:
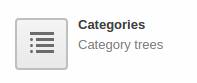
- Go to Products > Categories.
- Select the necessary category.
- Switch to the Add-ons tab and configure the settings in the Amazon style menu section.
Menu look Settings
- Click Save.