
Vendor Background Image
Overview
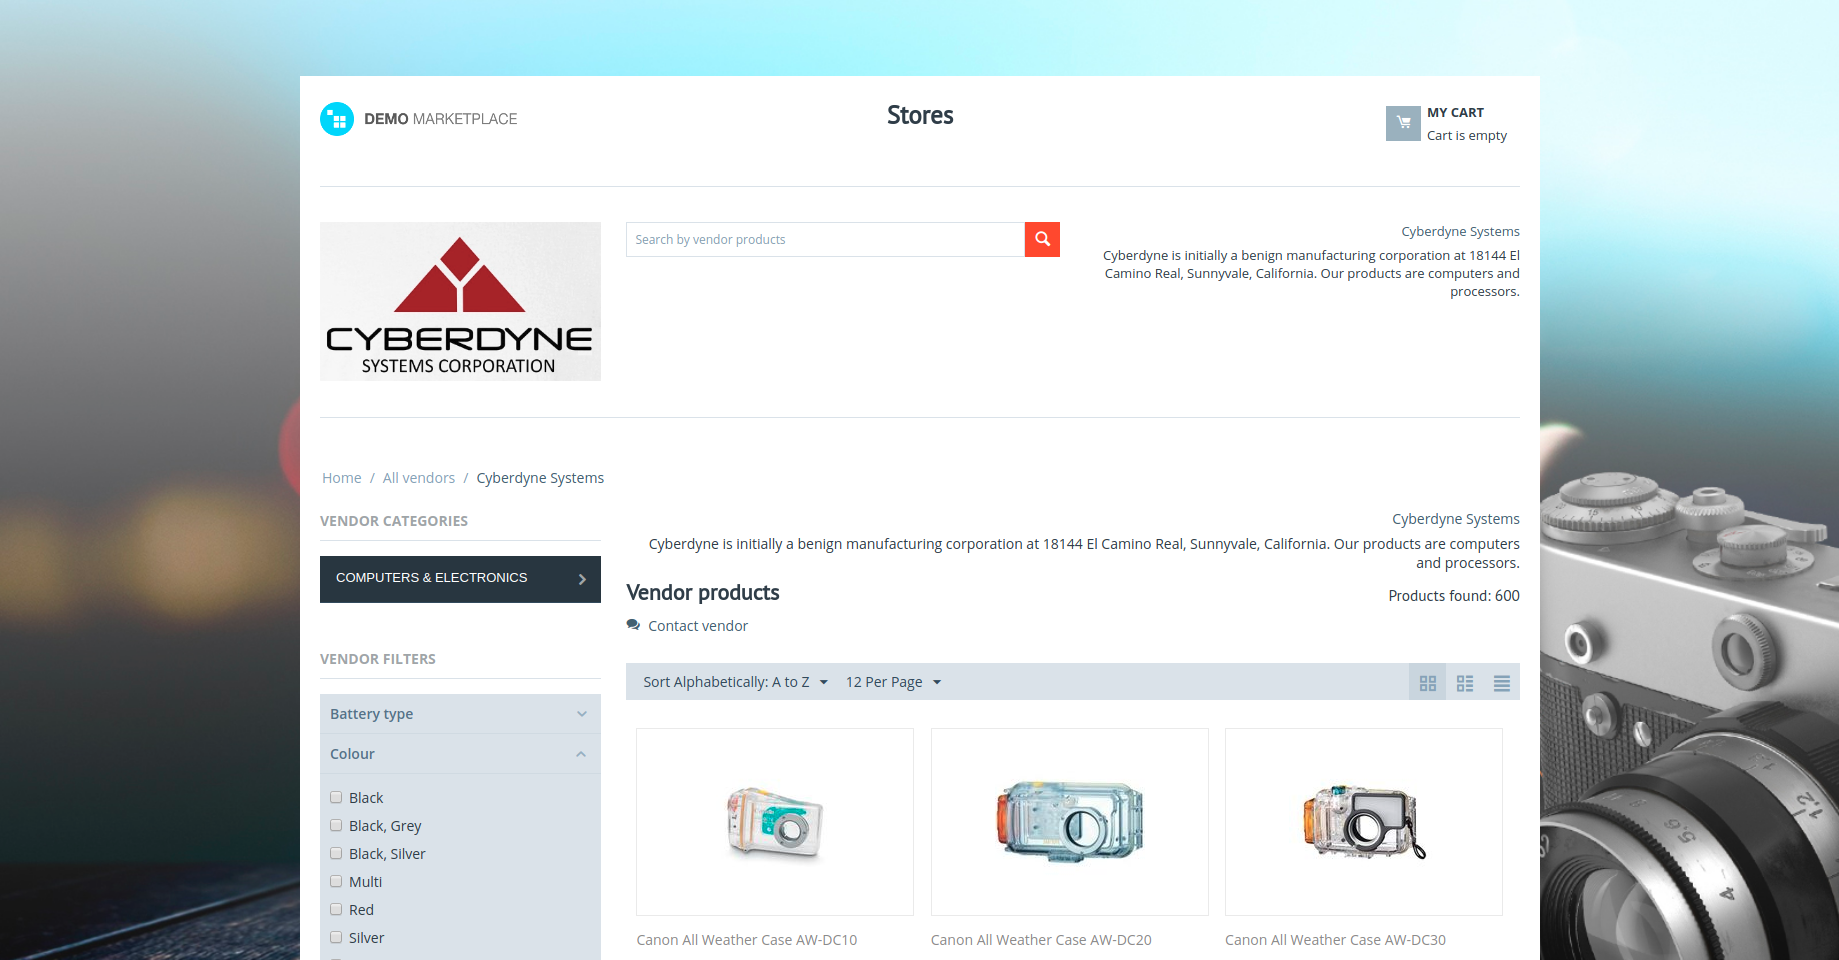
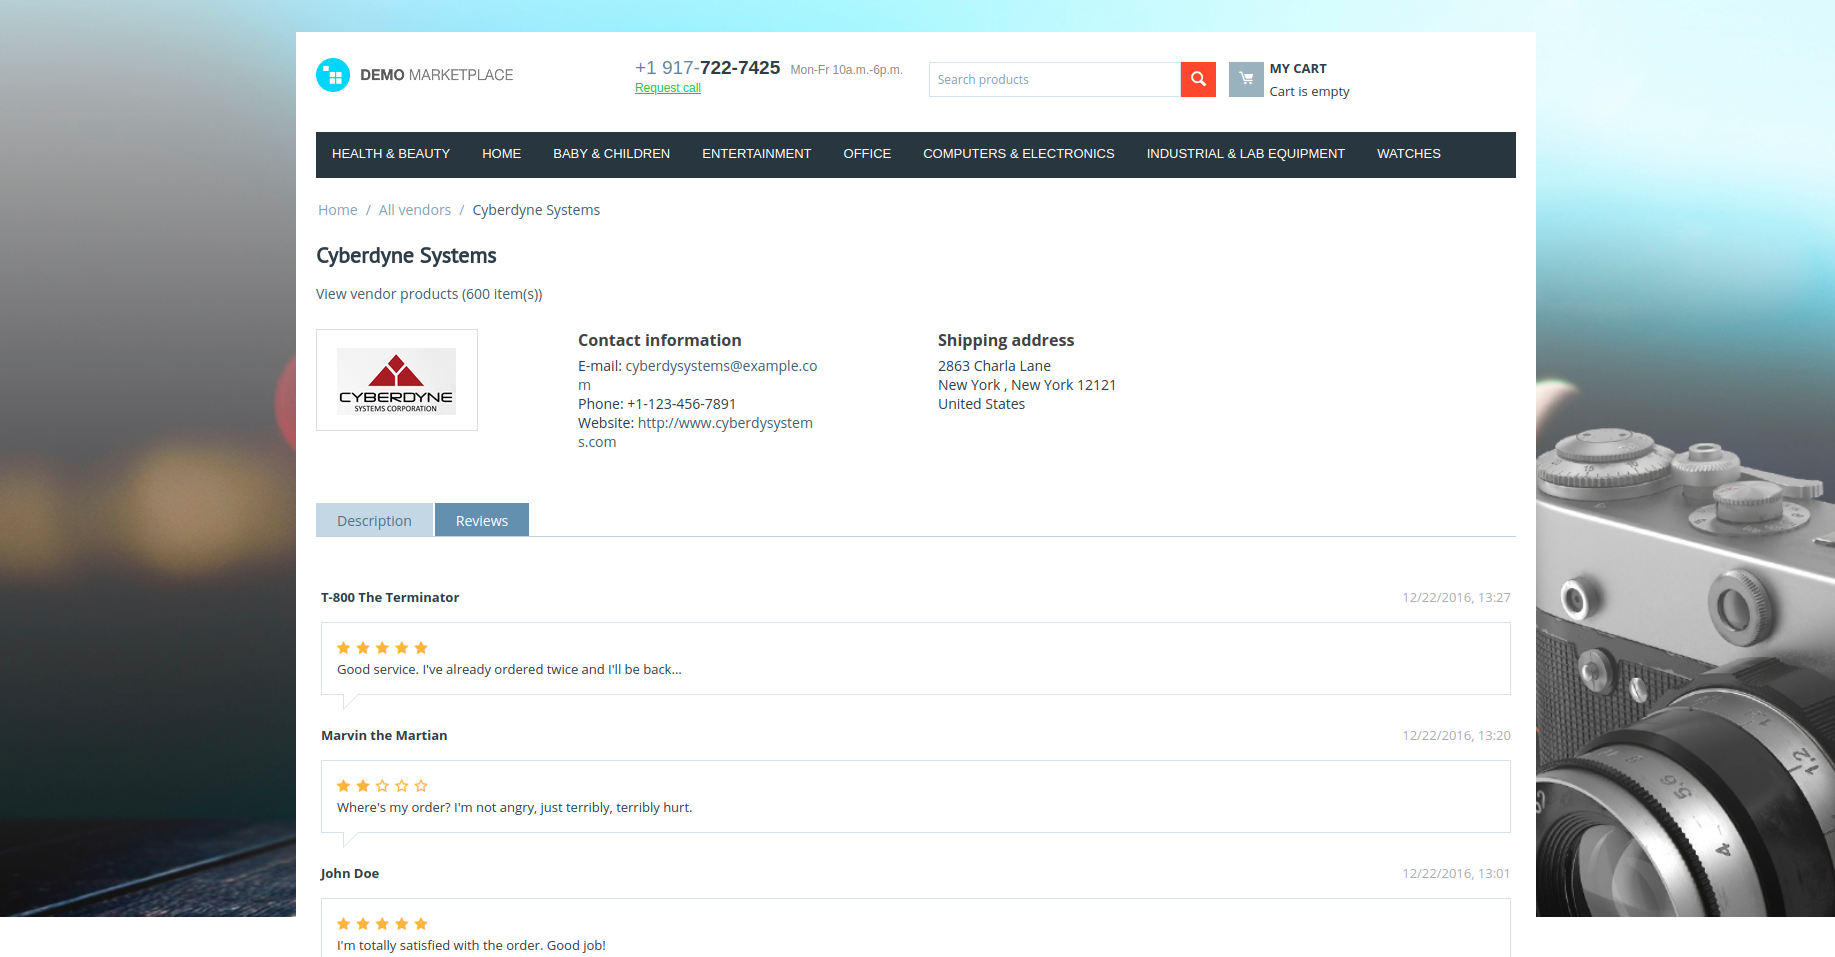
The Vendor Background Image allows you to add a full-width background image to the vendor store and vendor information page and apply parallax effect to it.
Compatibility
The add-on is compatible with Multi-Vendor 4.4 and above, but only versions 4.11.x, 4.12.x and 4.13.x are supported.
Don’t know what archive to download to install the add-on? Read here.
Support
This add-on is developed and published by Simtech Development Ltd., a CS-Cart developer. You are guaranteed a quality add-on supported by the future versions. If you need help, please contact us via our help desk system.
Demo
Check out the Vendor Background Image add-on in our demo store.
Note
Every half an hour the demo store is reset to the default state.
Managing in the admin panel
Installing the add-on
Install the Vendor Background Image add-on on the add-ons list page (Add-ons → Manage add-ons). Click the + button in the top right corner, select an archive and click Upload & install. You can now find the installed add-on in the list of installed add-ons, just make sure it is set to Active.
Setting up the add-on
Here are available settings of the Vendor Background Image add-on.
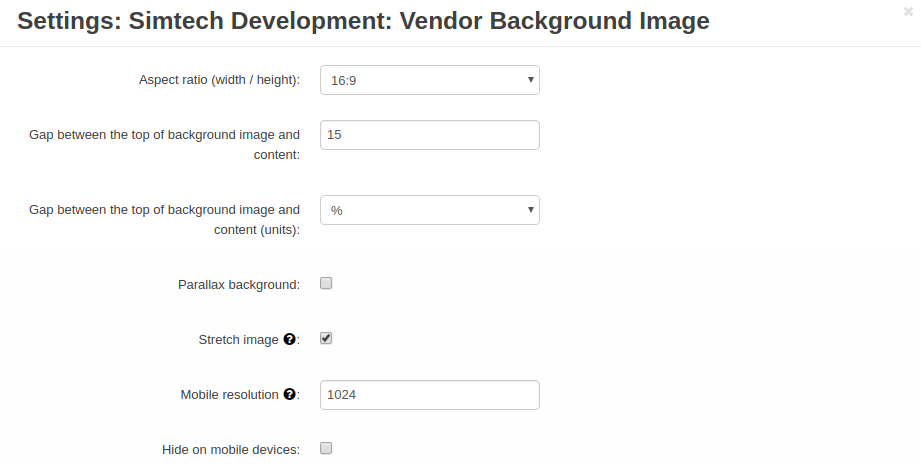
- Aspect ratio (width / height)—Select a preferable aspect ration for images. This value will be displayed in a tooltip for the Vendor background setting in the admin panel. It will help vendors add an image of the correct size.
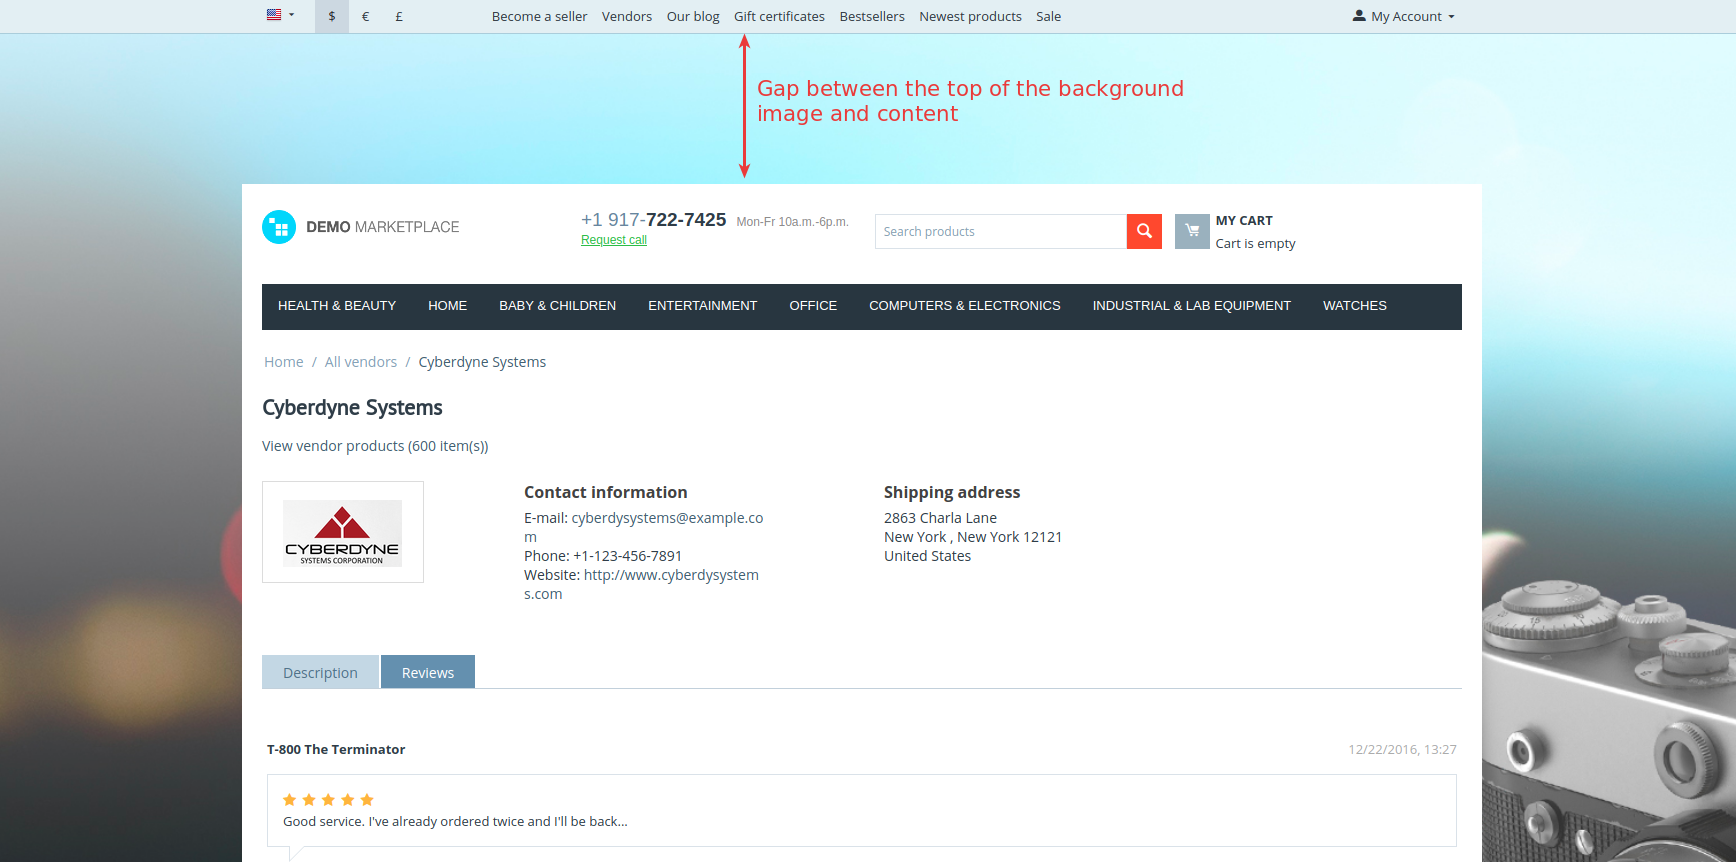
- Gap between the top of background image and content—Define the distance between the top of the background image and the main content on the page. Enter a value in percentage or pixels (depending on the value selected below).
- Gap between the top of background image and content (units)—Select units you want to use to measure the gap between the top of background image and content.
- Parallax background—If enabled, the parallax effect will be applied to the background image.
- Stretch image—The image will be stretched across the entire window width regardless of natural image size.
- Mobile resolution—If the customer’s screen size is smaller than this value, adaptive styles will be applied, or the background image will be hidden (if the Hide on mobile devices option is enabled).
- Hide on mobile devices—Select the checkbox if you want to hide the background image on mobile devices.
How to add a background image to the vendor store
To add an image to the background of the vendor store, follow these steps:
Step 1. Adjusting layout
- Go to Design > Layouts.
- Switch to the Vendor store layout.
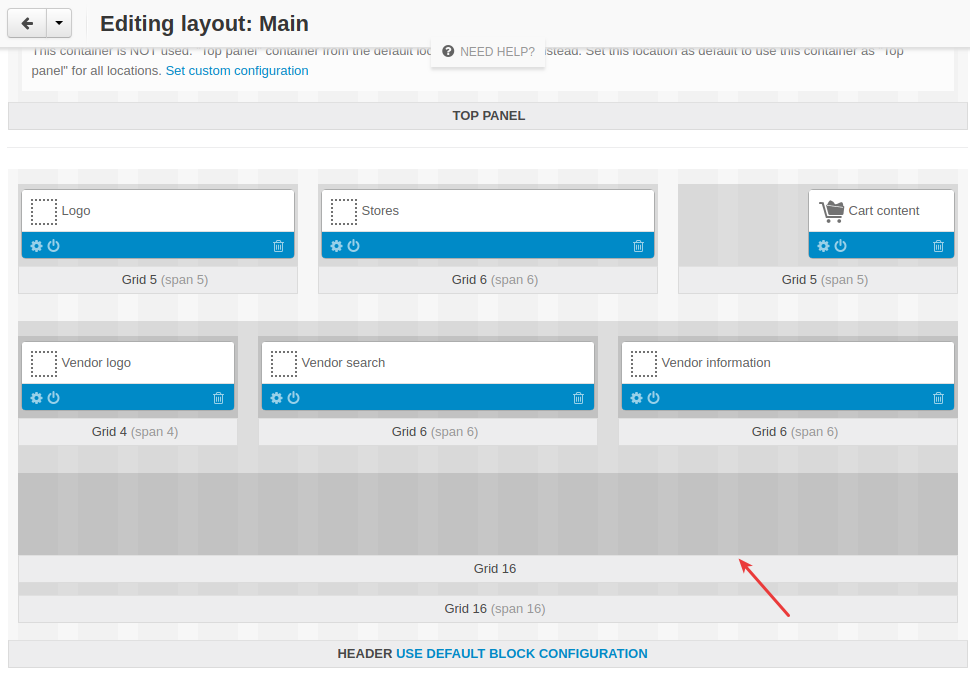
- Add a new grid to a container.

Note
You can add the grid with the block to any container (Content, Header, or Top panel), the background image will be positioned at the top of the page.
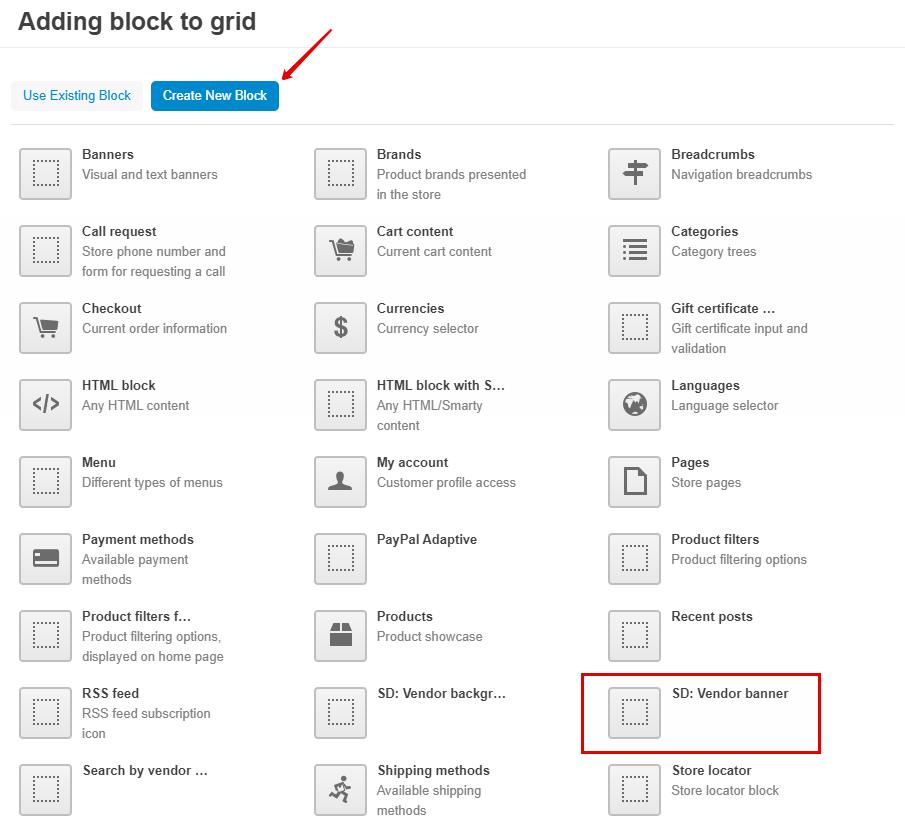
- In this grid, add a new block. Select the SD: Vendor background block.
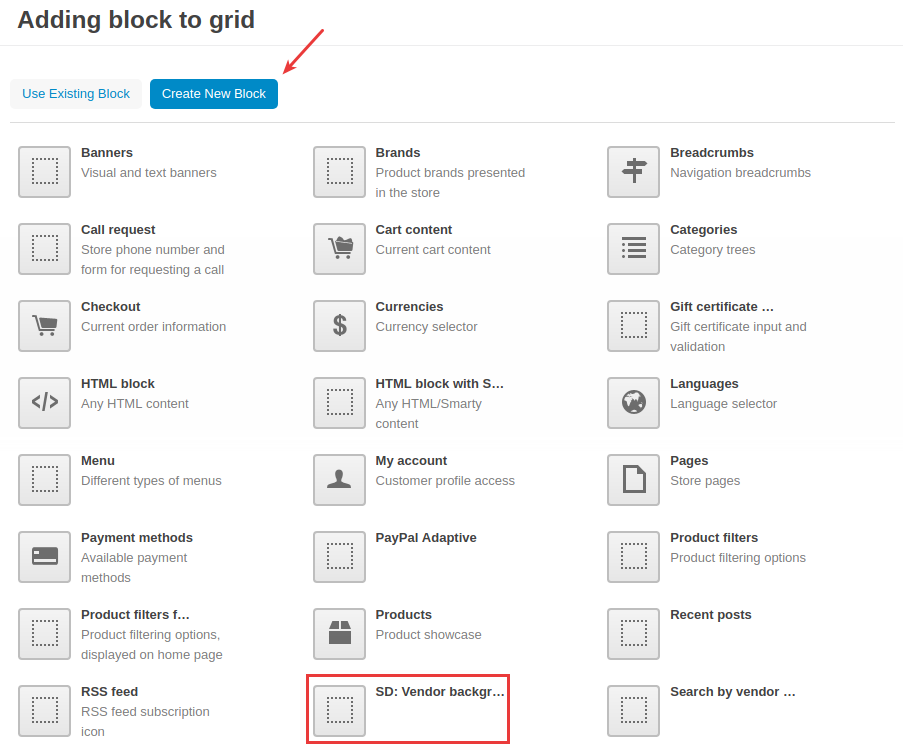
- Name the block and select the Vendor background template.
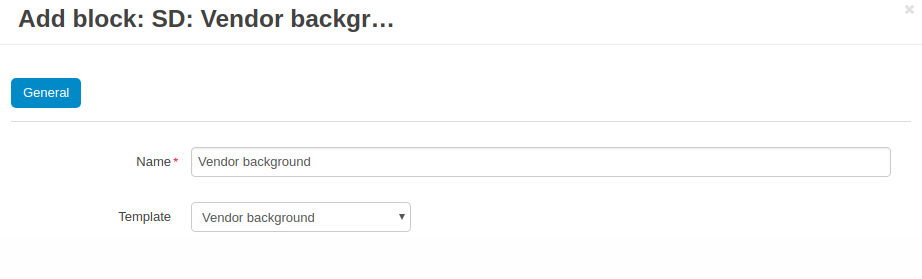
- Click Create.
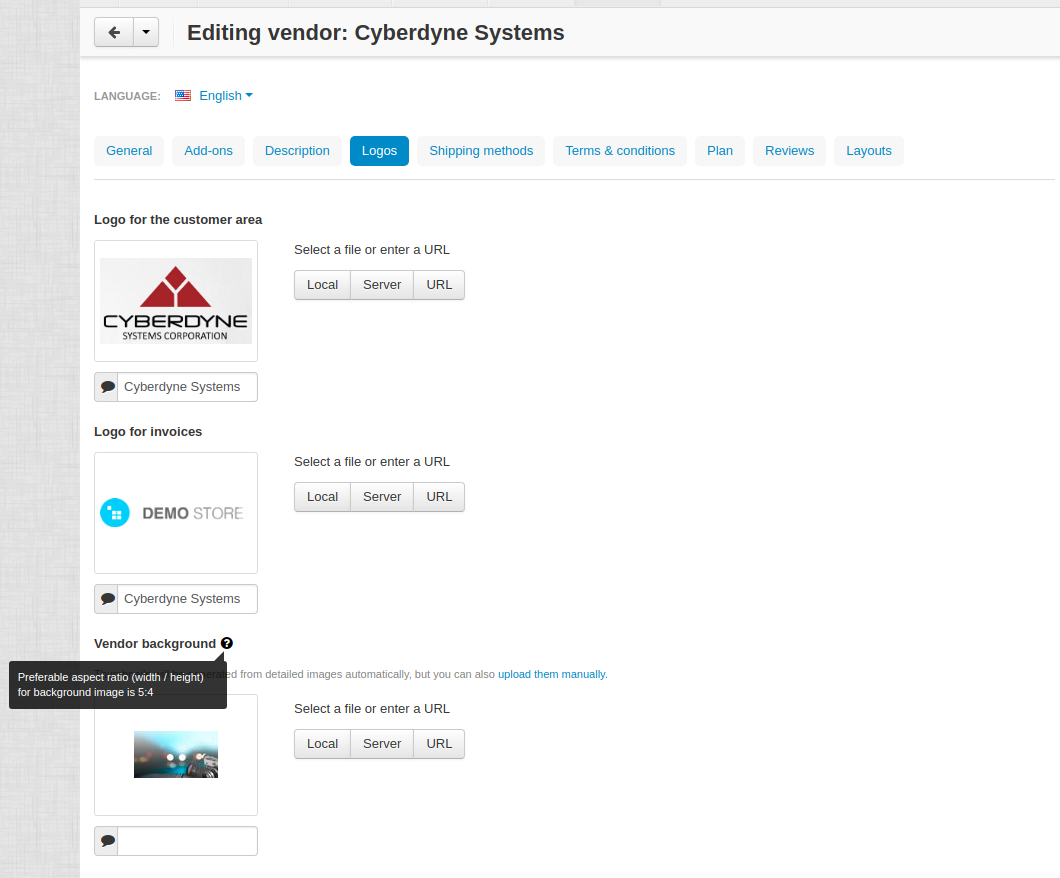
Step 2. Adding an image
- Go to Vendors > Vendors and select the necessary vendor.
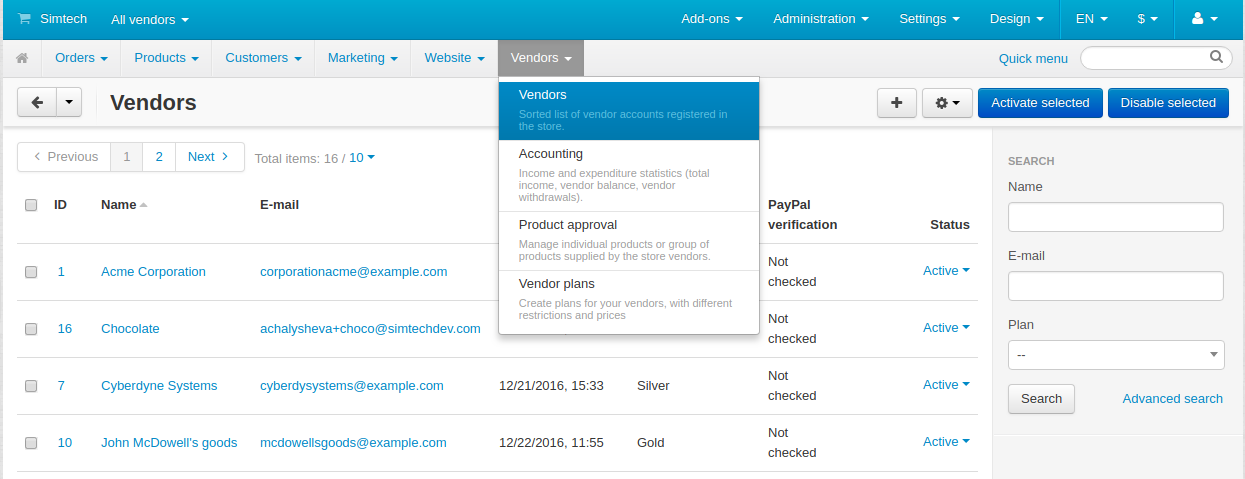
- Switch to the Logos tab and add a background image.
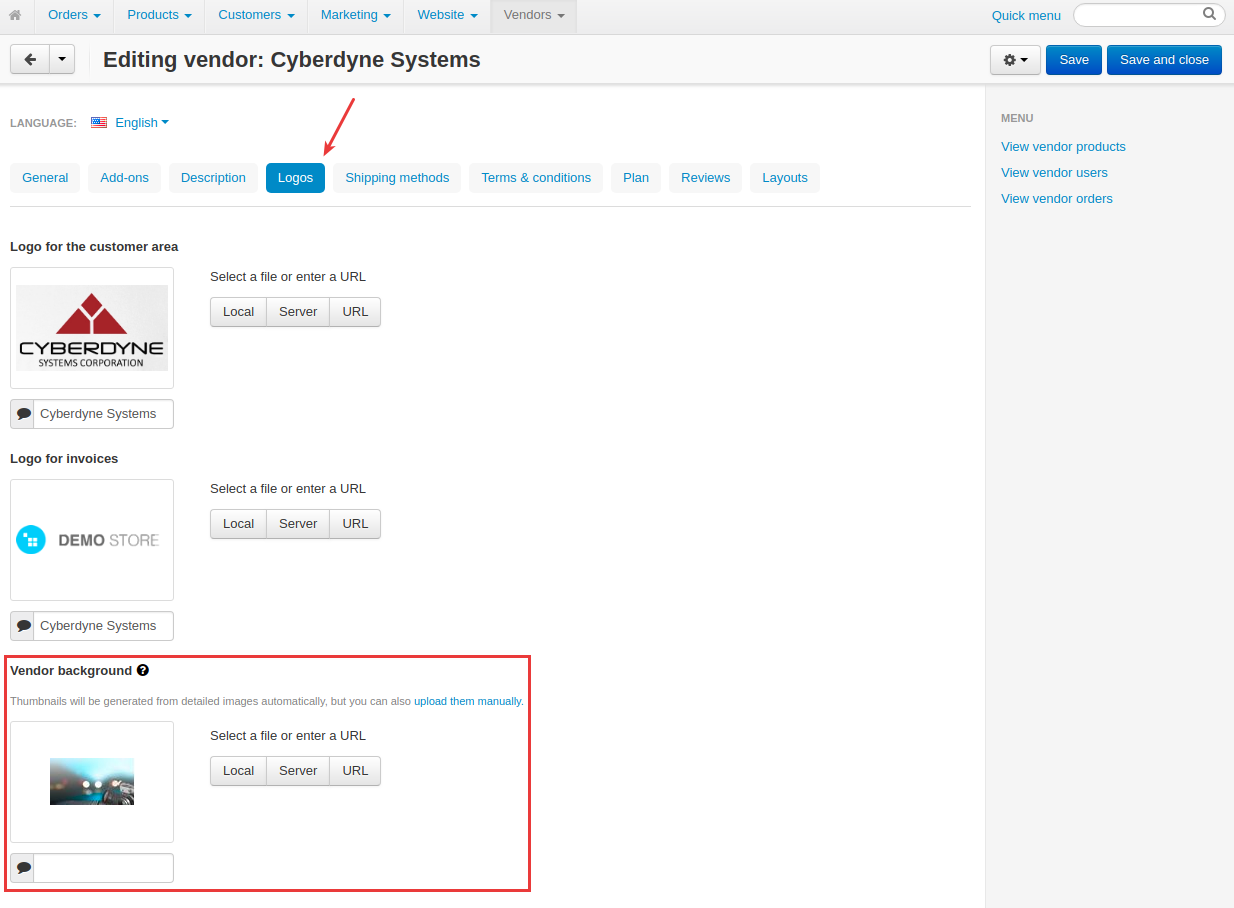
- Click Save and close.
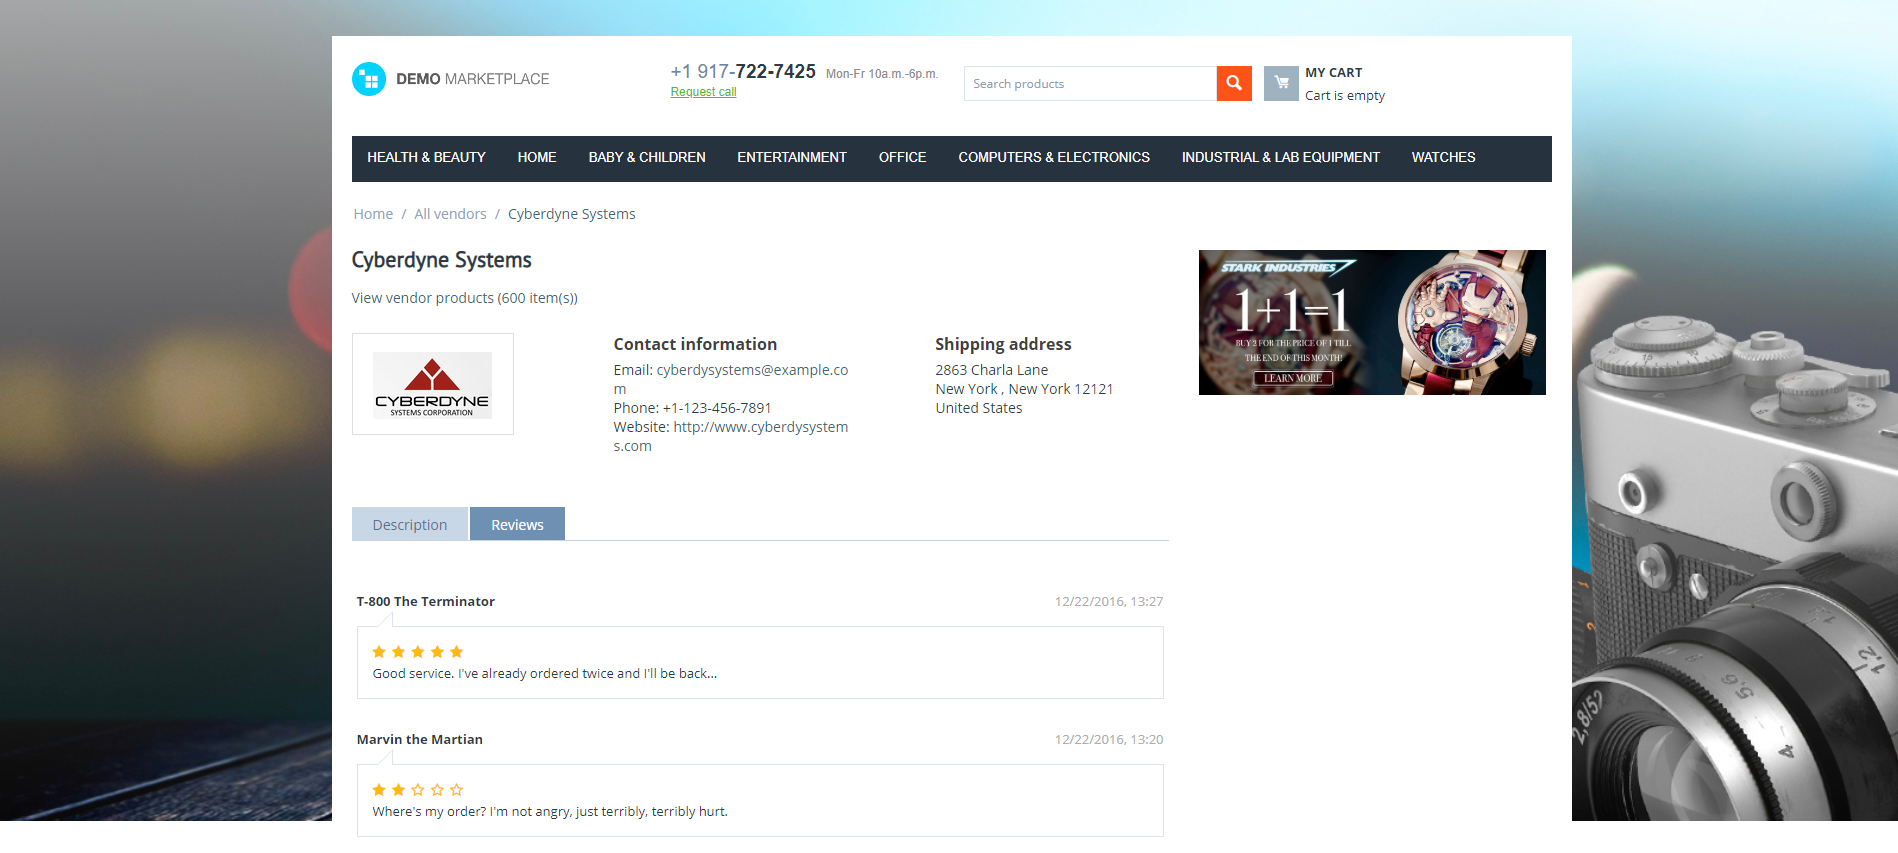
How to add a banner to the vendor store
To add a banner to the vendor store, follow these steps:

Step 1. Adjusting layout
- Go to Design > Layouts.
- Switch to the Vendor store layout.
- Add a new grid to a container.
- In this grid, add a new block. Select the SD: Vendor banner block.
- Name the block and select the Vendor banner template.
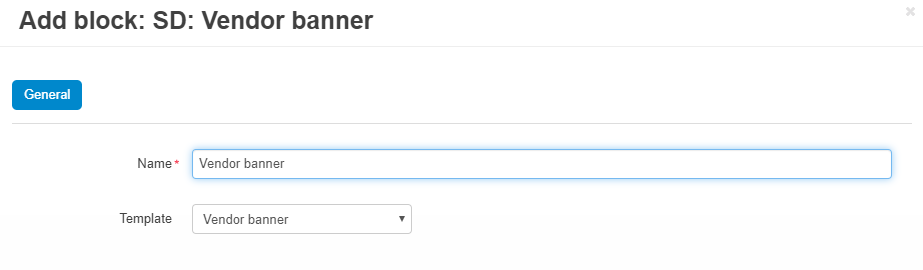
- Click Create.
Step 2. Adding an image
- Go to Vendors > Vendors and select the necessary vendor.
- Switch to the Logos tab and add a banner.
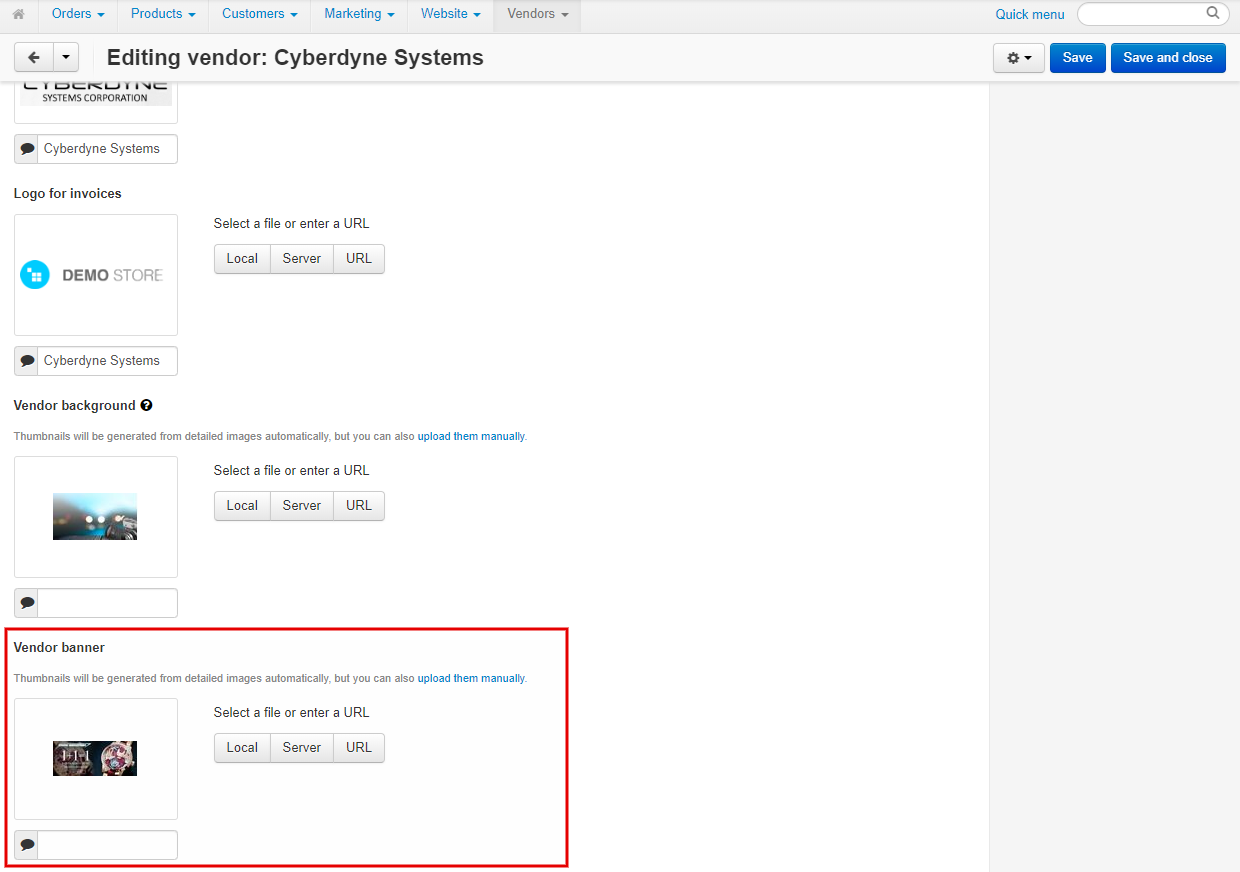
- Click Save and close.
How to add a background image to the vendor information page
To add an image to the vendor information page, follow these steps:
Step 1. Adjusting layout
- Go to Design > Layouts.
- Switch to the Vendor information layout.
- In the Header container, add a new block.
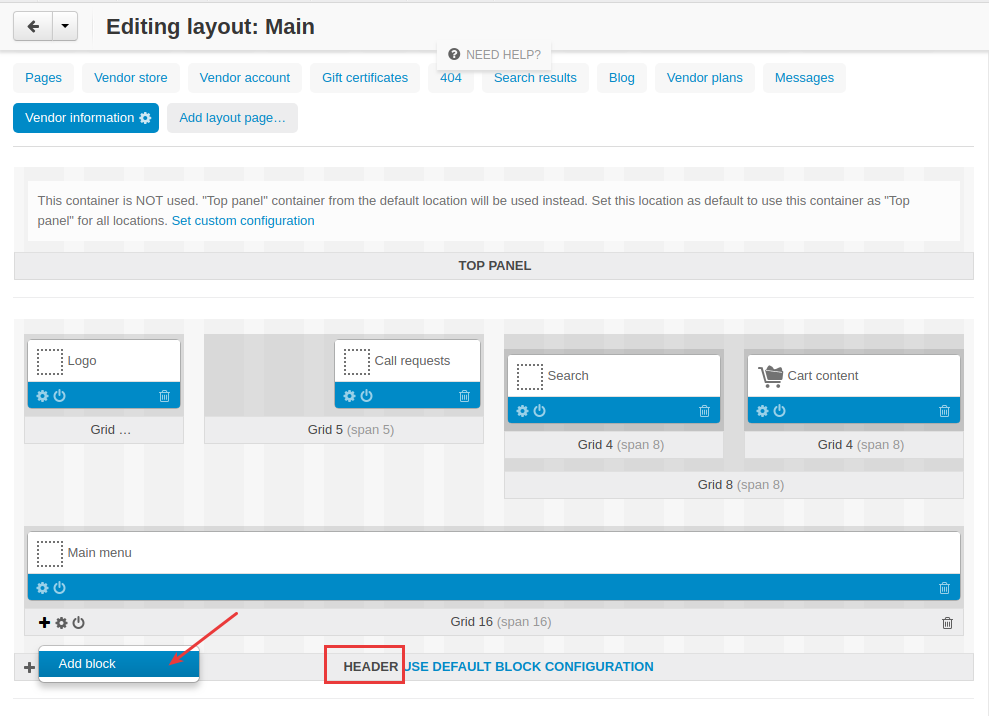
Note
We highly recommend adding the block to the Header container, otherwise the background image may not appear for newly registered vendors.
- Select the SD: Vendor background block.
- Name the block and select the Vendor background template.
- Click Create.
Step 2. Adding an image
Follow these steps Step 2. Adding an image.
How to add a banner to the vendor information page
To add a banner to the vendor information page, follow these steps:
Step 1. Adjusting layout
- Go to Design > Layouts.
- Switch to the Vendor information layout.
- Add a new grid to a container.
- In this grid, add a new block. Select the SD: Vendor banner block.
- Name the block and select the Vendor banner template.
- Click Create.
Step 2. Adding an image
Follow these steps Step 2. Adding an image.