
Geolocation by Google
Important
The Geolocation by Google add-on IS NOT officially supported since 2020, January 22. If you’re interested in this modification, please contact sales or your manager.
Overview
The Geolocation by Google add-on lets you integrate the Google Maps service with your website. Geolocation allows to determine the physical location of your customers and tailor the services of your store to each of them, which will help you enhance customer experience and boost the quality of your website.
Note
To reduce the number of Google requests and the server response time, tracking of search bots has been added. The geolocation scripts loading was also changed to asynchronous.
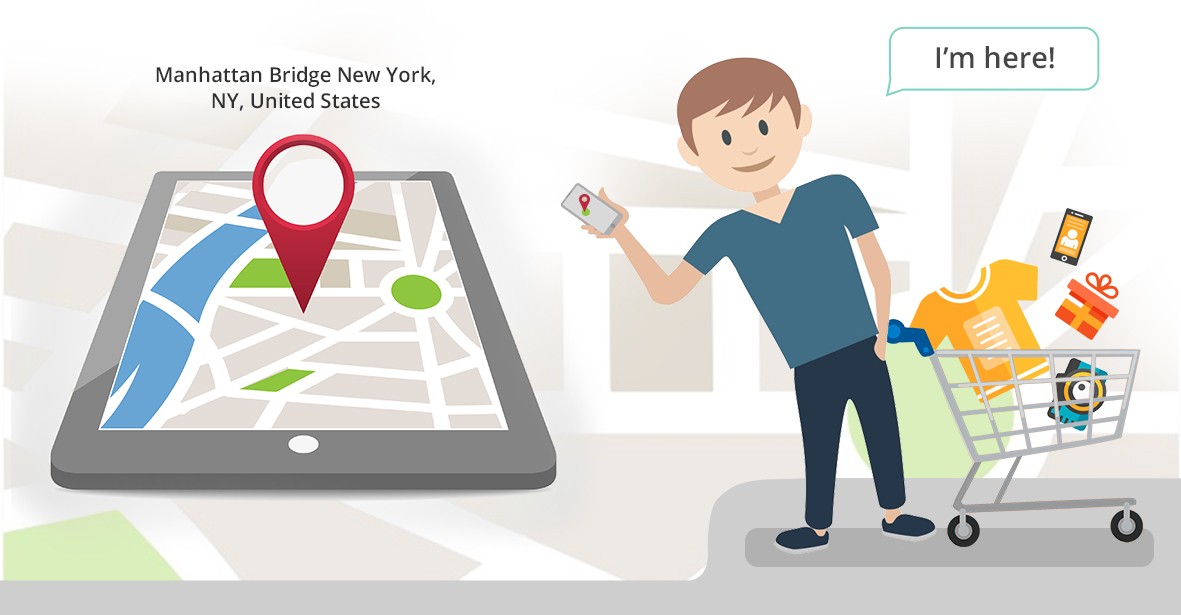
The add-on determines the location of a user and a pop-up with a map showing the location appears (when visiting the site for the first time).

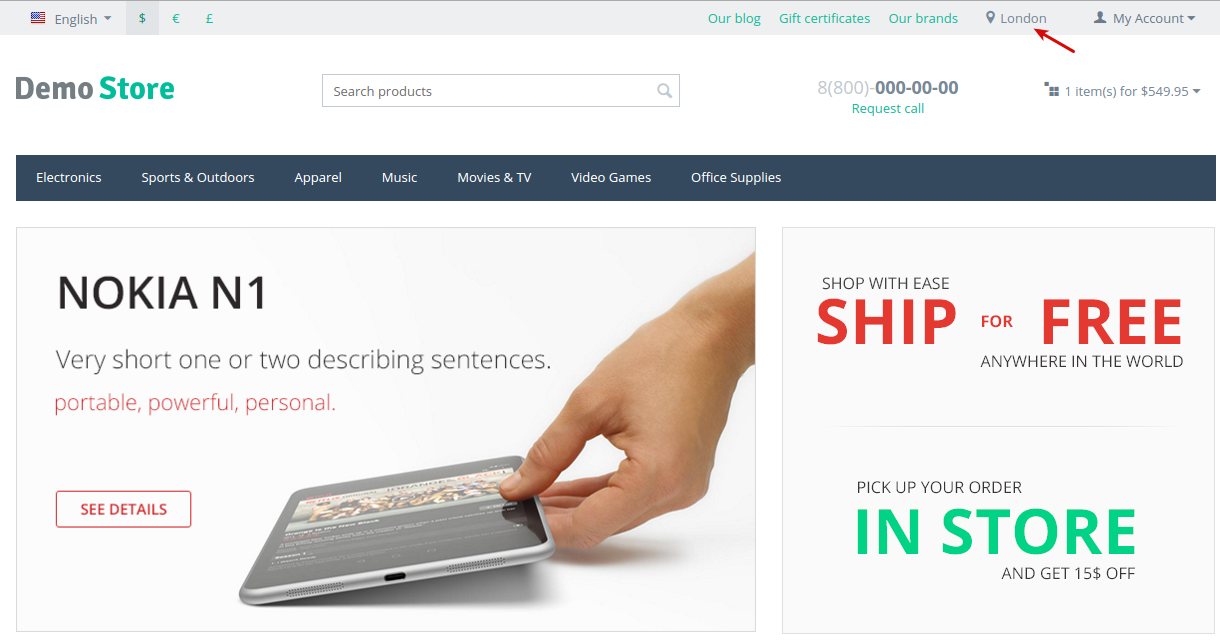
The determined city is shown at the top of the page:
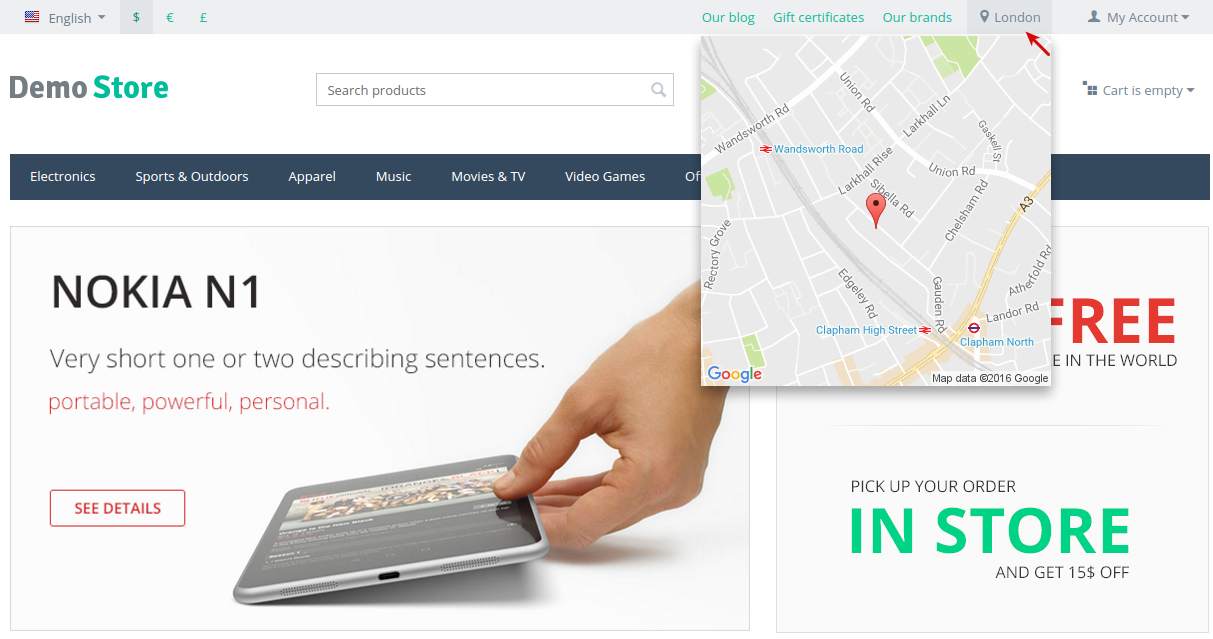
When hovering over it, a small map will be shown.
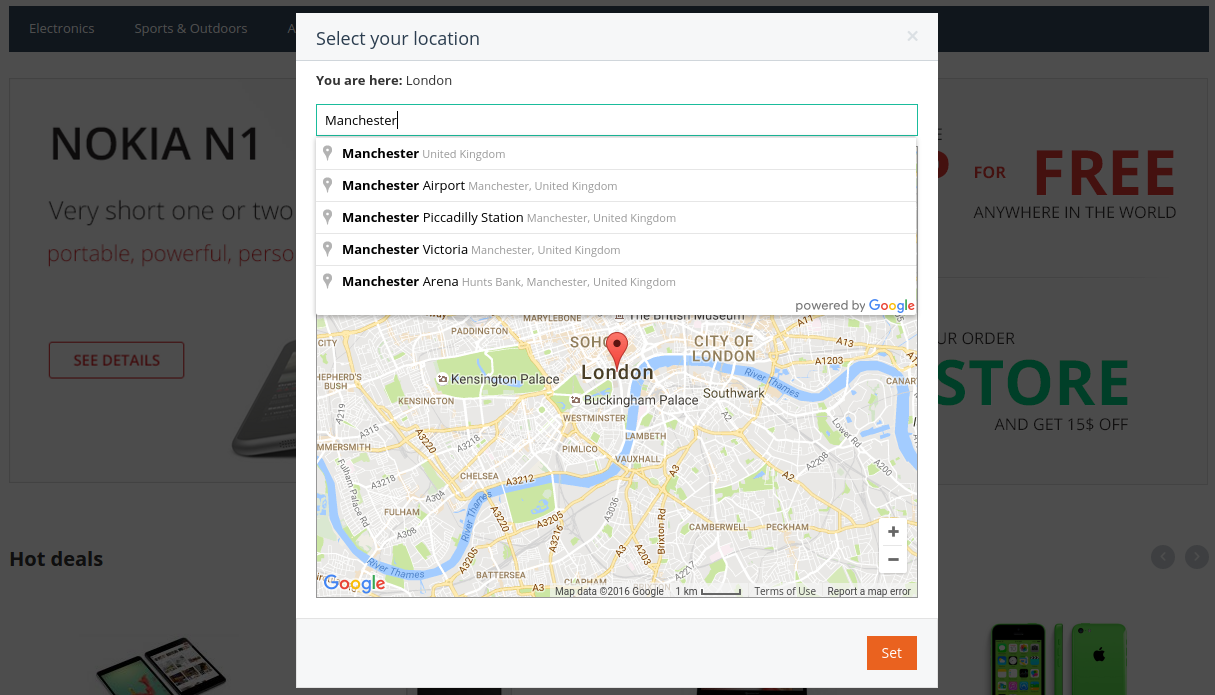
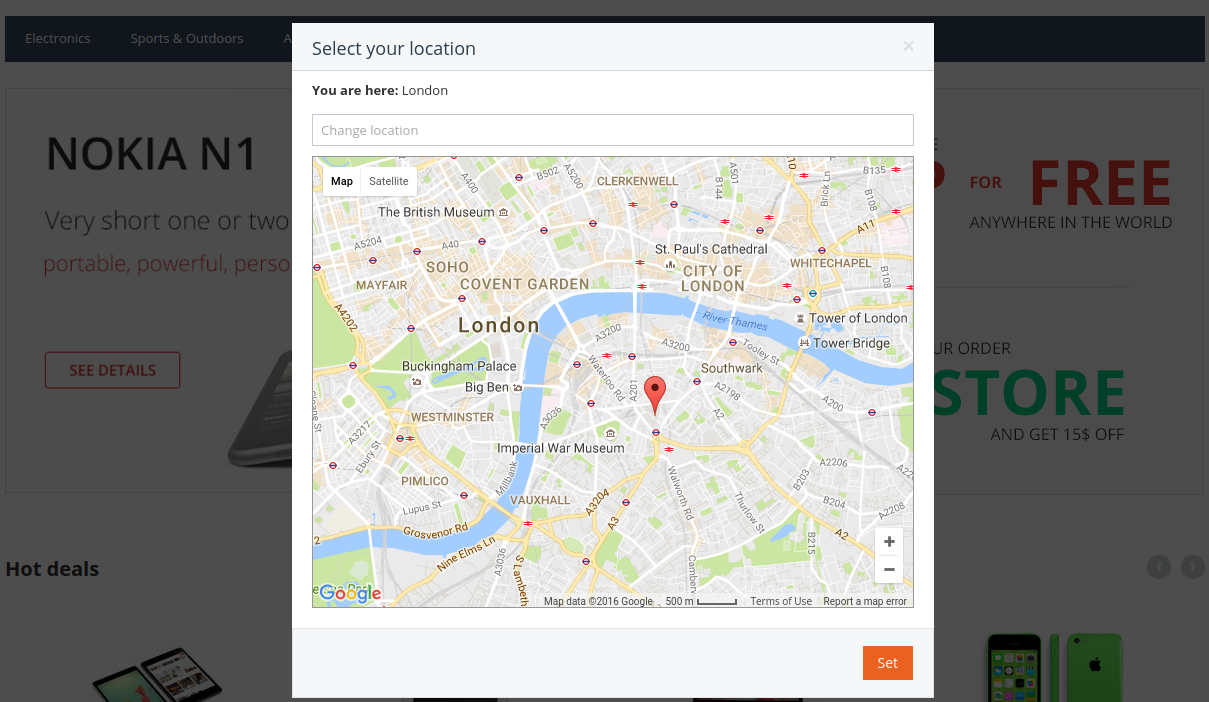
In case the location can not be detected, or it is incorrect, the users can change it manually:
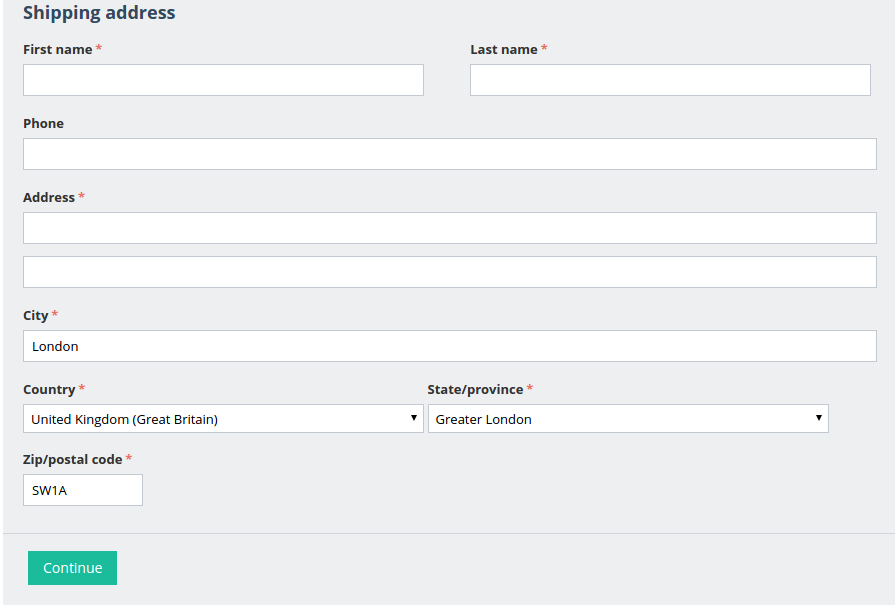
The city, country, state/province and zip/postal code fields are autocompleted at checkout.
Note
The add-on is compatible with our Shipping estimate add-on. You can enable geolocation to determine the customer’s location and set up shipping methods for places you ship to.
Compatibility
The add-on is compatible with CS-Cart and Multi-Vendor 4.3.6 and above.
Don’t know what archive to download to install the add-on? Read here.
Support
This add-on is developed and published by Simtech Development Ltd., a CS-Cart developer. You are guaranteed a quality add-on supported by the future versions. If you need help, please contact us via our help desk system.
Demo
Check out the Geolocation by Google add-on in our demo store.
Note
Every half an hour the demo store is reset to the default state.
Managing in the admin panel
Installing the add-on
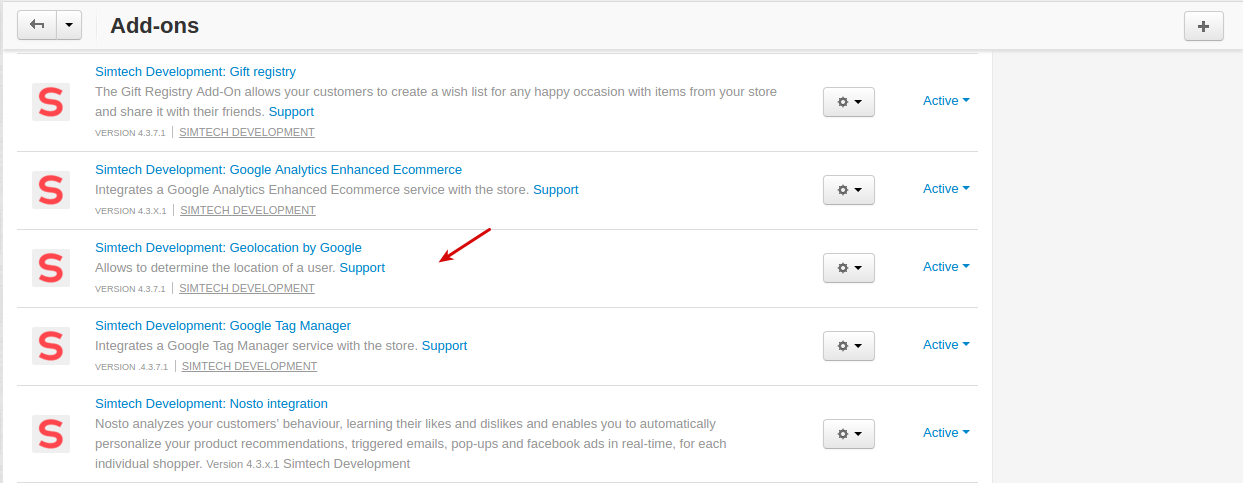
Install the “Geolocation by Google” add-on on the add-ons list page (“Add-ons” → ”Manage add-ons”). Click the + button in the top right corner, select an archive and click Upload & install. You can now find the installed add-on in the list of installed add-ons, just make sure it is set to Active.
Available settings
To get started using Google Maps in your store, you first need to configure the add-on.
The settings of the “Geolocation by Google” add-on are split into three sections: Google settings, Default location, and Additional settings.
Google settings

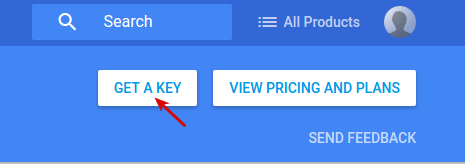
- API key—Enter the API key that you can get from Google Developers site. Click the Get a key button and copy/paste the key to the API key field in the add-on settings.
- Zoom control—Enables/disables the Zoom control.
- MapType control—Enables/disables the Map Type control that lets the user toggle between map types (such as Map and Satellite).
- Scale control—Enables/disables the Scale control that provides a simple map scale. When enabled, it will always appear in the bottom right corner of the map.
Default location

In case the location of a user can not be determined, the default location will be set. By default, it is set to Paris, France, but you can change it to any you like.
Additional settings
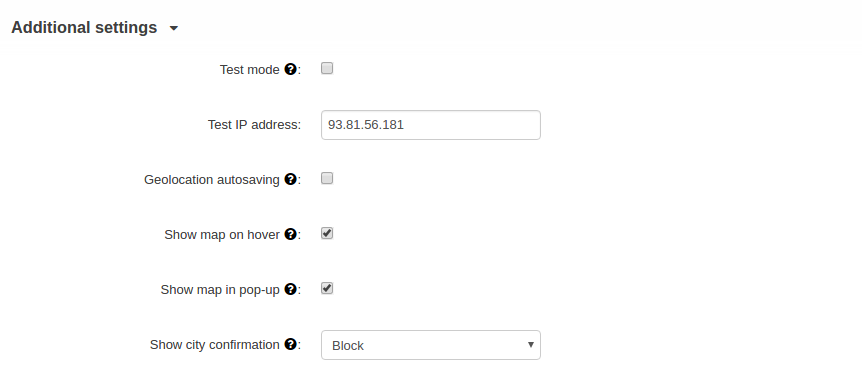
- Test mode—Select this checkbox if you want to test the functionality of the add-on.
- Test IP address—By default it’s set to 93.81.56.181. You can change this value to any IP address you want to test.
- Geolocation autosaving—Allows to save the user’s location by clicking on the map.
- Show map on hover—Allows to show a map when a customer hovers over a city determined by Google.
- Show map in pop-up—Allows to show a map in the ‘Select your location’ pop-up which opens when a customer clicks on the city in the Google Geolocation block. If this setting is disabled, the ‘Geolocation autosaving’ setting will be disabled.
- Show city confirmation—Define whether to show a pop-up or a block to confirm the location. Select ‘None’ if the city confirmation is not necessary.
Note
Enable HTTPS for correct performance of this setting.
Once you’ve configured all the settings of the add-on, you need to make sure everything is set up on the Google side for the correct operation of Google Maps. Proceed to the next section to learn how to do this.
Setting up Google APIs
In the settings of the Google API Manager, go to the Library section
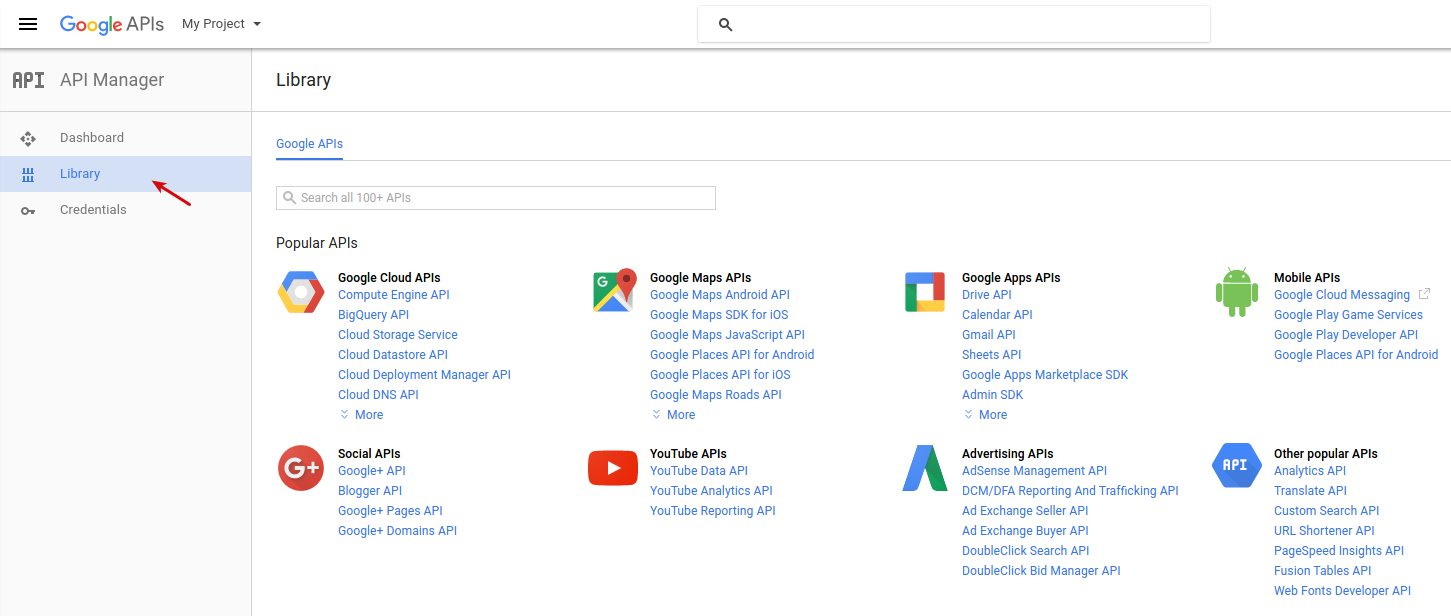
and make sure all of the following APIs are enabled:
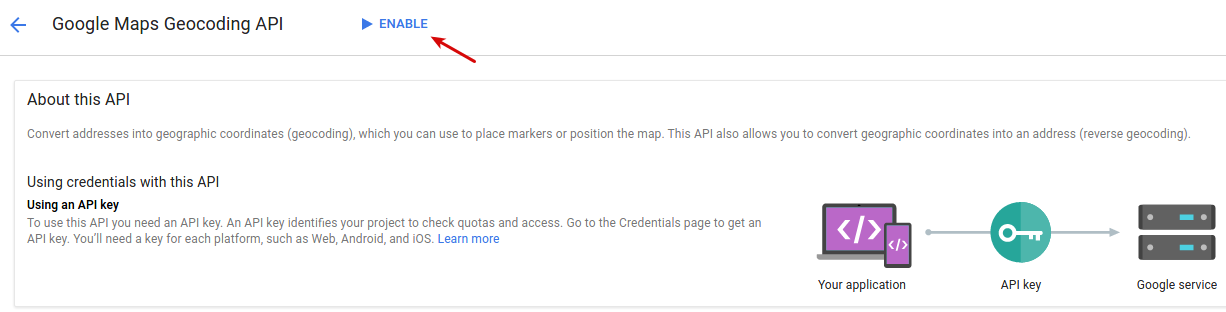
- Google Maps Geocoding API
- Google Maps JavaScript API
- Google Places API Web Service
- Google Static Maps API
Use the search bar to find them and click Enable.
Adding a block for geolocation
To display the location of a user on the storefront, you need to add a block.
To do this, follow the steps below:
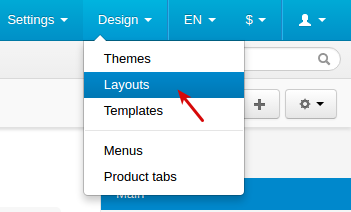
- Go to Design - Layouts.
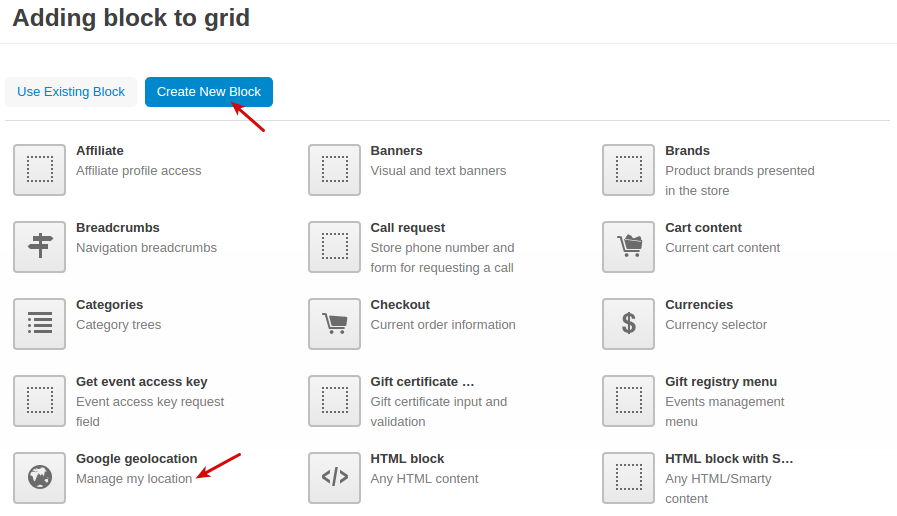
- Click the + button to add a new block.
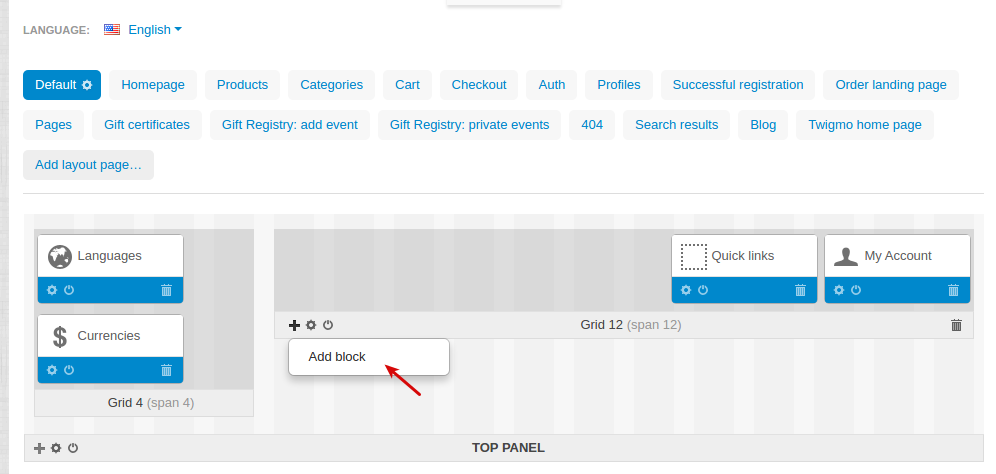
- In the opened window, go to the Create New Block tab and select Google geolocation.
- Enter a name for the block and click Create.

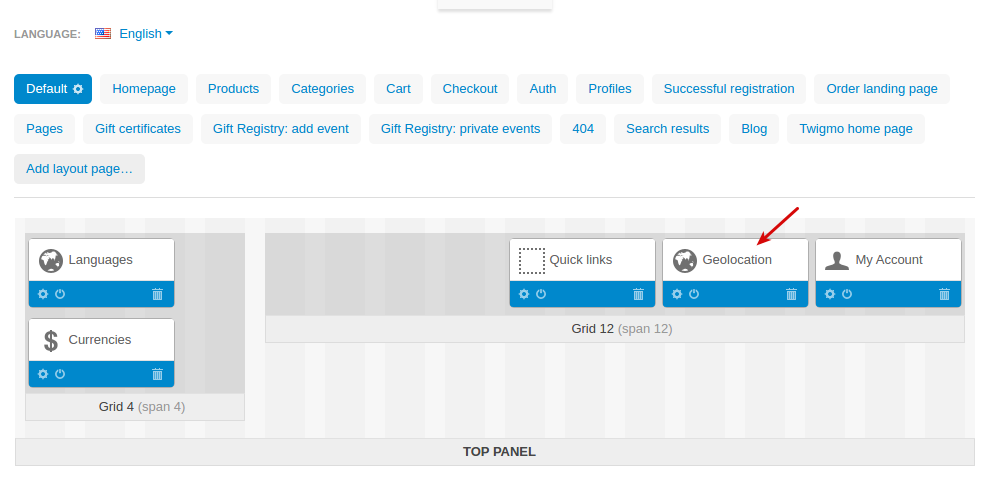
- The created block should appear in the layout.
What the customer will see
When the customer enters you store, their location will be automatically determined by the Google Geolocation API, and the determined city will appear in the header of the storefront.
It the customer clicks on it, they can see their current location on the map.
Even though geolocation works fine in most cases, the add-on still takes into account the cases in which location can’t be provided. For example, a user might be using an older browser, or simply might not want to automatically share location information. The location detected could even be incorrect. In such situations, users can enter or change their location manually.