Messenger
Important
Messenger add-on IS NOT officially supported since 2020, January 22. You can purchase its source code. Note, the free support is not provided for the item.
- Overview
- What the customer will see
- What the vendor will see
- Managing in the admin panel
- Installing the add-on
- Setting up the add-on
- Managing messages
- Allowing administrators to manage/view messages
- Allowing vendors to manage/view messages
- Providing the ability to manage message within a vendor plan
- Managing forbidden words
- Editing layout of the Messages page
- Changing the message background color
- Editing notifications
Overview
Do you know that the lack of communication is one of the most common buyer’s complaints? Do you feel that your customers experience it? No worries, our Messenger add-on will help you out!
The add-on allows your customers to instantly reach the seller if they want to ask a question, need more information about the product, or clarify pricing, shipping options and so on and lets sellers answer questions, assist with the sales process or deal with complaints right away.

Your customers will find it especially convenient to exchange messages from their mobile devices.
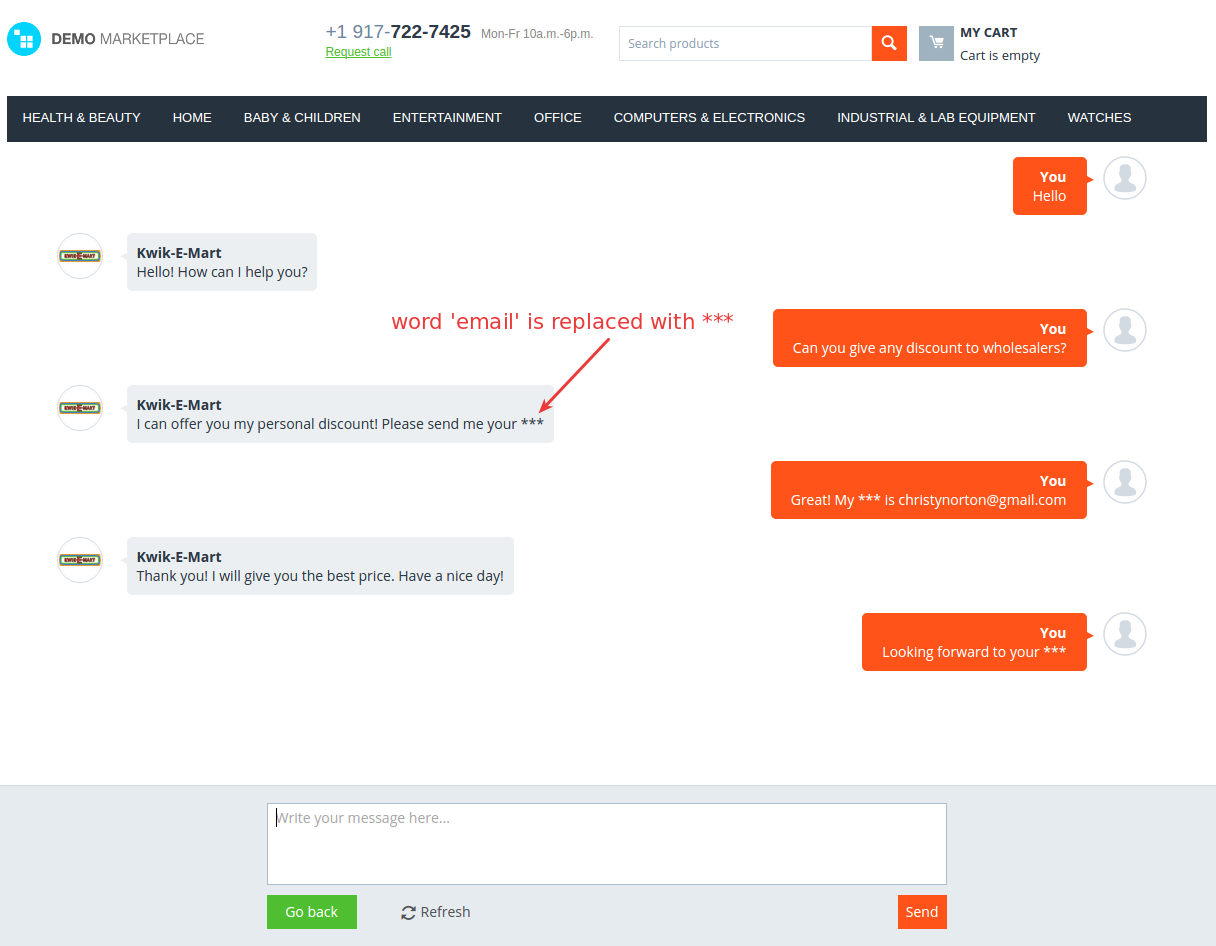
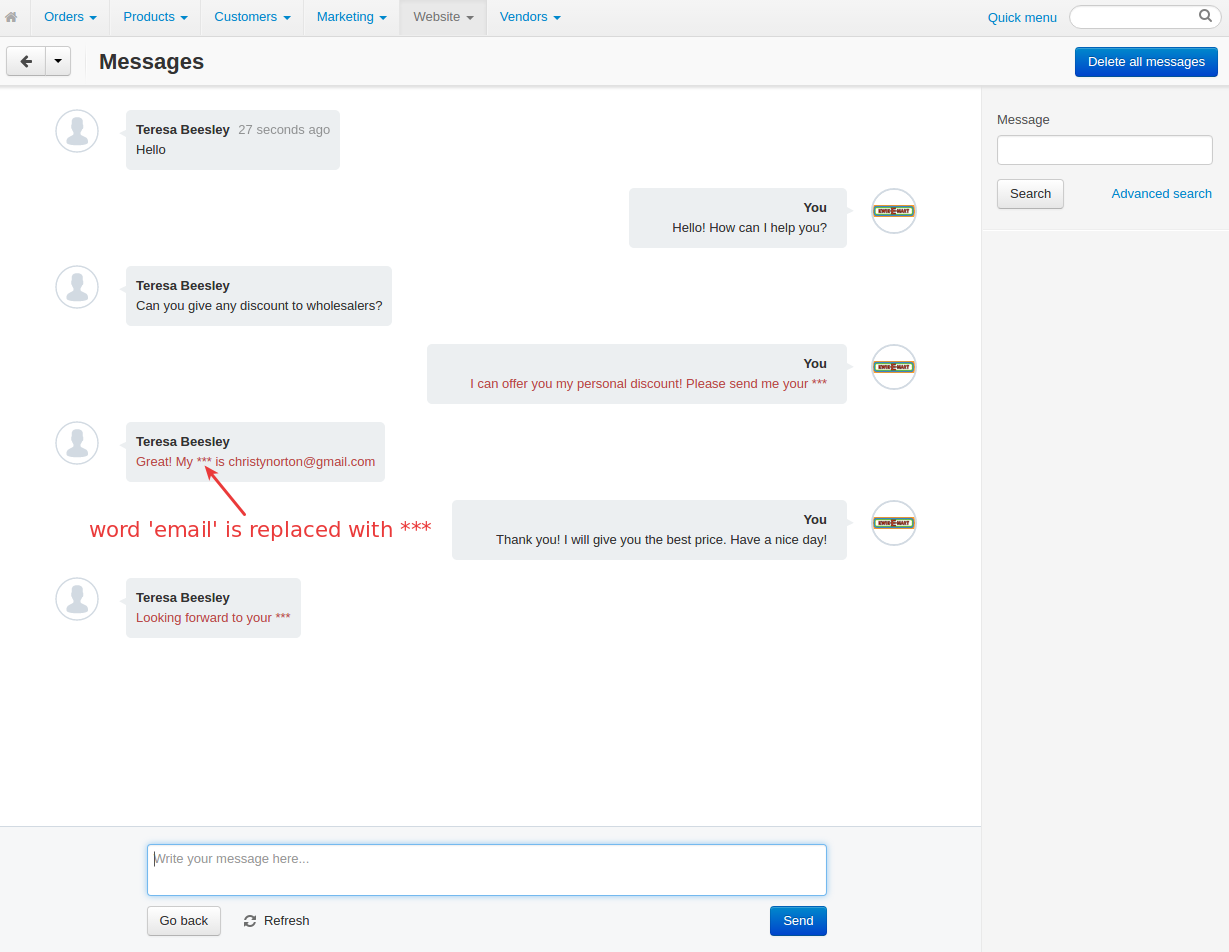
The add-on introduces the Forbidden words feature. You can forbid certain text in outgoing messages. Such words will be replaced with ***. Forbidding certain words could help store owners control communication of vendors with customers, for example, you don’t want vendors to give out their contact info to customers directly, so you may want to forbid words like ‘email, ‘phone number’, etc.
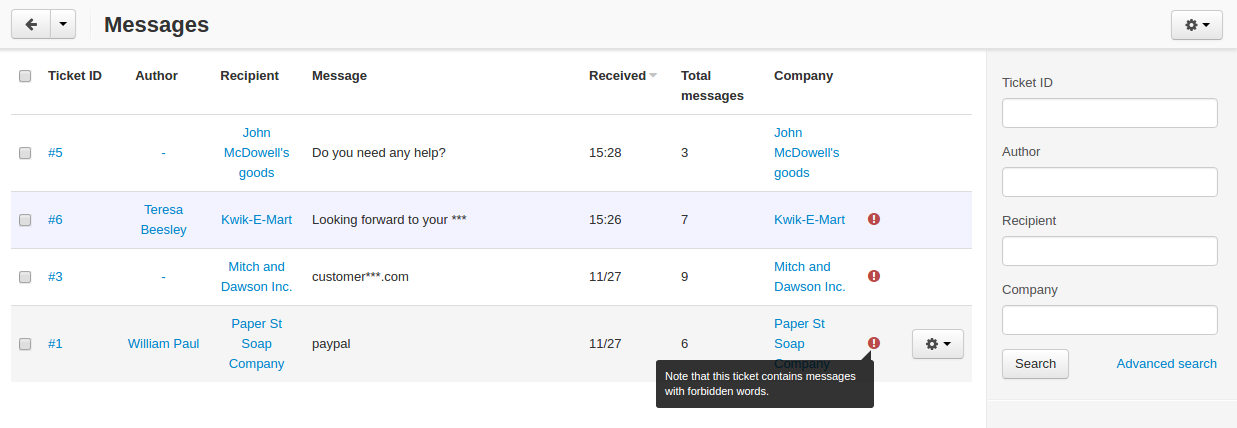
Messages containing forbidden words will be marked with exclamation icon in the list of messages in the admin panel.
Stay helpful to your customers and increase sales with our Messenger add-on.
Compatibility
The add-on is compatible with Multi-Vendor 4.3.1-4.6.x.
Note
The add-on was included in the standard functionality starting from version 4.7.1.
Check out our custom Real-Time Messenger add-on.
Don’t know what archive to download to install the add-on? Read here.
Support
This add-on is developed and published by Simtech Development Ltd., a CS-Cart developer. You are guaranteed a quality add-on supported by the future versions. If you need help, please contact us via our help desk system.
What the customer will see
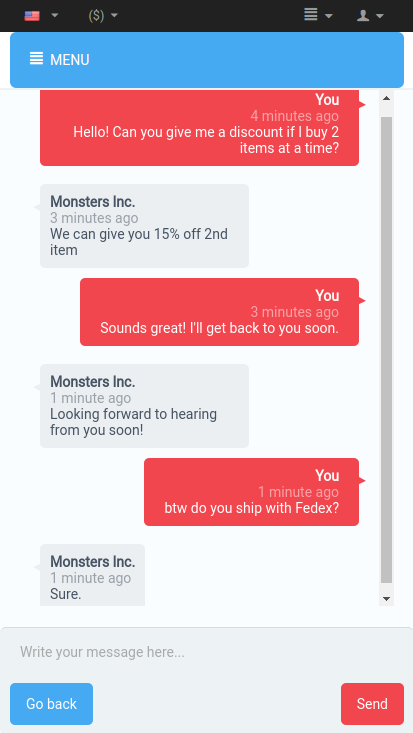
The add-on allows customers to contact a seller from the product details page in case they have any questions or need any clarification about the product.
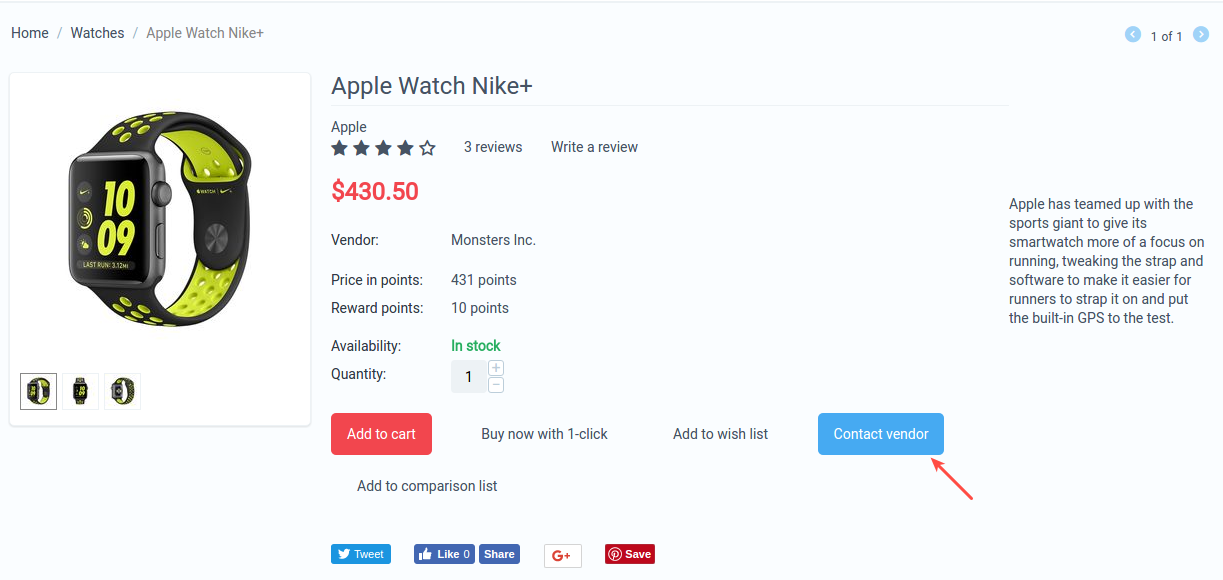
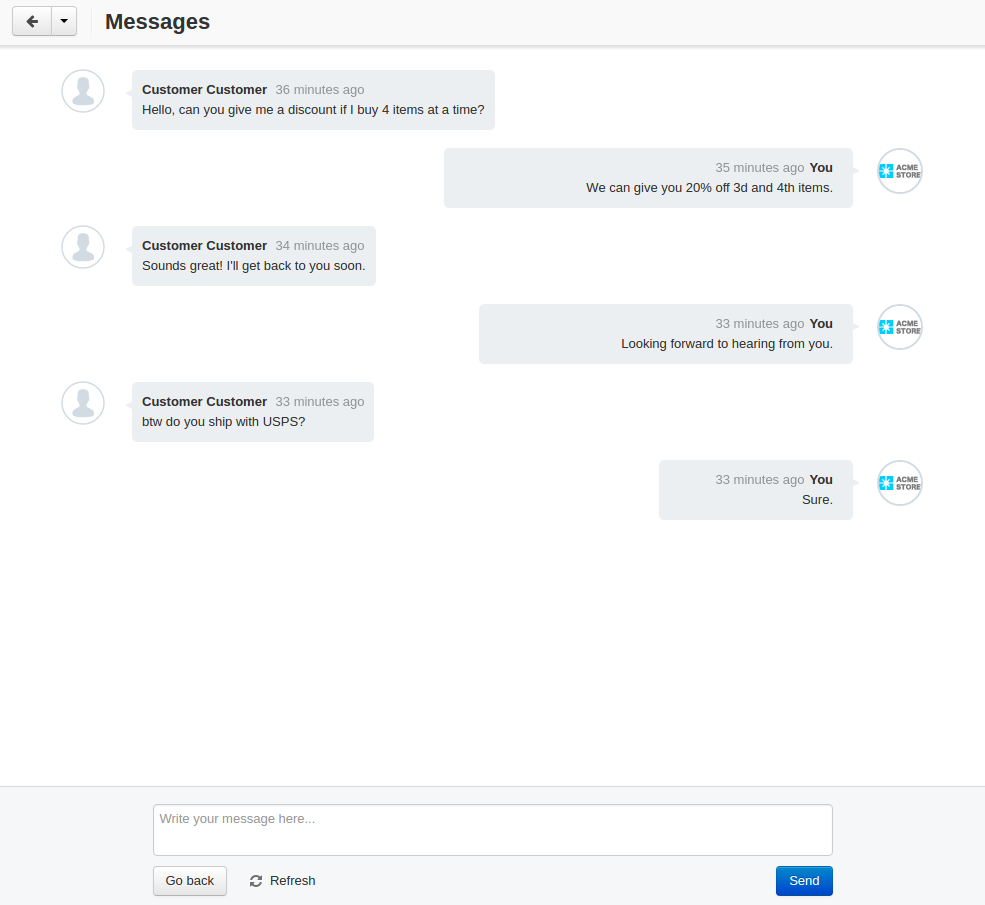
Clicking the Contact seller button will take the customer to the Messages page to start a conversation. Text messages are exchanged in real-time.
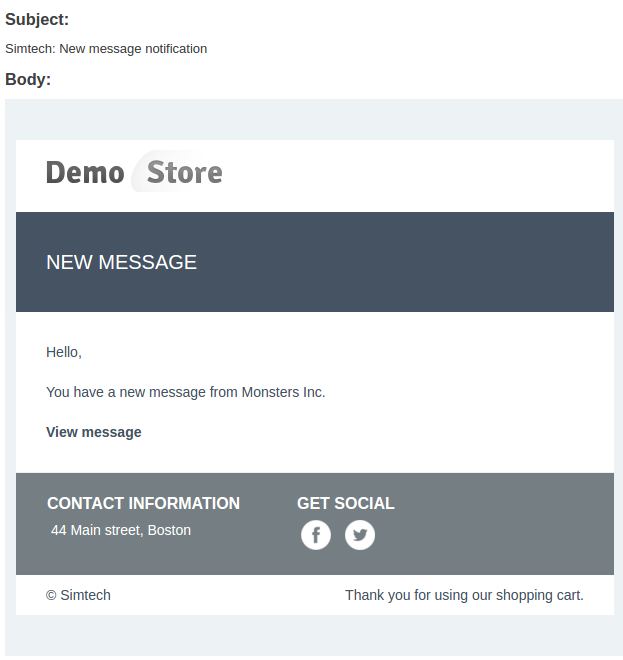
Anyway, the customer will be notified of new messages by email.
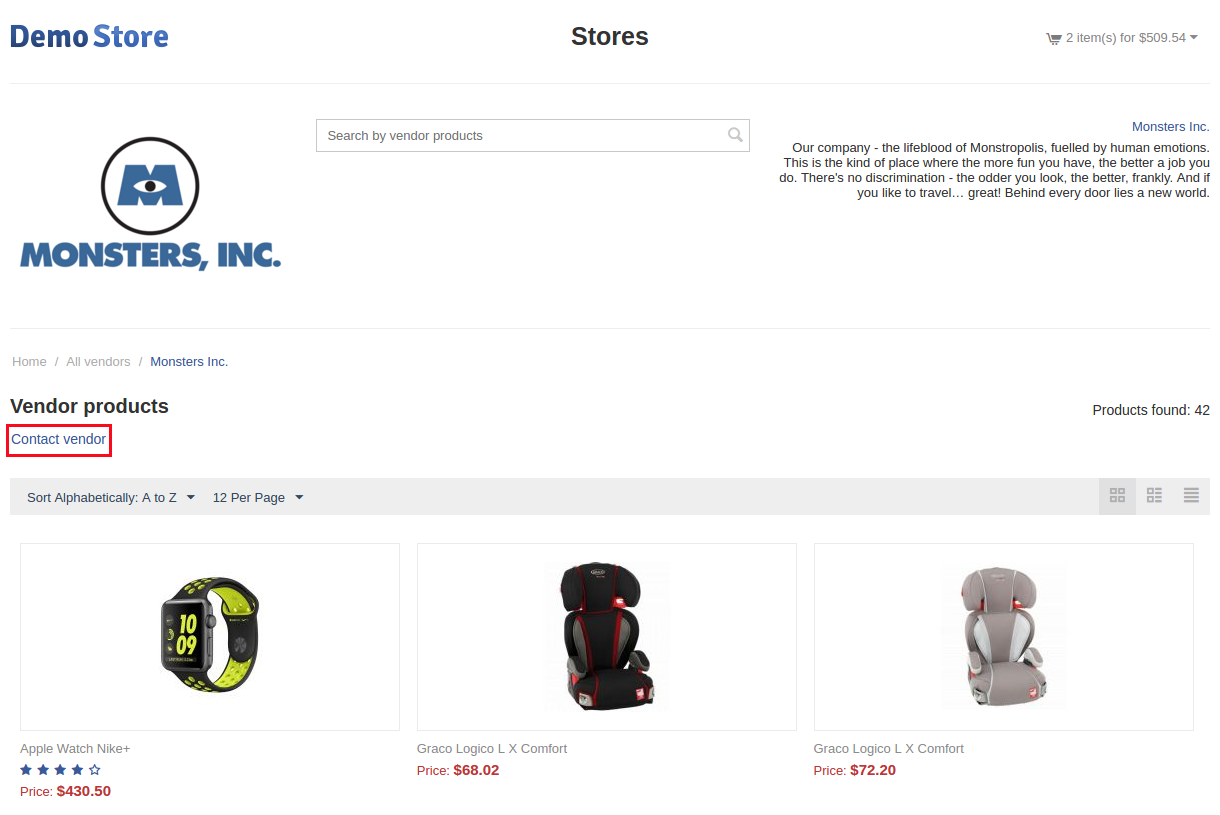
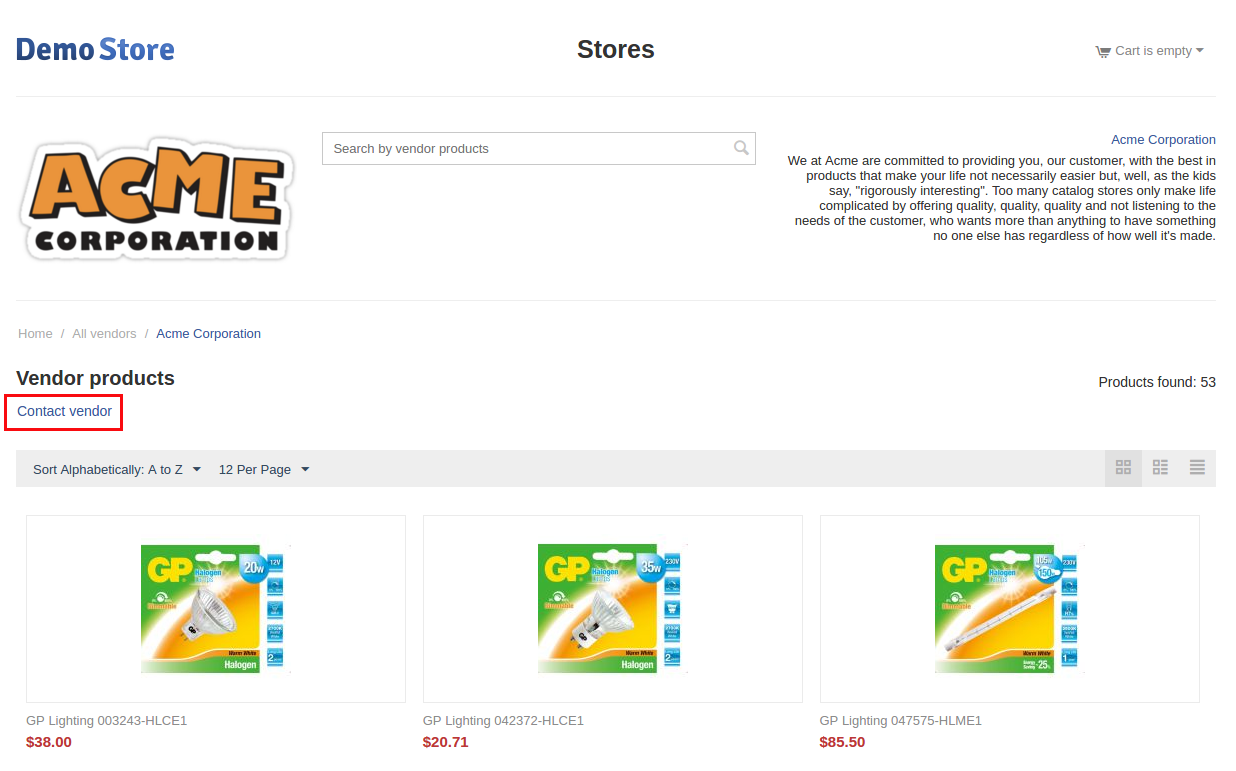
The customer can contact the vendor from the vendor page as well.
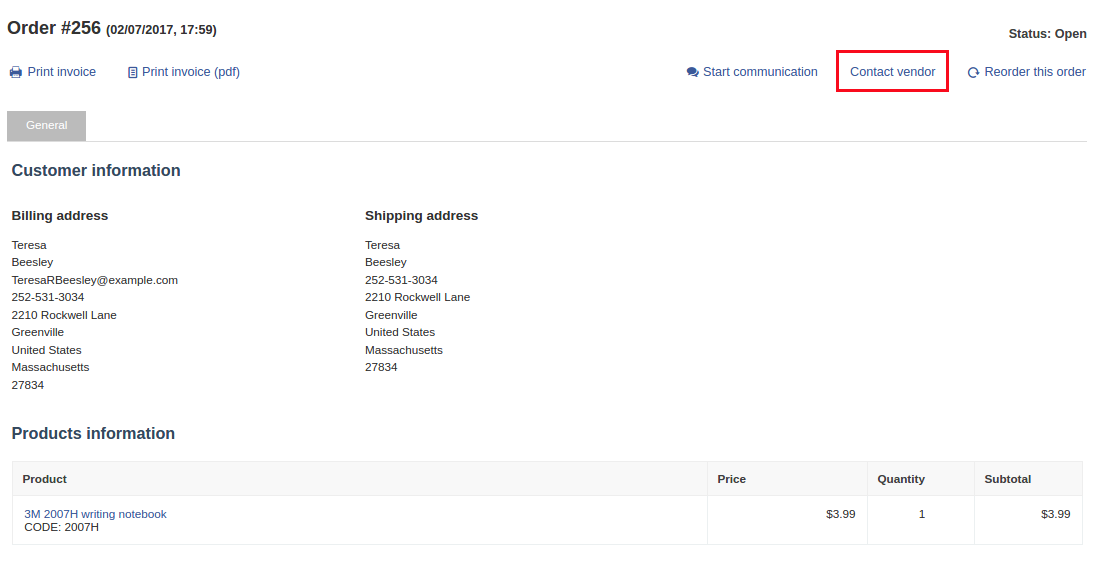
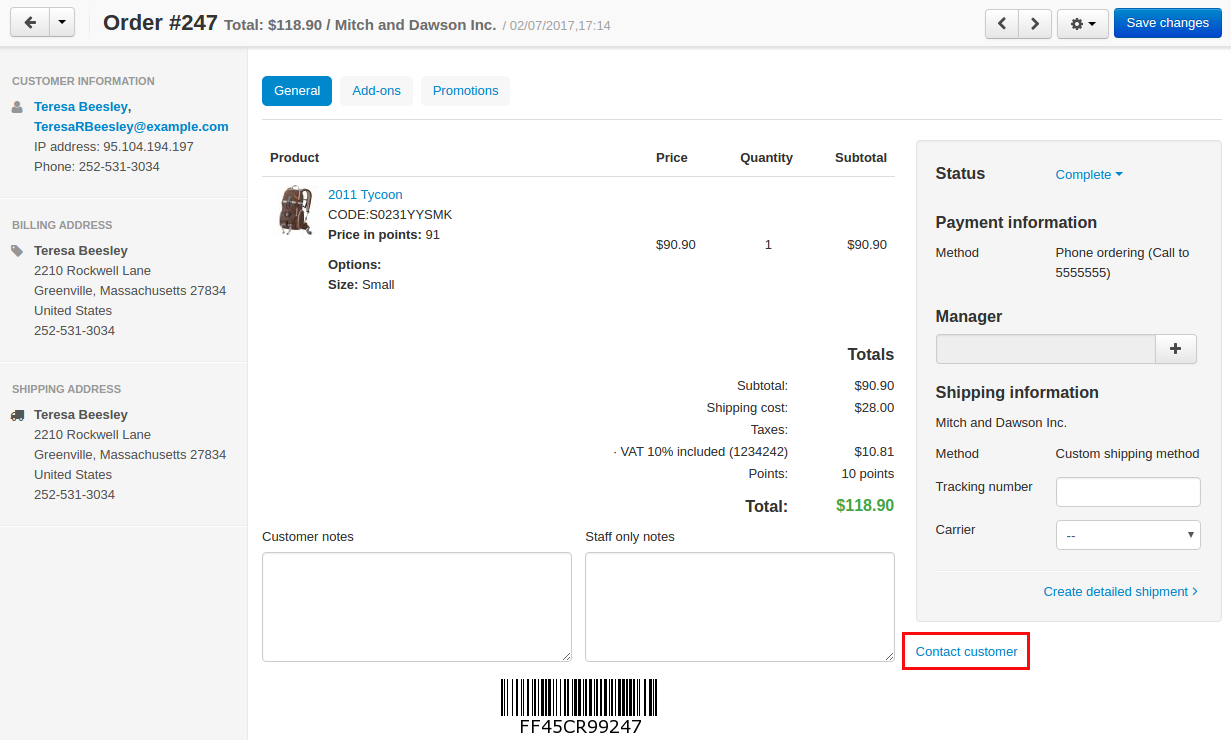
The Contact vendor button is also available on the order details page.
What the vendor will see
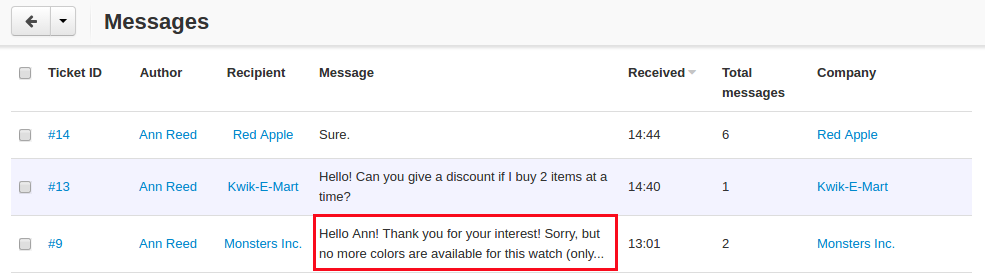
The vendor can manage messages by going to Website > Messages. Unread messages are a light blue.
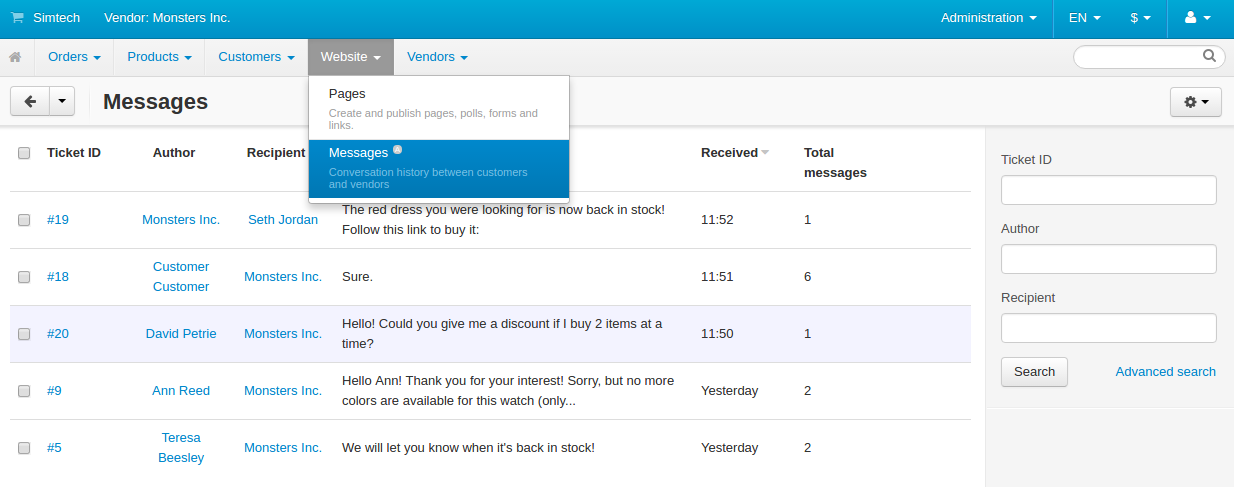
Clicking the Ticket ID will open the conversation.
The vendor can also contact the customer from the order details page (Orders > View orders).
Note
Vendors are not notified of new messages, only vendor’s administrators. See Vendor’s administrator notifications for more details.
Managing in the admin panel
Installing the add-on
Install the “Messenger” add-on on the add-ons list page (“Add-ons” → ”Manage add-ons”). Click the + button in the top right corner, select an archive and click Upload & install. You can now find the installed add-on in the list of installed add-ons, just make sure it is set to Active.

Setting up the add-on
Here are available settings for the add-on:
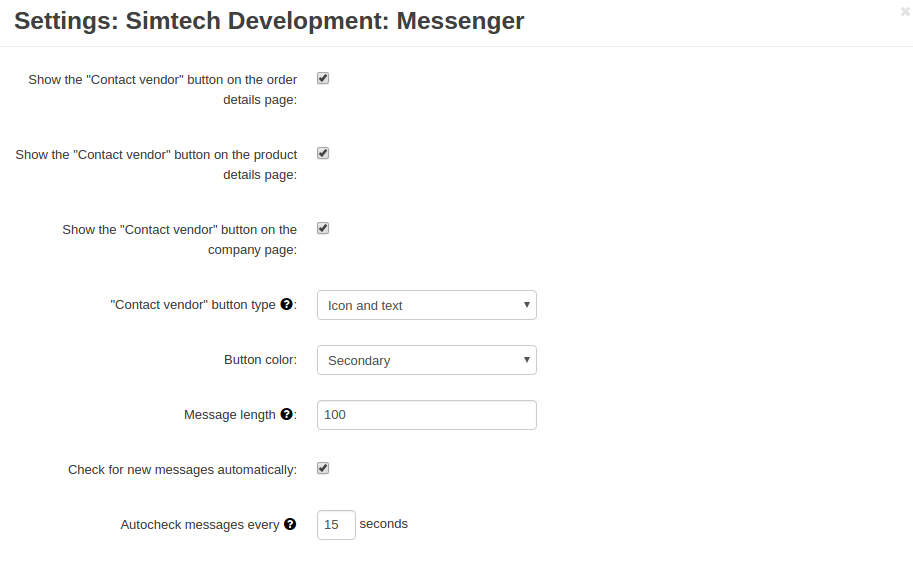
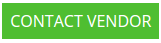
Decide where you want to show the Contact seller button. The settings concern the storefront.
- Show the “Contact vendor” button on the order details page
- Show the “Contact vendor” button on the product details page
- Show the “Contact vendor” button on the company page
- “Contact vendor” button type—Select the button type that will be displayed on the product details page. The options are:
1. Icon

2. Icon and text

3. Text
- Message length—The maximum number of characters in the message shown on the conversation history page before it will be truncated with ellipses(…).
- Check for new messages automatically—If enabled, the system will check for new messages automatically.
- Autocheck messages every (seconds)—Determine how ofter the system should check for new messages. Note that the number of checks per minute increases load on the server.
Managing messages
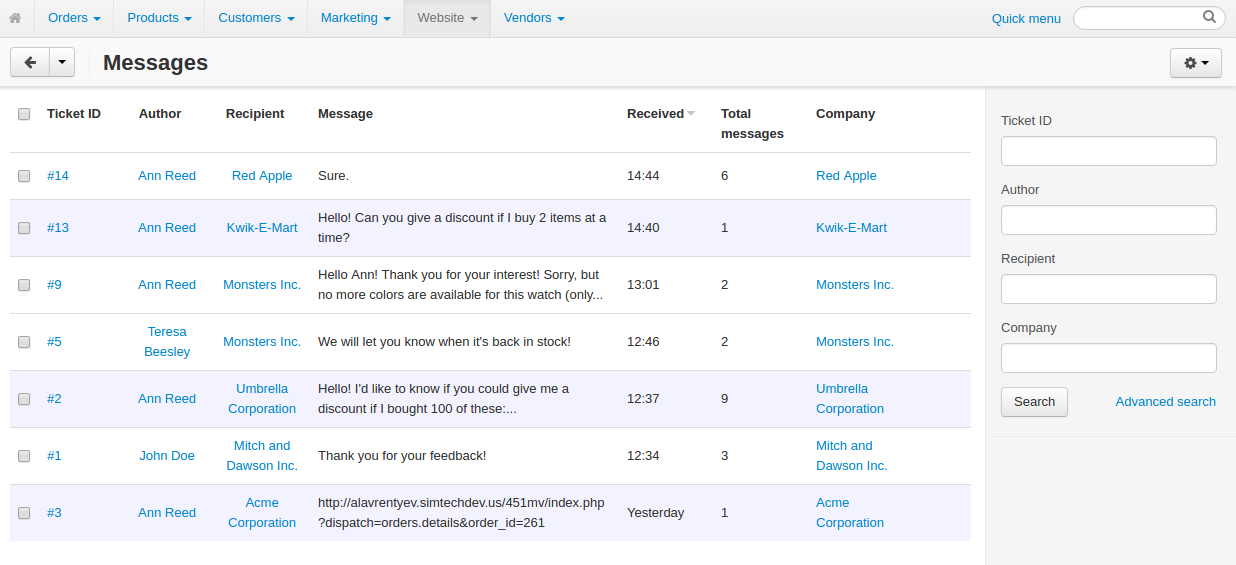
All the messages exchanged between customers and vendors are available under Website > Messages.
The administrator can view any message, search for a particular message, or reply to any message, if needed.
Allowing administrators to manage/view messages
To allow administrators/managers to manage/view messages, follow these steps:
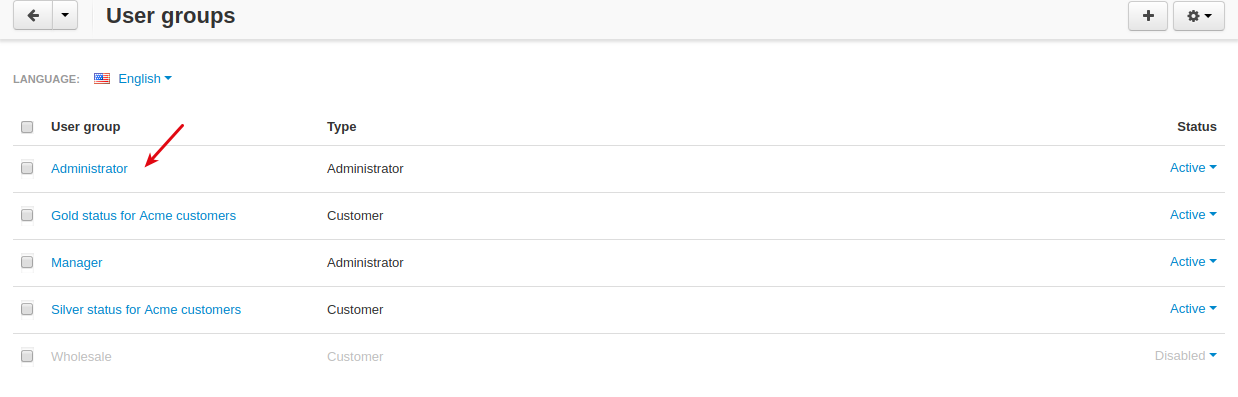
- Go to Customers > User groups. Select the Administrator or Manager user group.
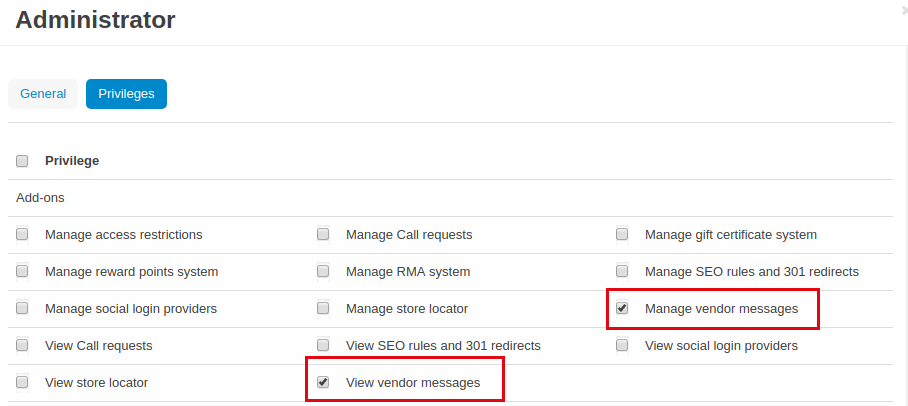
- Switch to the Privileges tab and select the Manage vendor messages and/or View vendor messages checkbox(es).
- Click Save.
Allowing vendors to manage/view messages
To provide vendors with the ability to manage messages, follow these steps:
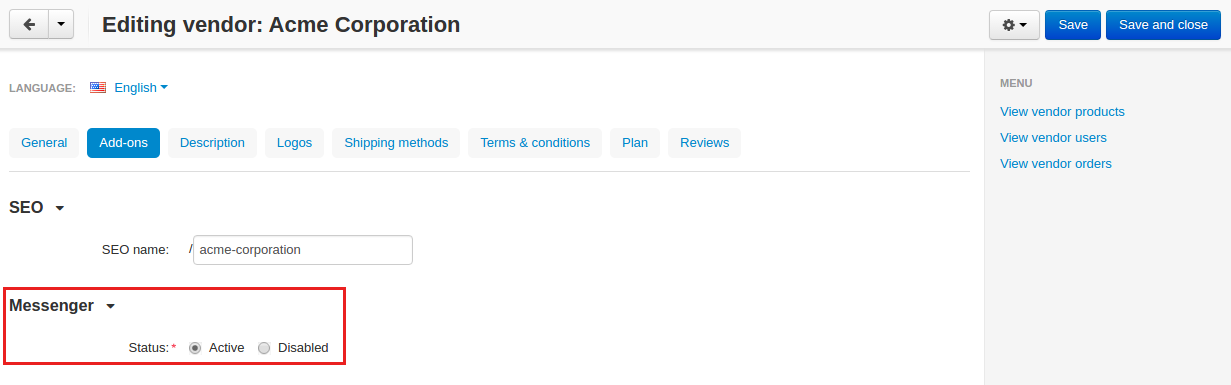
- Go to Vendors > Vendors and select the necessary vendor.
- Switch to the Add-ons tab and set Status to Active.
- Click Save.
Providing the ability to manage message within a vendor plan
The ability to send and receive messages can be provided within a vendor plan. To enable it:
- Go to Vendors > Vendor plans.
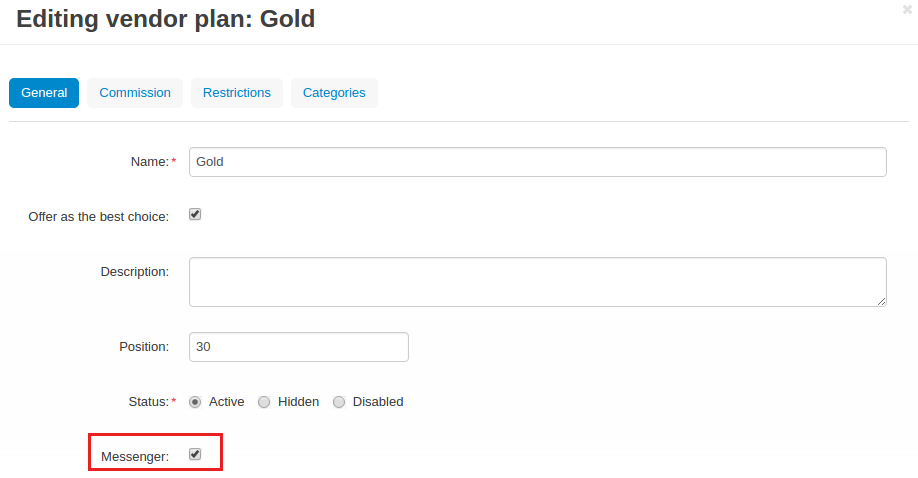
- Select the necessary plan.
- Select the Messenger box.
- Click Save.
Managing forbidden words
You can specify forbidden words by going to Website > Messenger: Forbidden words. Here, you can add new words or phrases, edit them or delete them.
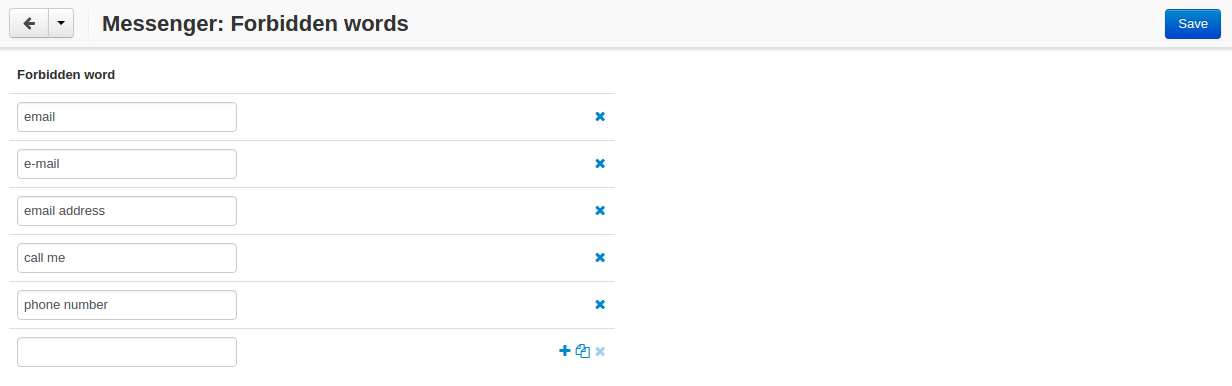
The forbidden words will be replaced with “***” (3 stars) in the messages on the storefront and in the admin panel.
The same concerns messages in the admin panel. Such messages will also be highlighted red.
In the list of messages, the exclamation mark icon will appear next to the message if it contains any of the forbidden words.
Editing layout of the Messages page
The add-on creates a Messages page for customers. It can be accessed by going to My account > Messages and selecting a particular thread.
You can customize the layout of this page by going to Design > Layouts. Switch to the Messages tab.
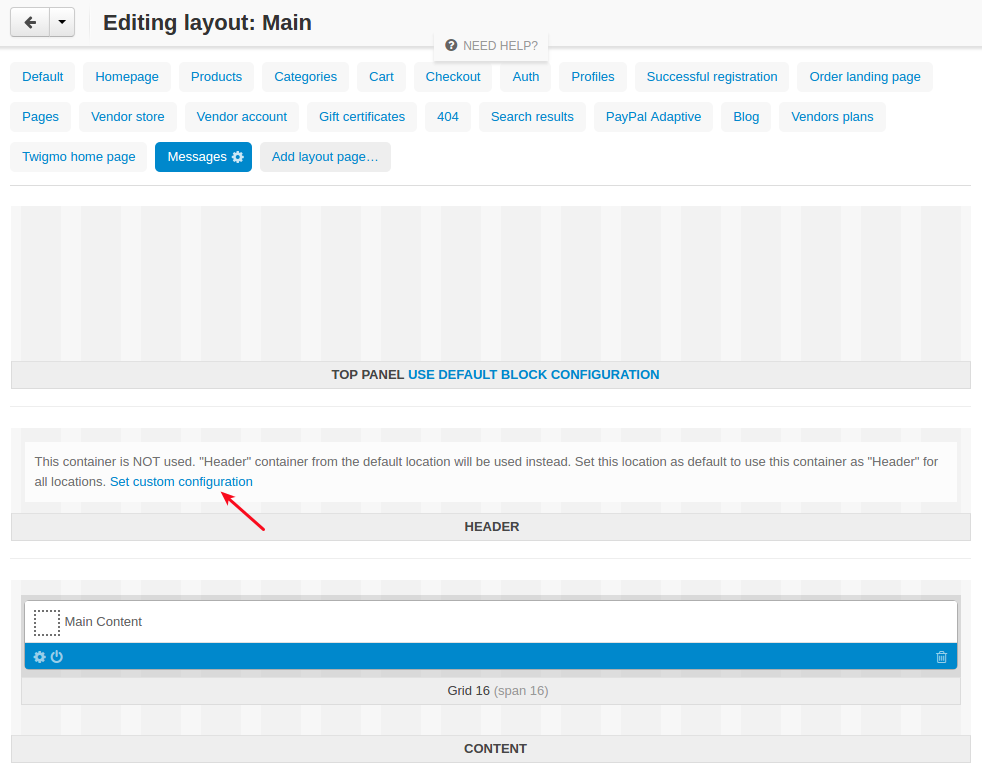
Tip
Set custom configuration hides the header or the top panel.
USE DEFAULT BLOCK CONFIGURATION shows the header or the top panel.
Changing the message background color
The default colors of the message background may not match the theme in your store.
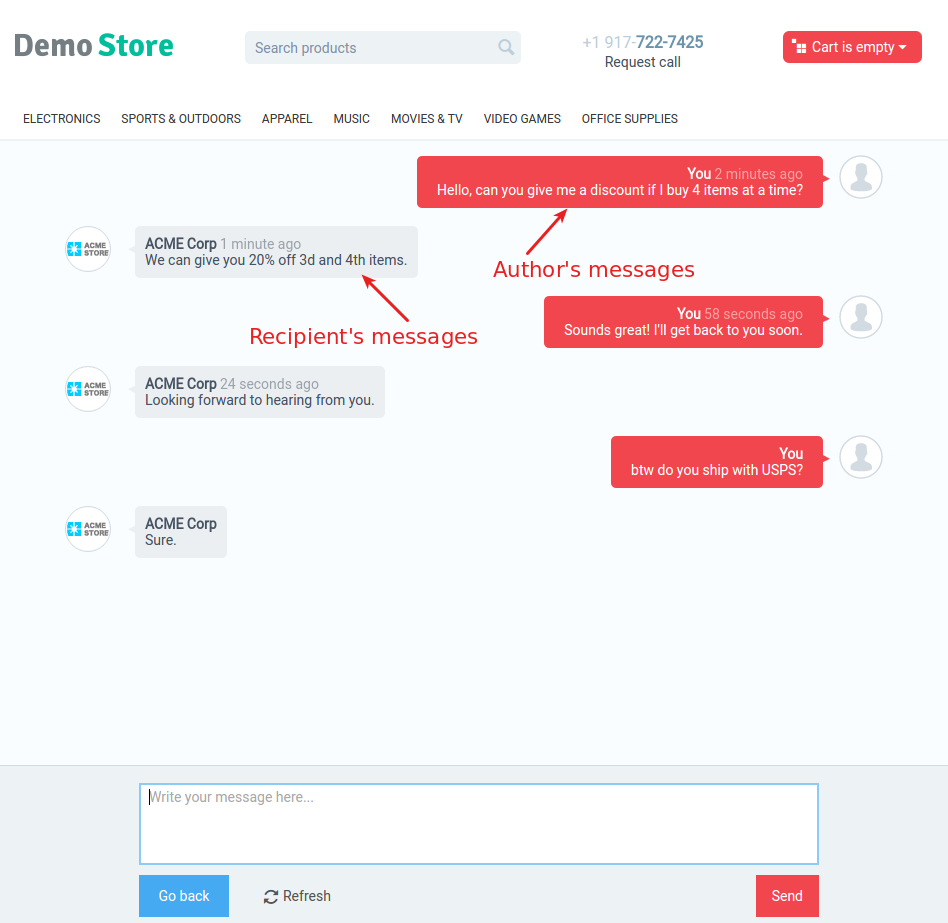
In this case you can change the background colors.
Note
The color scheme can be changed only on the storefront, not in the admin panel.
Here’s how:
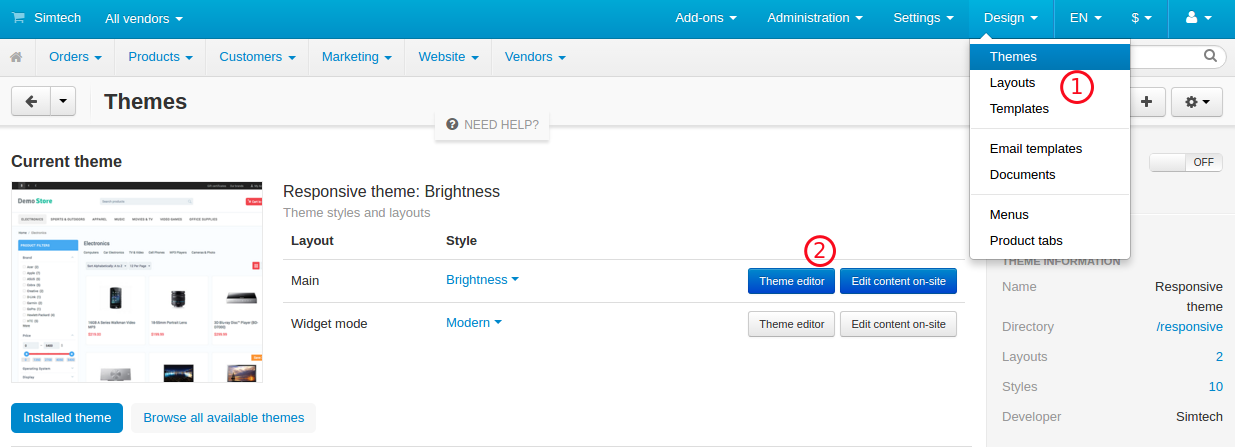
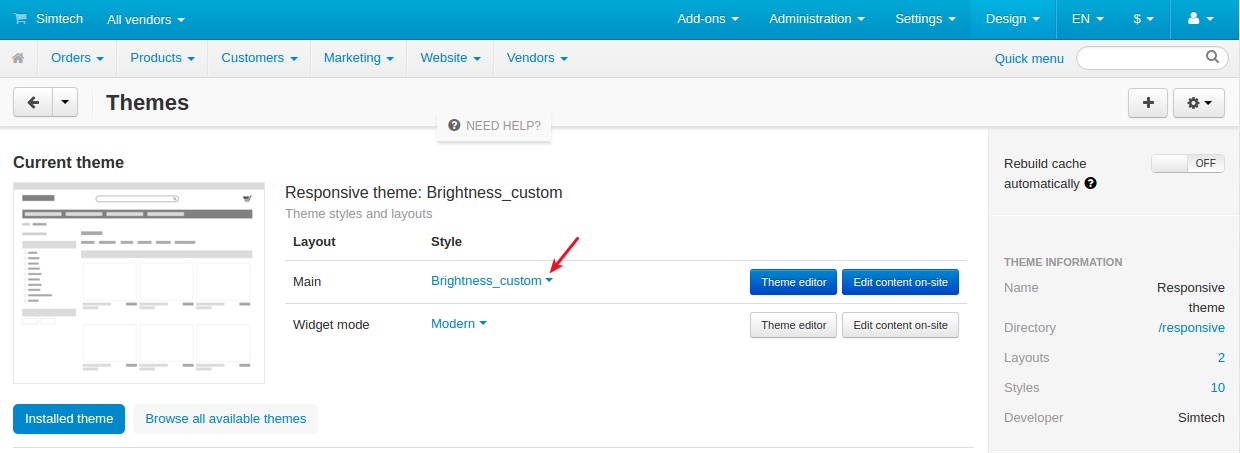
- Go to Design > Themes and click Theme editor next to the theme you are using.
- In the opened Theme editor, select Custom CSS and copy/paste the following part of code into the input field:
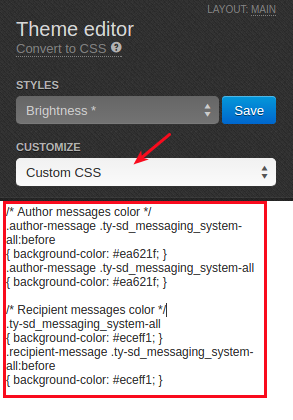 /* Author messages color */ .author-message .ty-sd_messaging_system-all:before { background-color: #ea621f; } .author-message .ty-sd_messaging_system-all { background-color: #ea621f; } /* Recipient messages color */ .ty-sd_messaging_system-all { background-color: #eceff1; } .recipient-message .ty-sd_messaging_system-all:before { background-color: #eceff1; }
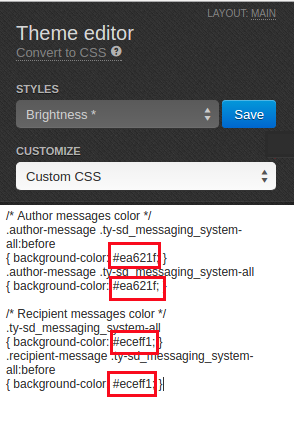
- Next, change the hex codes of colors you want to use for background.
Tip
Hex color code has the format of a hash (#) followed by 6 numbers or letters. For example, #eceff1 or #ea621f. There are plenty of websites where you can pick suitable colors for your store, like HTML Color Codes or Paletton.
- Click Save
If you are changing the default theme, you will need to create a copy of the theme after you make the changes. So, right after you click Save, a pop-up will appear:
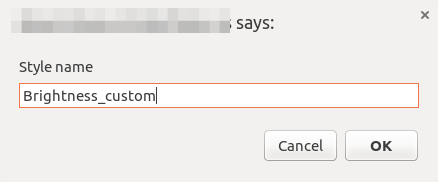
Enter a new name for the style and click OK. The copy of the theme will be created automatically.
Make sure it is selected as your current theme.
Here’s the result:

Editing notifications
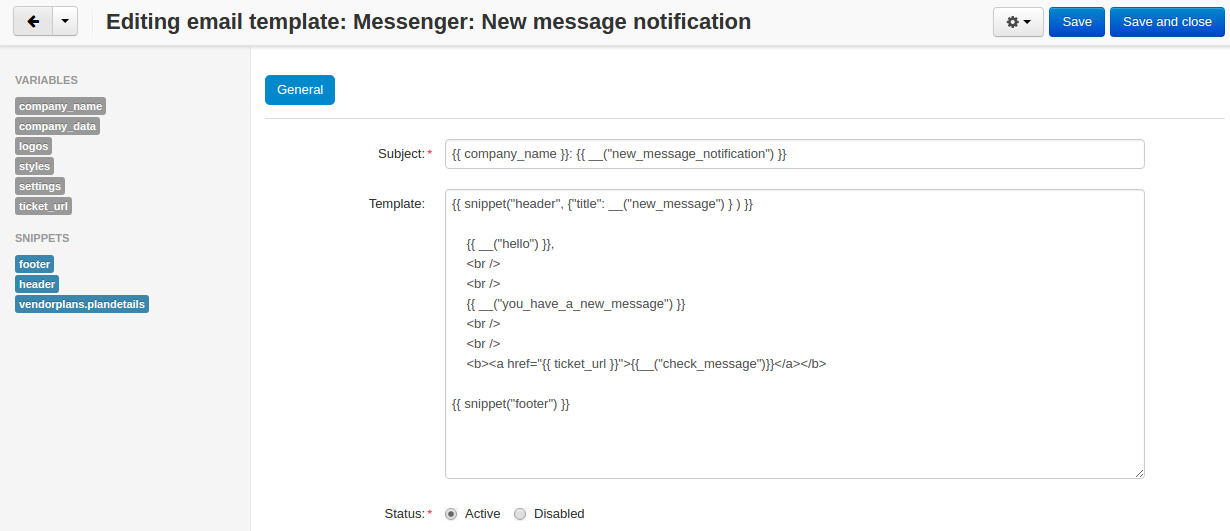
Both customers and vendor’s administrators are notified of new messages by email. You can easily edit the email template.
Customer notifications
Customer notifications are sent to customers to inform them about a new message or new thread.
Here’s the default template.
To edit the template:
- Go to Design > Email templates.
- In the Customer notifications tab, select the necessary template.
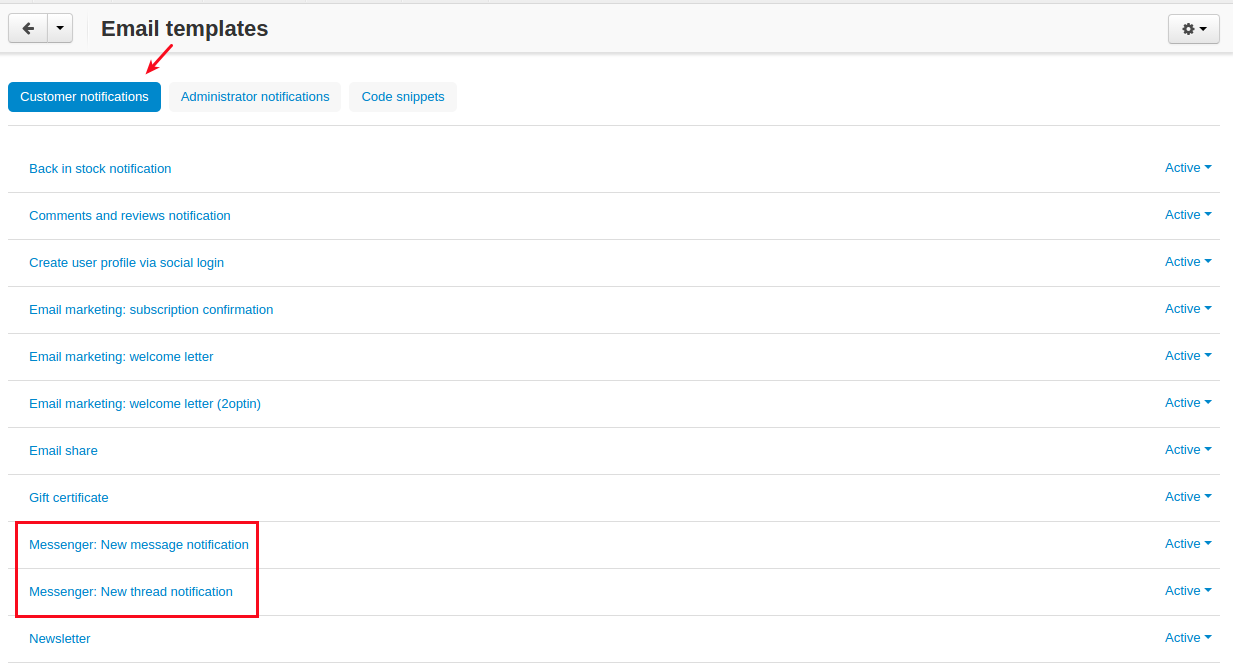
- Edit the template and click Save

Vendor’s administrator notifications
Administrator notifications are sent to vendor’s administrators to inform them about a new message or a new thread.
Here’s the default template.
To edit the template:
- Go to Design > Email templates.
- In the Administrator notifications tab, select the necessary template.
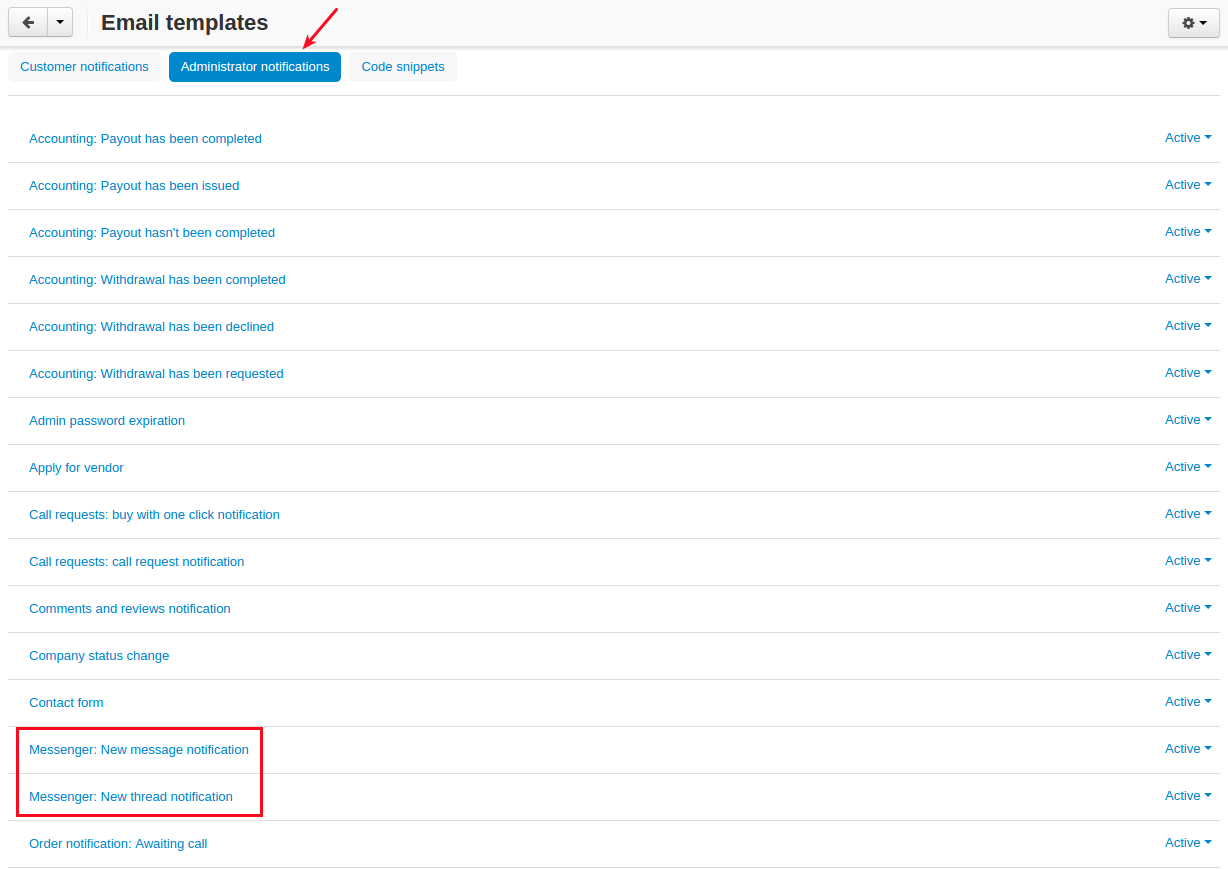
- Edit the template and click Save.