
SAML Single Sign-On Auth
Important
SAML Single Sign-On Auth add-on IS NOT officially supported since 2020, January 22. You can purchase its source code. Note, the free support is not provided for the item.
Warning
Installation of the add-on requires advanced technical skills. It is created mainly for developers to use in further development.
Overview
SAML is an XML-based standard for web browser single sign-on (SSO) that eliminates application-specific passwords. SAML uses single-use, expiring, digital “tokens” to exchange authentication and authorization data between an identity provider and cloud application service provider that have an established trust relationship.
Benefits of using SAML:
- eliminates the possibility of passwords theft/reuse, thereby increasing security
- improves productivity as a user does not have to enter a password each time they need to access a resource
- reduces frustration of multiple logins and forgotten passwords
- compatible with many different cloud application service providers
The SAML Single Sign-On Auth add-on integrates SSO services with your store admin panel, providing you with easy and quick setup.
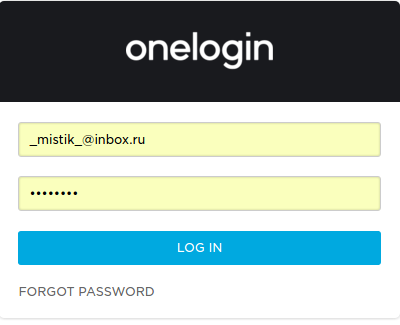
Signing on with Onelogin:
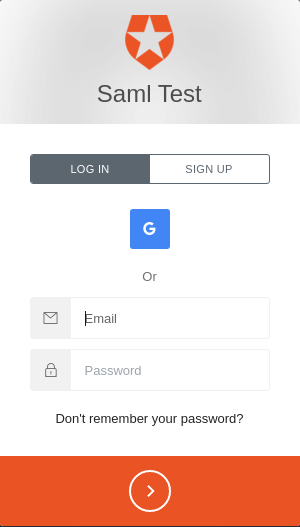
Signing on with Auth0:
Below, you will find instructions on how to set up the add-on to use with most popular services, like Onelogin and Auth0.
Compatibility
The add-on is compatible with CS-Cart and Multi-Vendor 4.3.1 and above.
Don’t know what archive to download to install the add-on? Read here.
Support
This add-on is developed and published by Simtech Development Ltd., a CS-Cart developer. You are guaranteed a quality add-on supported by the future versions. If you need help, please contact us via our help desk system.
Demo
Check out the SAML Single Sign-On Auth add-on in our demo store.
Note
Every half an hour the demo store is reset to the default state.
Managing in the admin panel
Installing the add-on
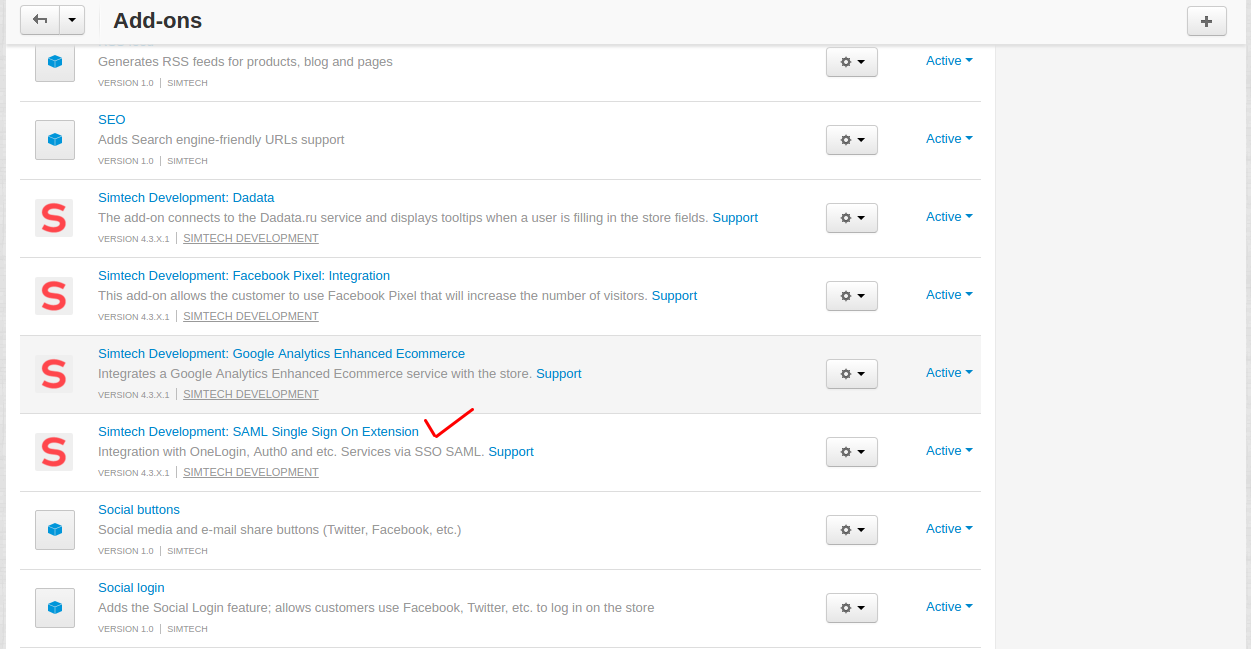
Install the “SAML Single Sign-On Auth” add-on on the add-ons list page (“Add-ons” → ”Manage add-ons”). Click the + button in the top right corner, select an archive and click Upload & Install. You can now find the installed add-on in the list of installed add-ons, just make sure it is set to Active.
General settings
The add-on settings are divided into General and SSO settings.
In this section, we are going to take a look at the General settings. SSO setting will vary for different services. You can find them below.

- SAML Email field - This field connects the SSO account to the store account. By default, set to User.email.
- Usergroup field - This field links a user to user groups. By default, set to memberOf.
The values of these two fields are specified for the Onelogin service by default. They will be different for other services.
- Only SSO login - If selected, a user can access only via the SSO service.
- Create user - If selected, a user will be created if they are not registered in the store.
- Update user - If selected, the user data will be updated in the store from the SSO service.
Onelogin
Setting up Onelogin account
Sign in to or register a new account at Onelogin .
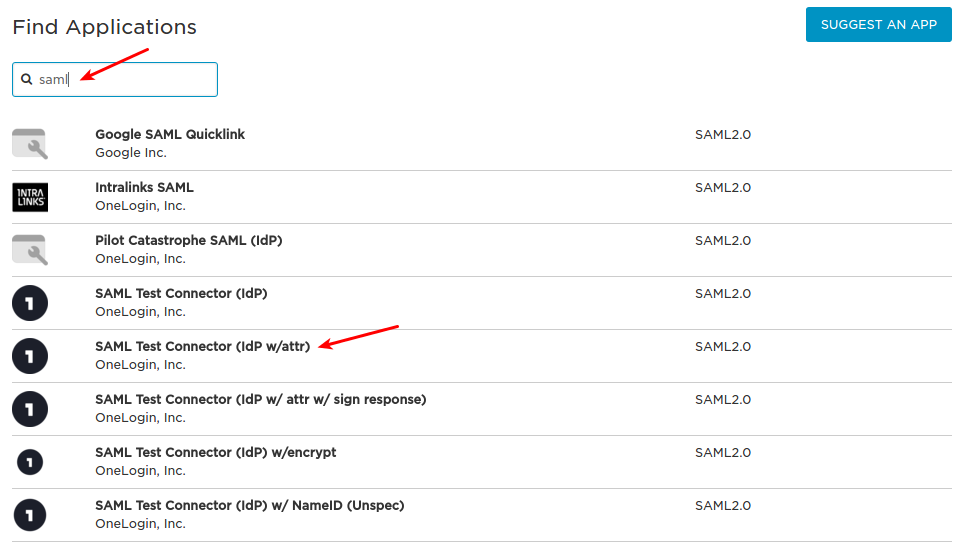
Under APPS select Company apps and click ADD APP.
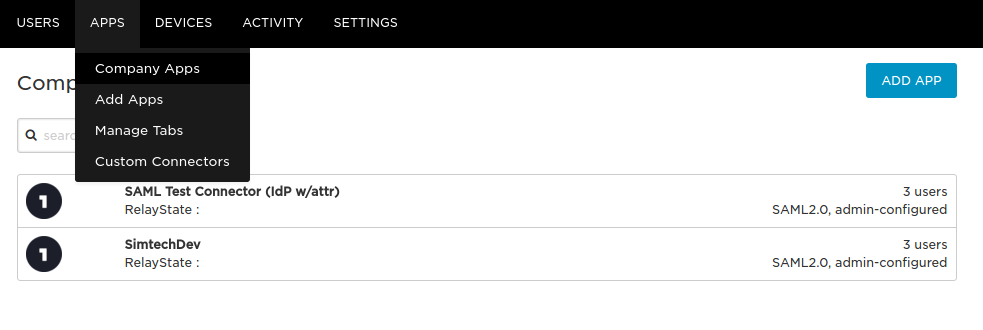
Search for SAML and select SAML Test Connector (IdP w/attr).
You can change the name of the app and add an icon.
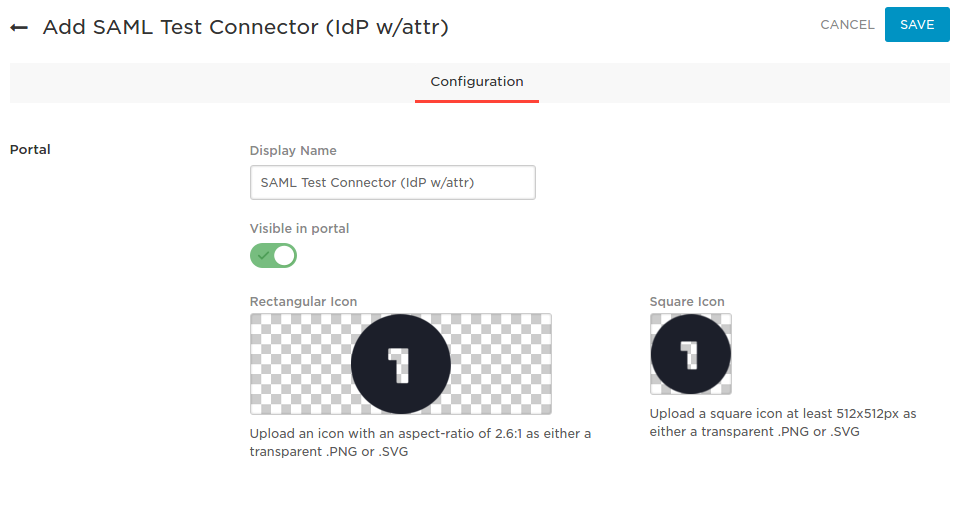
Click Save.
Once you click Save, new tabs will become available for the app.

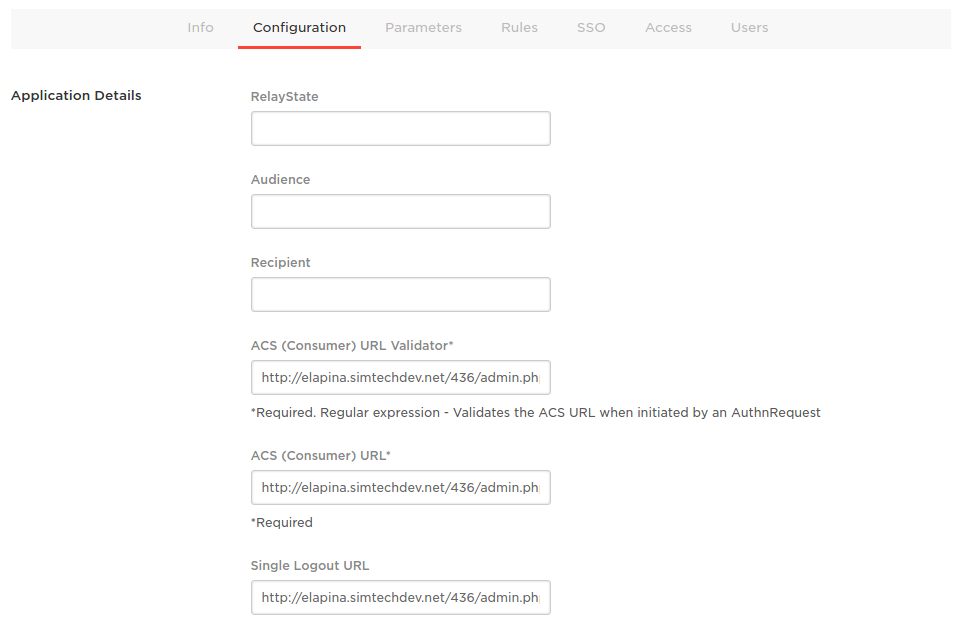
Go to the Configuration tab and enter the URL of the admin panel of your store in the three fields as shown in the screenshot:
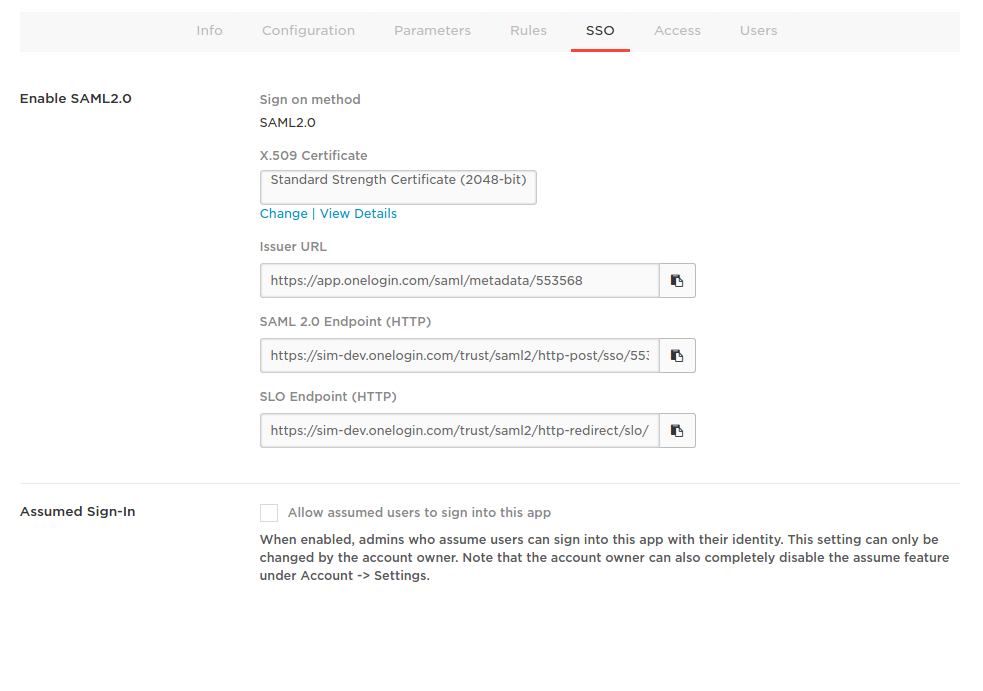
Go to the SSO tab. This tab contains important data that you need to specify in the add-on settings.
Move on to the next section to learn how to set up the add-on.
SSO settings
Go to your Onelogin account to input the necessary information to the corresponding fields of the add-on settings (Account - Apps - Company apps - Your app - SSO tab).
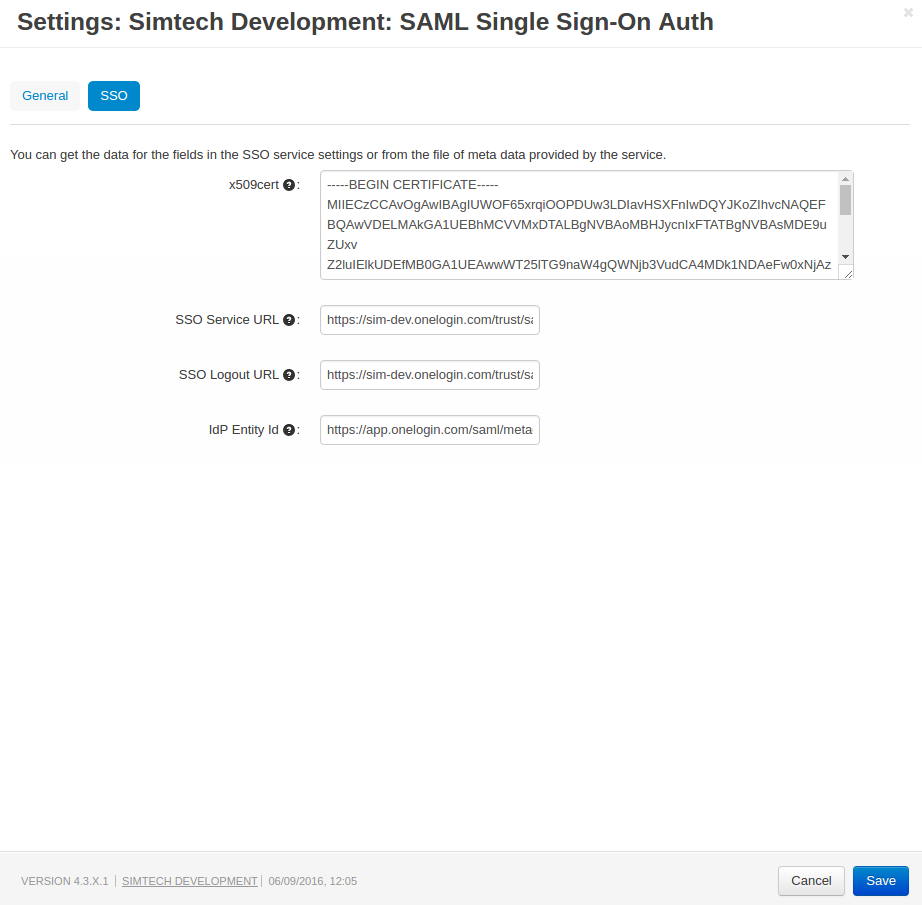
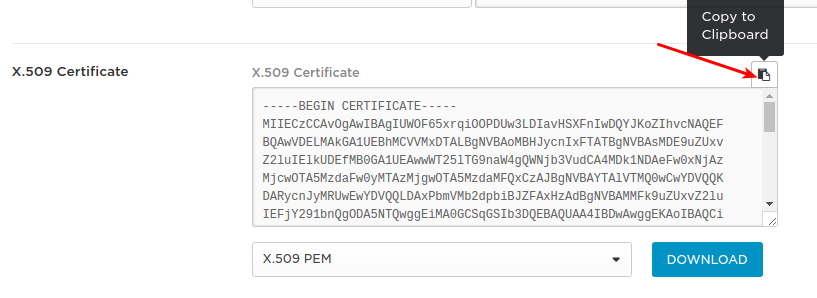
- x509cert - input X.509 Certificate
Click View details below the Certificate.
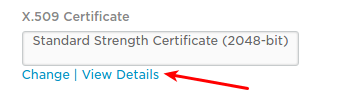
Copy the Certificate.
- SSO Service URL - SAML 2.0 Endpoint (HTTP)
- SSO Logout URL - SLO Endpoint (HTTP)
- IdP Entity Id - Issuer URL
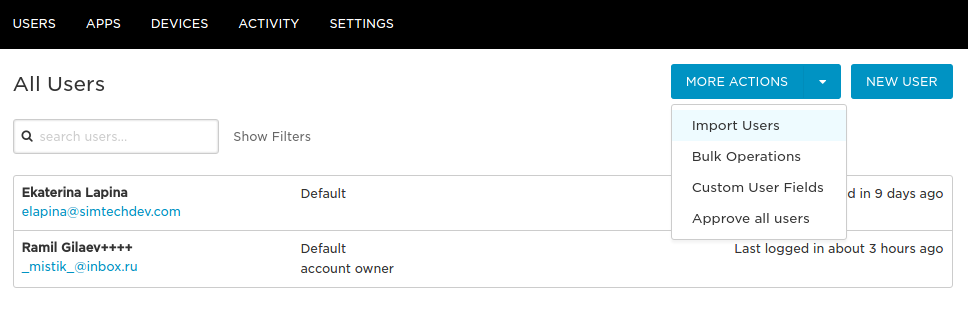
Importing users
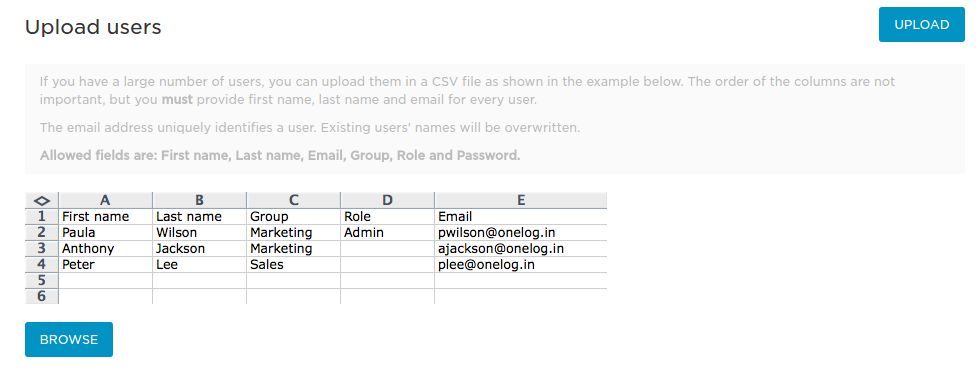
You can import users from your store who will log in via SSO to your Onelogin account in a CSV file. To do this, under your account go to Users - All users. Click More actions - Import users.
Here, you can see an example of how to uploade users in a CSV file.
Assigning a user to a user group
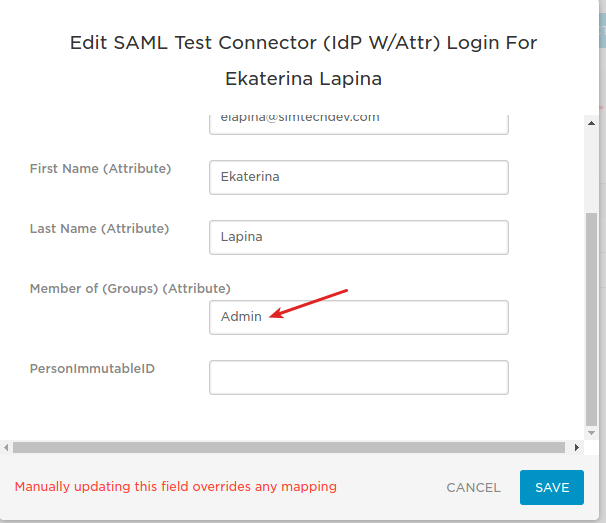
You can assign a user to a specific user group and give them access permissions to the admin panel.
To do this, go to Apps - Company Apps - Your app - Users tab and select a user. In the pop-up window, specify a group in the Member of field.
Auth0
Setting up Auth0 account
- Sign in to or register a new account at Auth0 .
- Create a new app (go to Applications**and click the **Create app button). You can also watch a tutorial on how to do it.

- Open the app setting by clicking the gear button next to it.

- Specify the URLs of your admin panel in these two fields as shown in the screenshot below. Note that you need to add =auth.logout to the URL in the latter case.
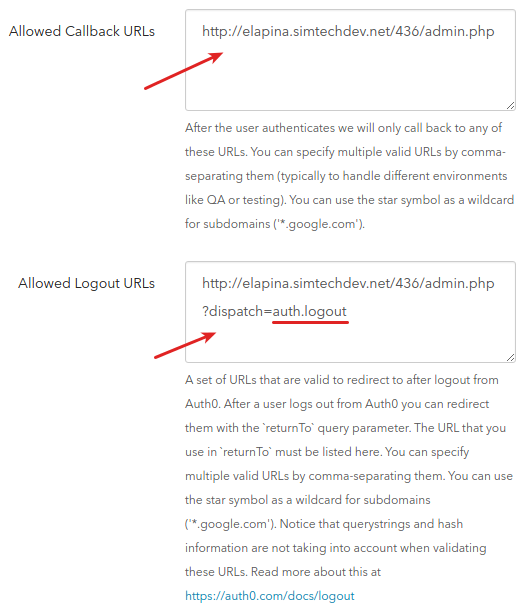
- Click Save changes.
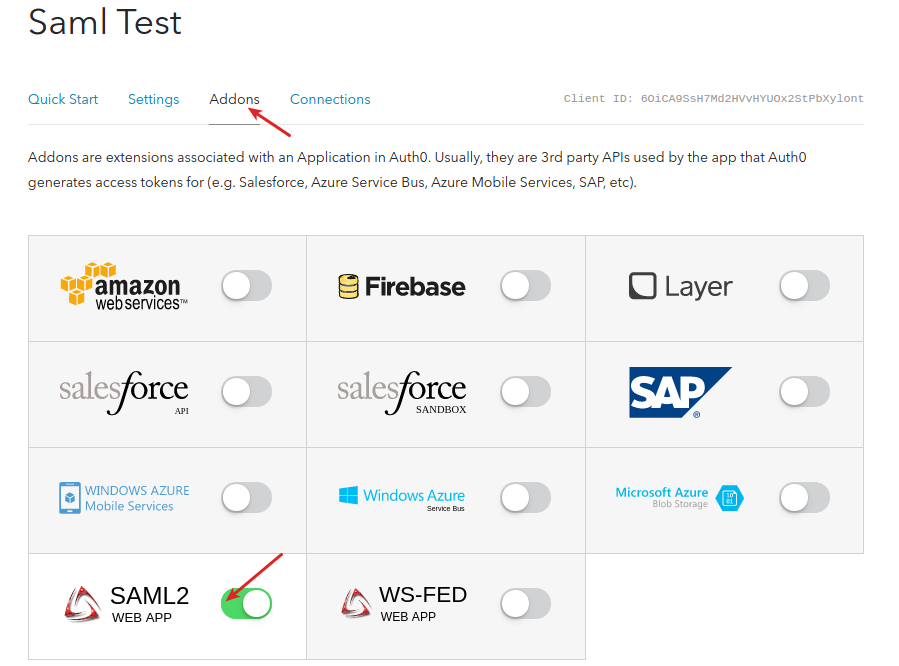
- Go to the Addons tab and enable SAML 2.
Getting Idp metadata
In order to set up the add-on properly, you will require to get some important information, which is specified in the Identity Provider Metadata file. To download this file, go to Applications - Your application - Addons tab - SAML 2 - Usage tab. Click Download next to the file.

SSO settings
Open the add-on settings and go to the SSO tab.
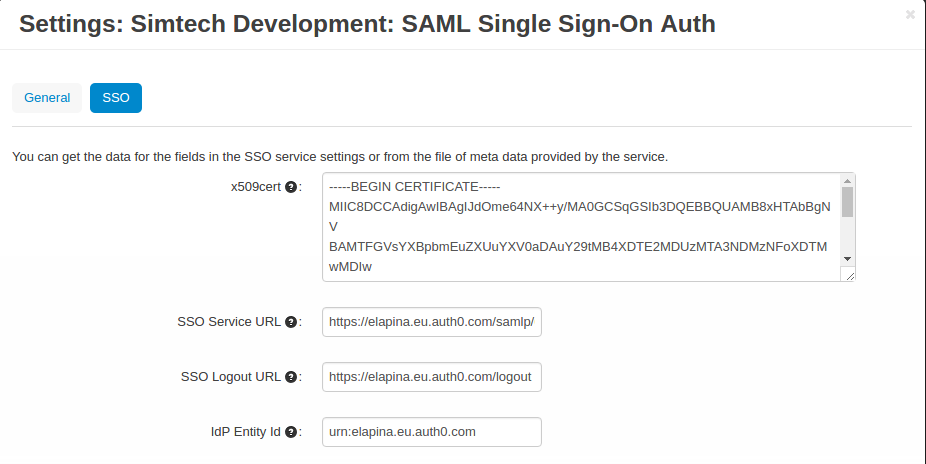
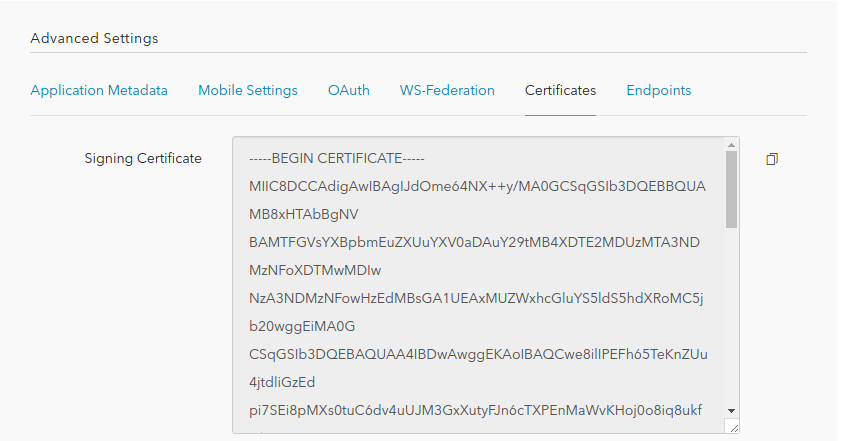
- x509cert - input Signing Certificate
To get this Certificate, in your Auth0 account, go to Applications - Your application - Setting tab - click Show advanced settings - Certificates tab.
To specify the following settings, you you should first get the Identity Provider Metadata file (see the section above). Find the following values in the file and copy/paste them to the corresponding fields:
- SSO Service URL - SingleSignOnService Location
- SSO Logout URL - SingleLogoutService Location
- IdP Entity Id - entityID